Creating a UDP Receiver Using W5100S-EVB-Pico and Arduino IDE
Learn to create a UDP receiver using W5100S-EVB-Pico & Arduino IDE. Handle packet details efficiently. Ensure sender's setup for success!

Discover the simplicity and speed of setting up a UDP (User Datagram Protocol) receiver using the W5100S-EVB-Pico board and the Arduino IDE. UDP, a connectionless protocol, stands out for its minimal resource consumption and speed, as it allows the sending of packets over a network without a formal connection established between sender and receiver. Although it doesn't guarantee packet delivery or order, its benefits are undeniably valuable in specific networking scenarios.
Gathering Essentials
Kickstart this project by ensuring you have the following components:
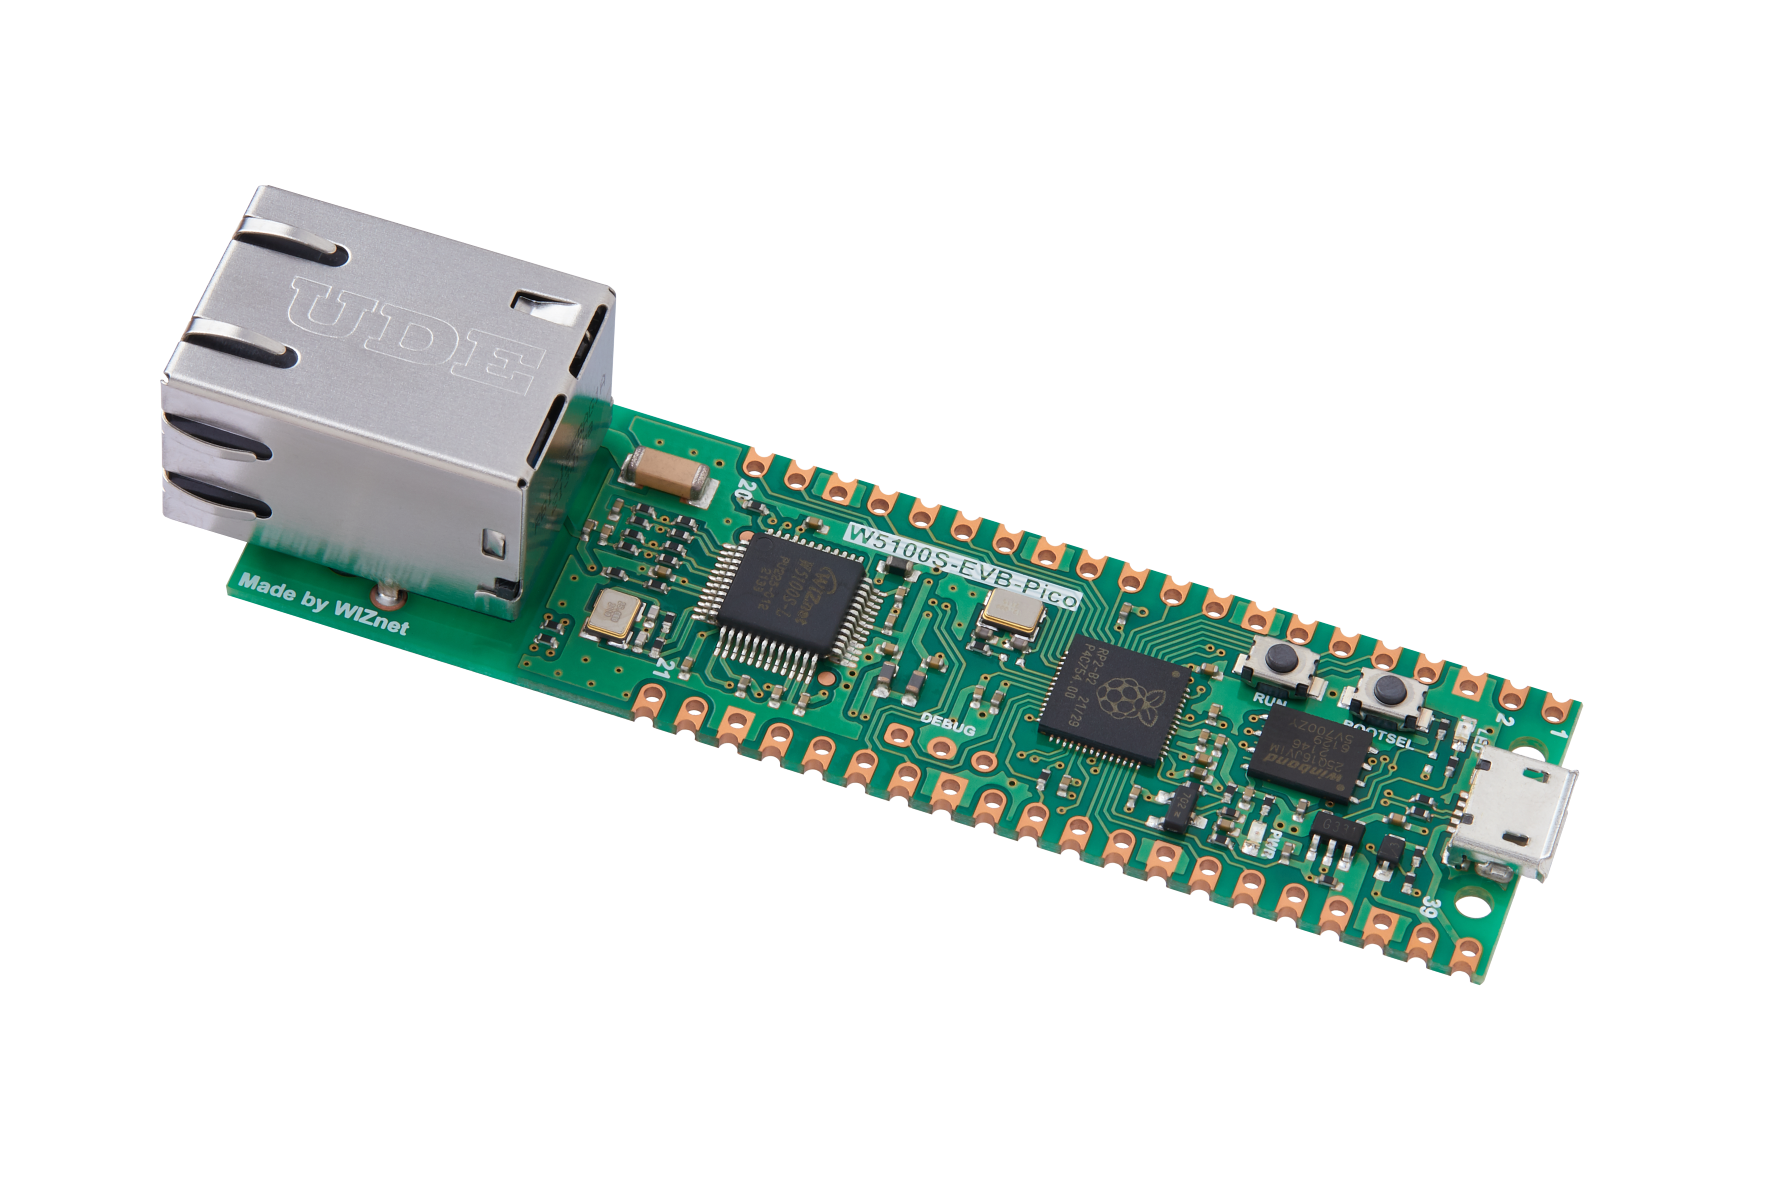
- W5100S-EVB-Pico board
- Arduino IDE
- WIZnet Ethernet library for W5100S-EVB-Pico
- A device or application configured as a UDP sender, ready to dispatch packets to the designated IP address and port of the W5100S-EVB-Pico board
Setting the Stage
Follow these steps to prepare your setup:
- Integrate the WIZnet Ethernet library for W5100S-EVB-Pico into your Arduino IDE.
- Establish a connection between your W5100S-EVB-Pico board and computer.
- Open the given example in your Arduino IDE.
- Specify the localPort variable with the port number where you plan to receive incoming UDP packets.
- Deploy the sketch onto your W5100S-EVB-Pico board.
Code
#include <SPI.h>
#include <Ethernet.h>
#include <EthernetUdp.h>

// Enter a MAC address for your controller below.
byte mac[] = {
  0xDE, 0xAD, 0xBE, 0xEF, 0xFE, 0xED
};

const int csPin = 17; // Chip Select (CS) pin for W5100S on W5100S-EVB-Pico
const int localPort = 9999; // Local port to listen on

char packetBuffer[UDP_TX_PACKET_MAX_SIZE]; // Buffer to hold incoming packets

EthernetUDP Udp;

void setup() {
  // Open the serial communications and wait for port to open:
  Serial.begin(9600);
  while (!Serial) {
    ; // wait for serial port to connect. Needed for native USB port only
  }

  // Initialize Ethernet with the CS pin:
  Ethernet.init(csPin);

  // Start the Ethernet connection using DHCP:
  Serial.println("Attempting to obtain IP address using DHCP...");
  if (Ethernet.begin(mac) == 0) {
    Serial.println("Failed to obtain IP address using DHCP");
  } else {
    // Print the obtained IP address:
    Serial.print("Successfully obtained IP address: ");
    Serial.println(Ethernet.localIP());
  }

  // Initialize the UDP instance and start listening on the local port
  Udp.begin(localPort);
}

void loop() {
  // Check if there are any incoming UDP packets
  int packetSize = Udp.parsePacket();
  if (packetSize) {
    Serial.print("Received packet of size ");
    Serial.println(packetSize);
    Serial.print("From ");
    IPAddress remoteIP = Udp.remoteIP();
    Serial.print(remoteIP);
    Serial.print(", port ");
    Serial.println(Udp.remotePort());

    // Read the packet into the buffer
    Udp.read(packetBuffer, UDP_TX_PACKET_MAX_SIZE);

    // Print the received message
    Serial.print("Contents: ");
    Serial.println(packetBuffer);

    // Clear the packet buffer
    memset(packetBuffer, 0, UDP_TX_PACKET_MAX_SIZE);
  }
}
Implementation
Once the setup is complete, it's time to put your UDP receiver into action:
- Launch the Serial Monitor within the Arduino IDE.
- The sketch initiates the process to secure an IP address via DHCP. Once accomplished, the procured IP address will be displayed in the Serial Monitor.
- The sketch will now actively listen for incoming UDP packets at the specified local port. When a packet arrives, pertinent details such as the packet size, sender's IP address, sender's port, and the contents of the packet will be revealed in the Serial Monitor.
Expected Outcome
Your Serial Monitor will reflect the following:
Attempting to obtain IP address using DHCP...
Successfully obtained IP address: 192.168.1.100
Received packet of size 20
From 192.168.1.150, port 8888
Contents: Hello, UDP Receiver!
The monitor will display the obtained IP address along with information regarding the incoming UDP packets, including packet size, sender's IP address and port, and the packet's content.
Considerations
Before you proceed, make sure:
- The remote device or application acting as a UDP sender is correctly configured to send packets to the IP address and port of the W5100S-EVB-Pico board.
- Although this example primarily demonstrates how to receive UDP packets, should you wish to transmit packets to other devices or applications, you would need to incorporate a UDP sender.
- With a seamless combination of the W5100S-EVB-Pico board, Arduino IDE, and the power of UDP, creating a streamlined network communication setup is not only possible but also efficient. Embrace the advantages of UDP and revolutionize your networking protocols.

