
Arduino Web controlled switch/relay over WiFi using arduino Ethernet shield
Arduino Web controlled switch/relay over WiFi using arduino Ethernet shield
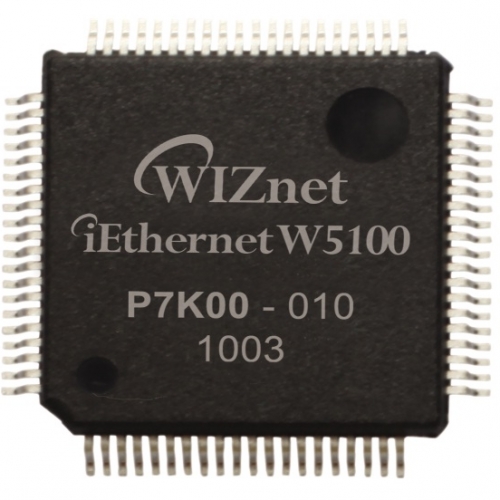
WIZnet - W5100
x 1

Arduino - Arduino UNO
x 1
As smart home technology becomes more common, the ability to control lights and appliances from a smartphone or PC is no longer futuristic. Commercial IoT solutions exist, but they often require complex setups or costly devices.
This project demonstrates that with just a few affordable components and simple code, anyone can build a web-controlled smart switch. Using an Arduino, an Ethernet Shield, and a relay module, you can transform a conventional switch into a network-enabled remote control system.
Core Idea
The concept is straightforward:
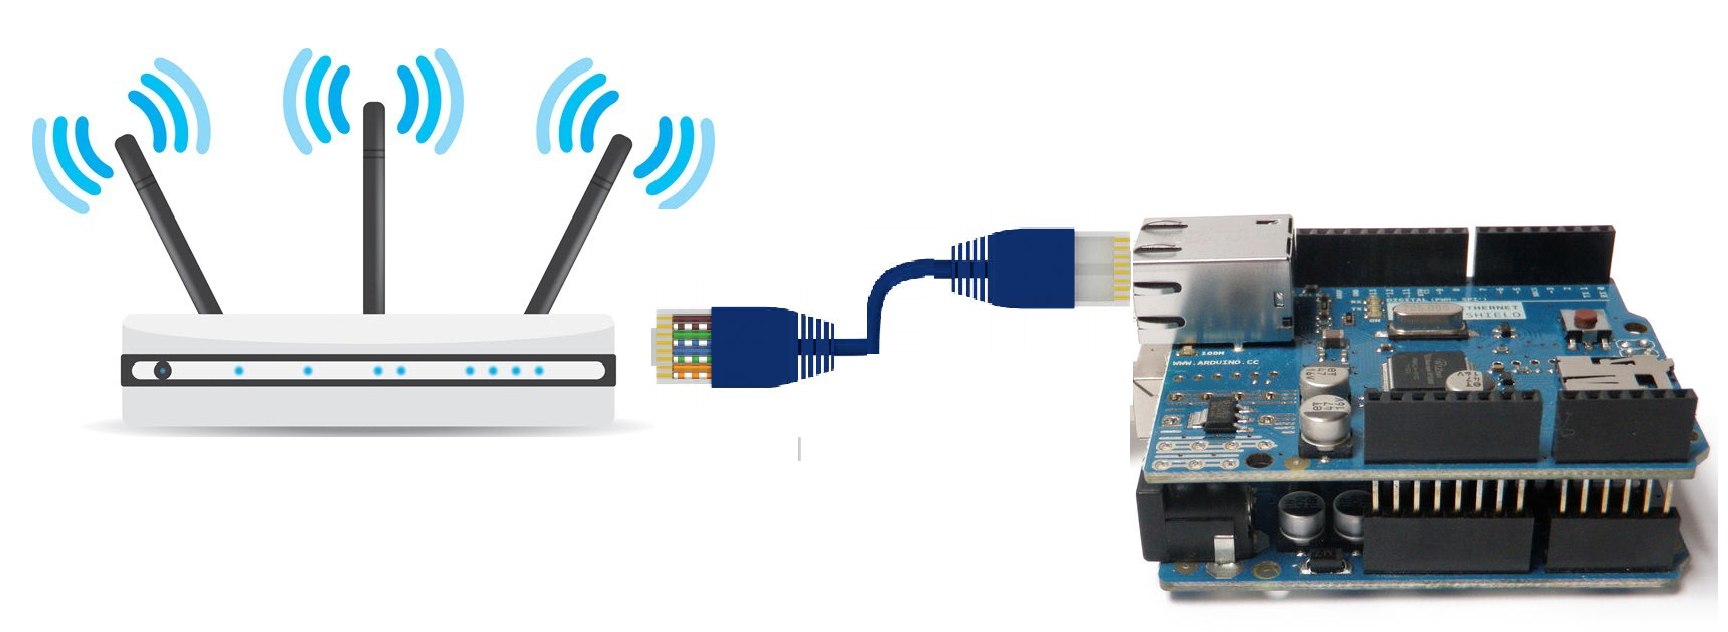
- The Arduino runs a web server through the Ethernet Shield.
- A user connects to the device’s IP address from a browser within the same network.
- The browser displays an HTML page with ON/OFF buttons.
- Clicking a button sends an HTTP request to the Arduino.
- The Arduino processes the request and toggles the relay, switching the connected device on or off.
With this setup, a simple electrical switch becomes a basic IoT smart switch.
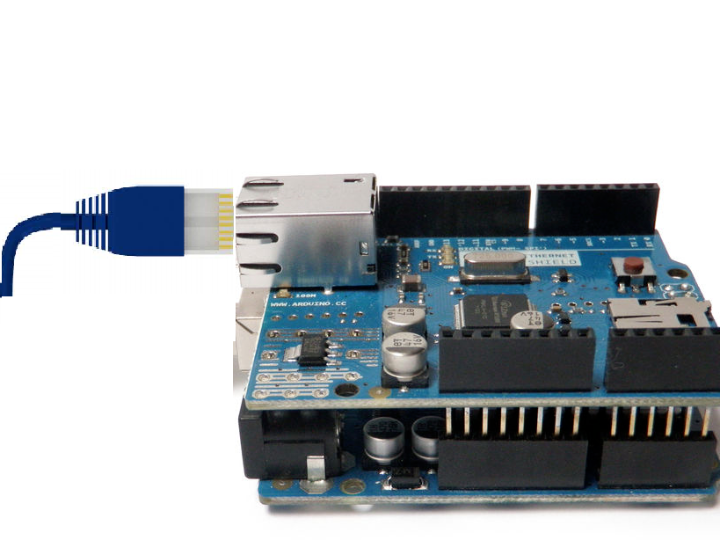
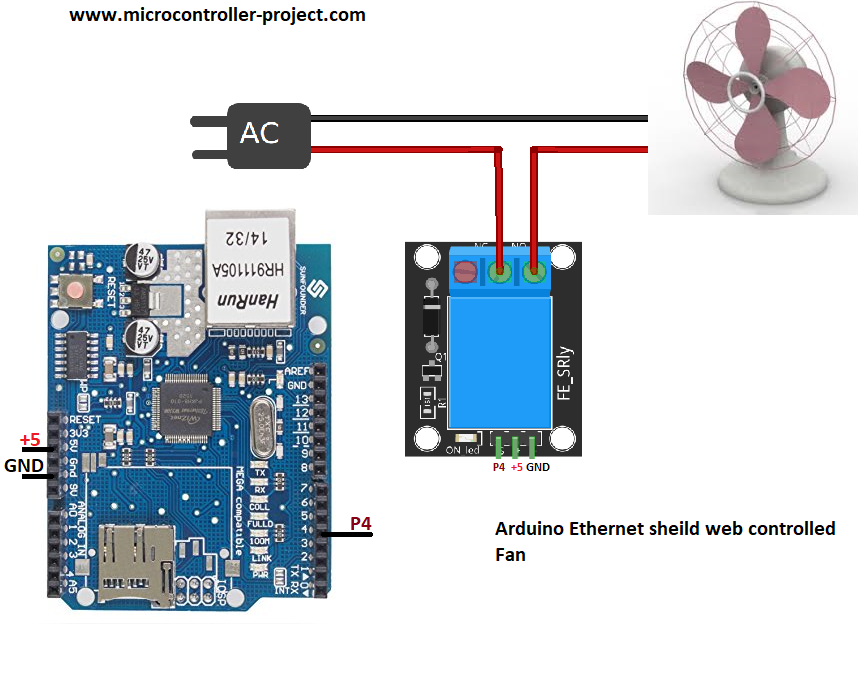
Hardware Components
- Arduino UNO (or compatible board) – the main controller.
- Ethernet Shield (W5100-based) – provides network connectivity.
- Relay Module – switches electrical loads safely.
- Power Supply – ensures stable operation.
This minimal hardware combination is sufficient to build a fully functional prototype.
How It Works
- On startup, the Arduino configures the Ethernet Shield with a static IP address and launches a lightweight web server.
- A client (PC or smartphone) connects to the IP and receives a simple HTML control page.
- The HTML page provides ON/OFF buttons; pressing one sends an HTTP GET request.
- The Arduino parses the request and sets the relay control pin HIGH or LOW.
- The relay switches the connected electrical load accordingly.
Benefits
- Educational Value – introduces concepts of networking, web servers, and hardware control in a single project.
- Practical Use – enables remote control of appliances such as lamps or fans on a local network.
- Scalability – serves as a foundation for advanced IoT systems, such as automation with sensors.
Limitations and Improvements
While the project is simple and effective, there are limitations:
- Security – no authentication or encryption; any device on the same network can access it.
- Improvement: Add password protection, HTTPS, or use MQTT with TLS.
- Functionality – currently controls a single relay.
- Improvement: Expand to multi-relay control, add status indicators, or logging.
- Hardware Constraints – the W5100 chip has limited socket connections.
- Improvement: Use the W5500 Ethernet chip for better performance.
Conclusion
This project is more than a simple tutorial—it is a gateway into IoT development. With Arduino, an Ethernet Shield, and a relay, you can experience the excitement of controlling real-world devices through a browser.
It provides a practical introduction to web-based device control, IoT basics, and smart home applications. With further refinements in security and scalability, this small project can evolve into a powerful smart home automation system.