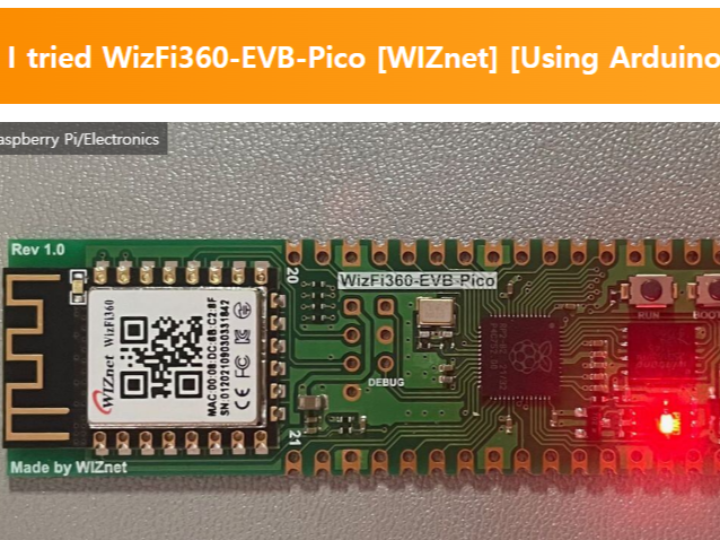
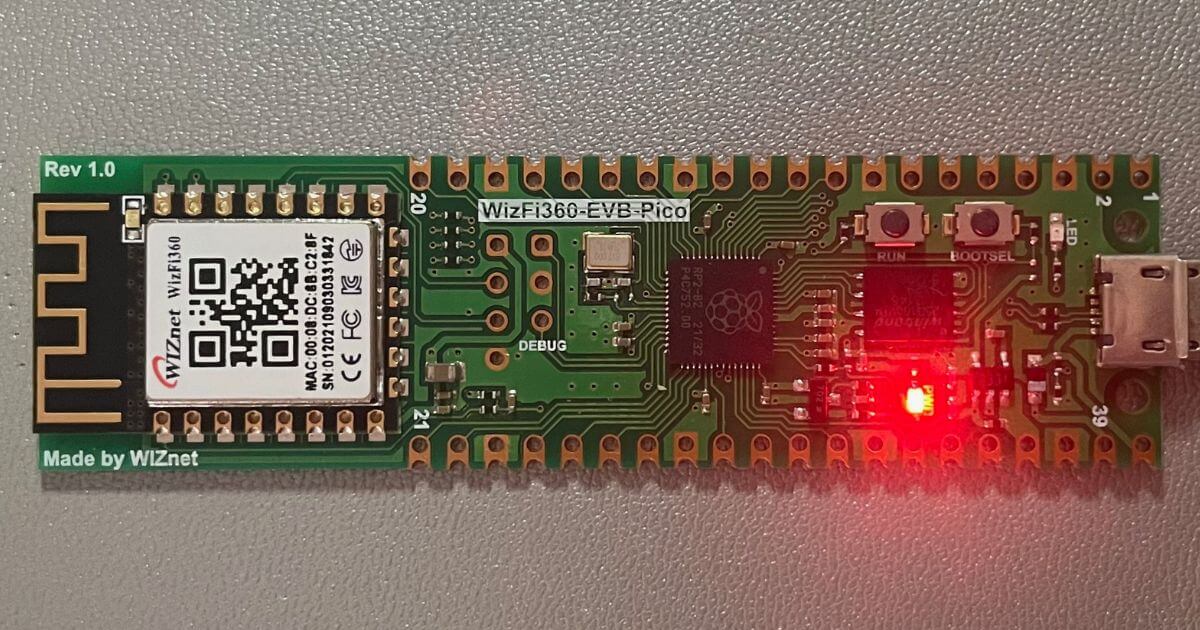
Hello, I'm Arocchi.
With the advent of Raspberry Pi Pico W, the RP2040 (Raspberry Pi Pico) is now equipped with Wi-Fi. Pico compatible boards are available.
I just got this one and would like to introduce it to you.
With the advent of Raspberry Pi Pico W, the RP2040 (Raspberry Pi Pico) is now equipped with Wi-Fi. Pico compatible boards are available.


Hello, I'm Arocchi.
With the advent of Raspberry Pi Pico W, the RP2040 (Raspberry Pi Pico) is now equipped with Wi-Fi. Pico compatible boards are available.
I just got this one and would like to introduce it to you.
| MCU | RP2040 dual-core ARM Cortex M0+ processor, up to 133 MHz operating frequency |
| flash memory | 2MB |
| GPIOs | 26 (pinout compatible with Raspberry Pi Pico) |
It will be a so-called skill-compliant module.
| WizFi360-PA (PCB Antenna) | Construction design certification number: 022-190204You can access the product page from the QR code on the box. You can check it from the link below. Click the link below for "J-MIC (TELEC)" in the WizFi360 > DataSheet page・WizFi360-PA Certification (Construction Design Certificate (pdf)) Features IEEE802.11 b/g/n SoftAP, Station, SoftAP+ Support Station mode Serial port baud rate up to 2Mbps |
WizFi360-PA
RP2040 board summary article (reference site)
box
table
back
If you press the reset button while pressing the BOOT button, it will enter USB mass storage mode (RPI-RP2).
When in USB mass storage mode, you can install MicroPython or CircuitPython firmware from your PC.
Please refer to the following articles for how to install MicroPython and CircuitPython firmware.
You can use the firmware of Raspberry Pi Pico.
Add Raspberry Pi Pico/RP2040 board ( earlephilhower version ) in advance.
See the article below for how to add.
Install the Raspberry Pi Pico/RP2040 board by clicking Tools > Boards > Board Manager and entering 'rp2040' in the search box.
Select [Tool] > [Board] > [Raspberry Pi RP2040 Boards(Ver)] > [WIZnet WizFi360-EVB-Pico].
Select the serial port to which WizFi360-EVB-Pico is connected from [Tools] > [Serial Port].
If you have an environment that cannot write from a serial port, such as a Chromebook, you can write sketches manually.
The library for WizFi360-EVB-Pico is below (GitHub).
https://github.com/Wiznet/WizFi360_arduino_library/tree/WizFi360-EVB-Pico
Download the ZIP file from Code > Download ZIP .
Arduino IDE
Sketch > Include Library > Install .ZIP Library…
Click.
Select the downloaded ZIP file to install.
Arduino IDE File > Example Sketch > Try some WizFi360 sketches.
Open the example sketch ConnectWPA .
Replace the following (Wi-Fi information) with the Wi-Fi information of the connection destination and write the sketch.
/* Wi-Fi info */
char ssid[] = "wiznet";       // your network SSID (name)
char pass[] = "0123456789";   // your network password
You can check the information of the connected Wi-Fi from the serial monitor.
Sketch example Open WebServerAP and write a sketch.
WizFi360-EVB-Pico is WebServer, so try to connect.
Tap wiznet from Wi-Fi.
Enter "0123456789" for the password and tap "Connect".
If you open the wiznet information (tap the i mark), you can see that the IP address (router) is "192.168.36.1".
When you access http://192.168.36.1 from your browser , the following is displayed.
Also, the serial monitor of the Arduino IDE is displayed as follows.
Similar projects you might like
A battery-powered portable network tester using WIZnet W5500-EVB-Pico2 to instantly verify Ethernet port connectivity and DHCP configuration.
Pocket-Sized Network Tester with W5500-EVB-Pico2 and OLED Display
Benjamin0
3604
0
Leverge eyes UI to show clock/time info
Artistic clock running on WizFi360-EVB-Pico
teamprof0
1874
0
ESP32-Wiznet-W5500-SSL-Micropython
ESP32-Wiznet-W5500-SSL-Micropython
Grace_Koo0
517
0
w5500-ros2driver
w5500-ros2driver
mason0
313
0
This project provides a production-ready MicroPython firmware for the ESP32-H2-MINI-1, enabling 100Mbps Ethernet via WIZnet W5500.
Why W5500 in ESP32-H2 MicroPython Firmware? (Production-Ready)
Benjamin0
137
0
Previewing upcoming lwIP zero-copy optimization (#17447) and new chip support roadmap.
Preview: MicroPython WIZnet lwIP Zero-Copy & Roadmap
Grace_Koo0
154
0