MicroPython W5500 Lab: Ping‑Test Principle & Hands‑on Practice Explained
It covers ping principle and complete hands‑on experiment for W5500 Ethernet module under MicroPython.
Ping Test Experiment
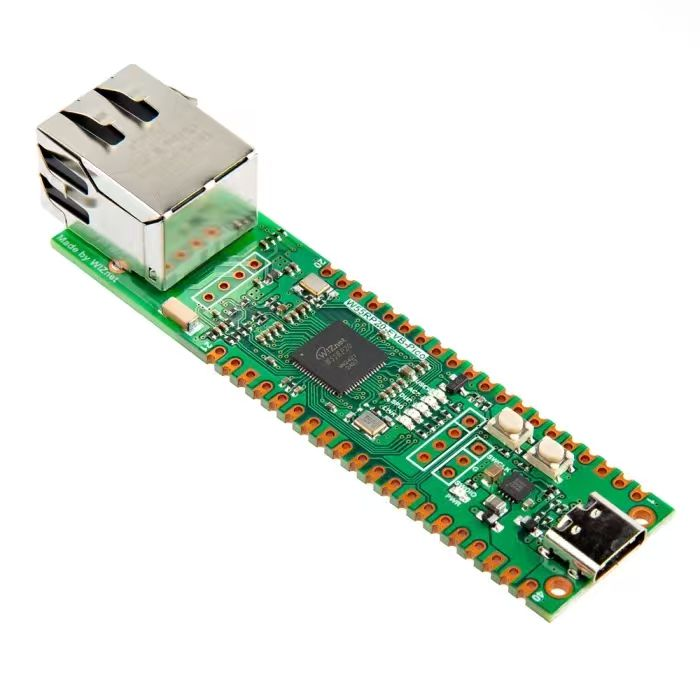
In this experiment, we perform a ping test. The Raspberry Pi Pico controls the W5500 chip to establish network connection with user‑configured static IP address. Then we use the ping command on a PC to test connectivity and network latency.
Ping test is a widely‑used network diagnostic tool for checking network reachability and delay. The basic working principle of ping is as follows:
Send ICMP Echo‑Request The ping utility sends an ICMP (Internet Control Message Protocol) Echo‑Request packet to the target device.
Wait for response After receiving the request, the target device replies with an ICMP Echo‑Reply packet.
Calculate time Ping records the time interval between sending the request and receiving the reply, usually measured in milliseconds (ms).
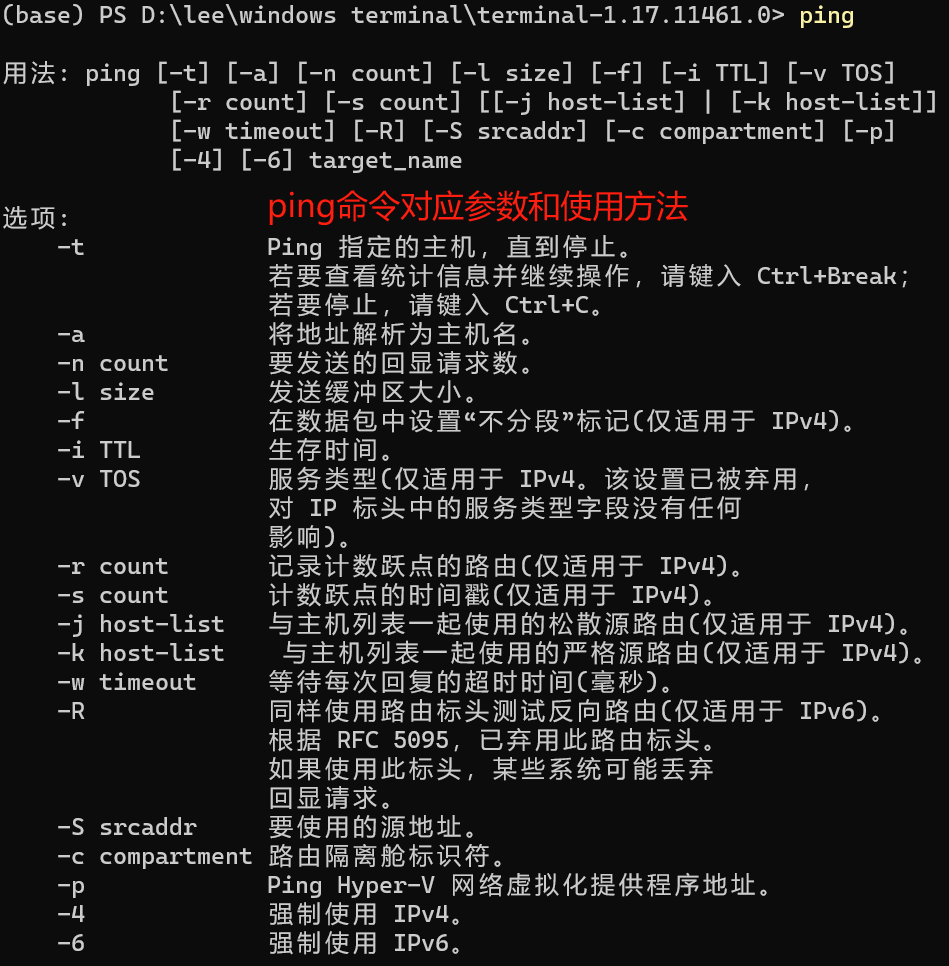
You can open a terminal and run ping commands directly to complete ping tests.
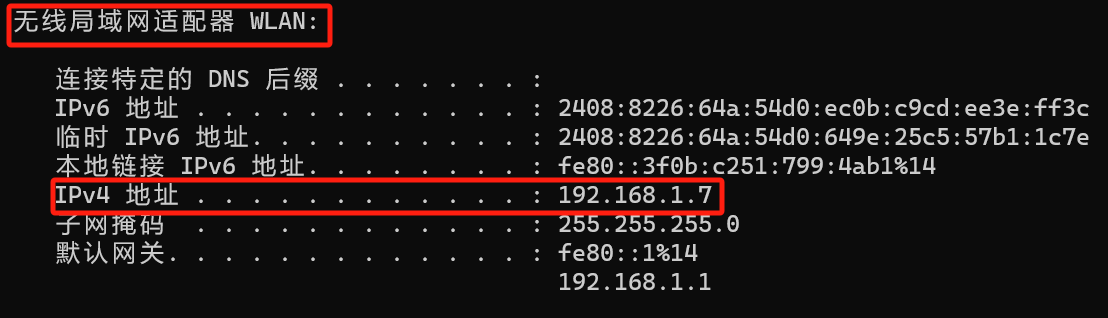
First, run the ipconfig command to view detailed network‑adapter information including IP address, subnet mask, default gateway and other network‑configuration parameters.
The section titled Ethernet adapter Ethernet shows configuration for the computer’s wired Ethernet connection. In this example, the host PC IP is 192.168.1.6. If you connect the W5500 module directly to your PC via an Ethernet cable, this value is your host address. If your PC connects via Wi‑Fi to the same router as the W5500 module, use the IPv4 address shown under Wireless LAN adapter WLAN as your host address.
Configure the W5500 module with the same subnet mask and default gateway as the host PC.
Now ping the host PC by executing ping 192.168.1.6.
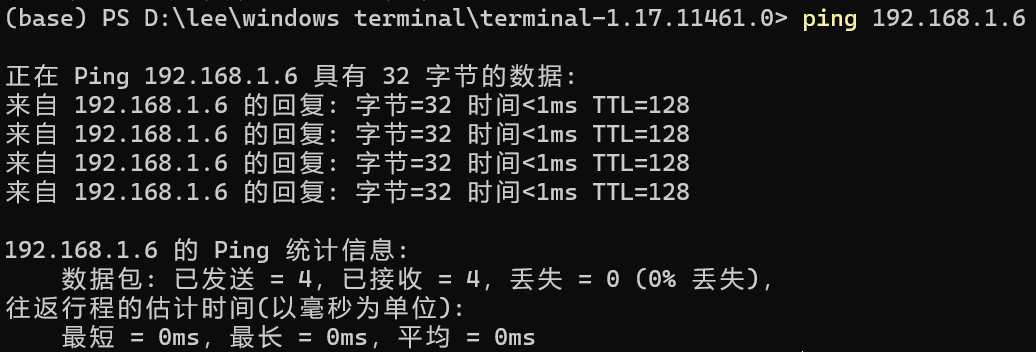
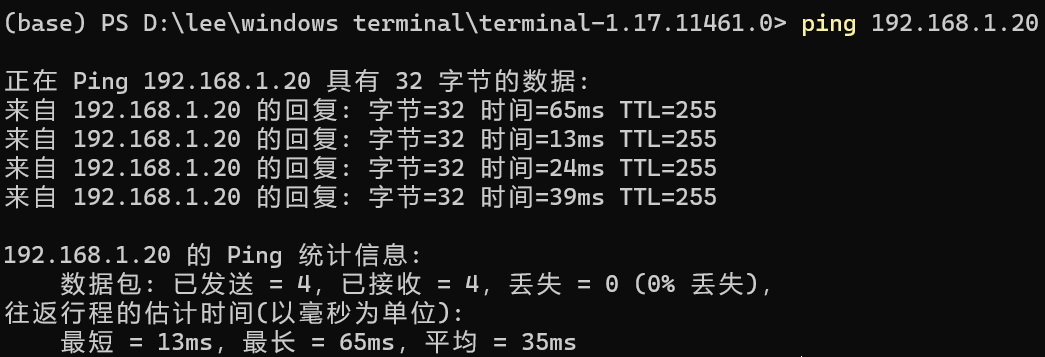
Several fields appear in the returned results:
Packet size Size of transmitted packet, typically 32 bytes.
time Round‑trip time from request transmission to reply reception.
TTL Time to Live Maximum hop count for packets travelling across networks; it reflects the approximate number of routers the packet passes through.
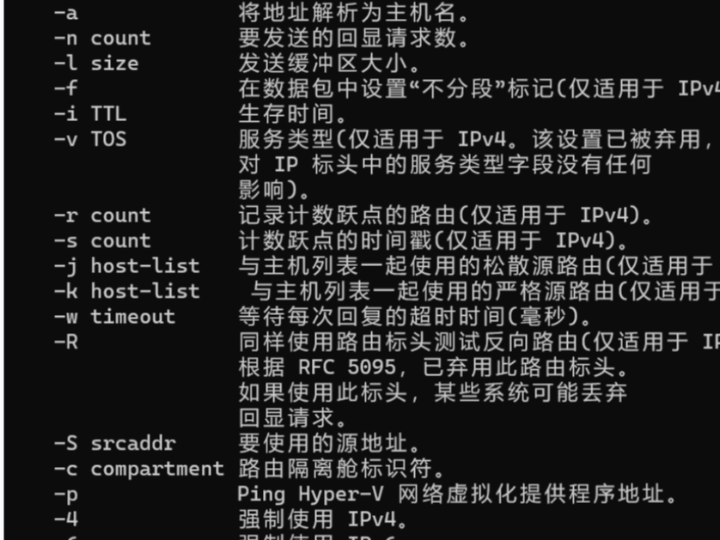
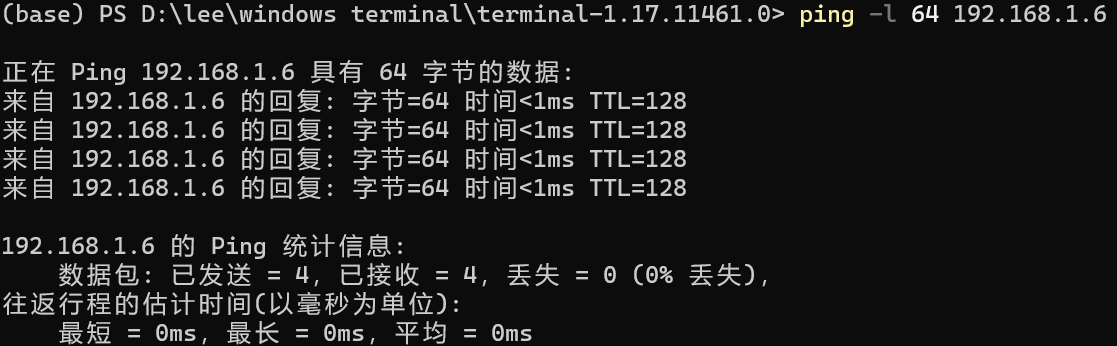
Use the -l data_size parameter to specify custom packet size: ping -l 64 192.168.1.6
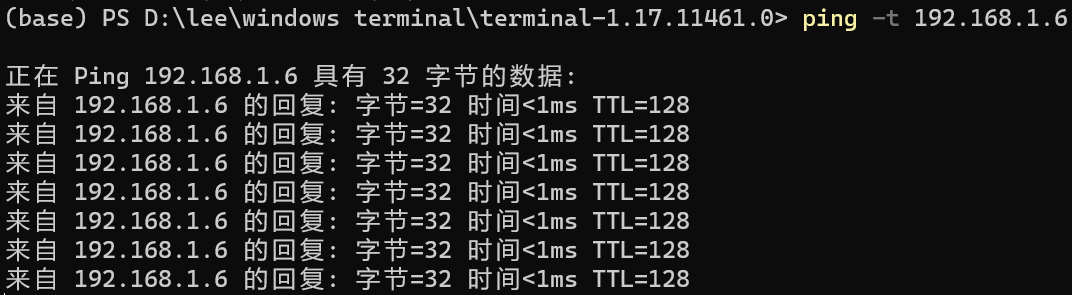
Use the -t argument to run continuous ping: ping -t 192.168.1.6
The sample code below can be found in the provided resource package under path elegance‑devkit v1\Demo\40 ETH_TCP_Ping.
We will initialize the W5500 Ethernet chip, set static IP and other network parameters, and test network connectivity repeatedly with ping from terminal.
# Python env   : MicroPython v1.23.0 on Wiznet W5500
# -*- coding: utf-8 -*-
# @Time    : 2024/8/6 10:17 PM
# @Author  : Li Qingshui
# @File    : w5x00_Ping_Test.py
# @Description : Ethernet experiment, perform ping test
# ======================================== Import modules ========================================
# Import socket module
from usocket import socket
# Import hardware‑related modules
from machine import Pin,SPI
# Import network‑related modules
import network
# Import time‑related modules
import time
# ======================================== Global variables ============================================
# ======================================== Function definitions ============================================
# Initialize network interface
def w5x00_init() -> network.WIZNET5K:
    """
    Initialize network.WIZNET5K instance, configure static IP and bring‑up network connection.
    Args:
        None
    Returns:
        network.WIZNET5K: Initialized and connected network.WIZNET5K object.
    Raises:
        None
    """
    # Initialize SPI object
    spi = SPI(0, 2_000_000, mosi=Pin(19), miso=Pin(16), sck=Pin(18))
    # Instantiate network.WIZNET5K, pass CS chip‑select pin and RST reset pin
    nic = network.WIZNET5K(spi, Pin(17), Pin(20))
    # Enable network interface
    nic.active(True)
    # Set static IP configuration: host‑ip, subnet‑mask, gateway, dns‑server
    nic.ifconfig(('192.168.1.20', '255.255.255.0', '192.168.1.1', '8.8.8.8'))
    # Wait until network link is up
    while not nic.isconnected():
        time.sleep(1)
        # Print register debug information
        print(nic.regs())
    # Print applied network parameters
    print("IP Address:", nic.ifconfig()[0])
    print("Subnet Mask:", nic.ifconfig()[1])
    print("Gateway:", nic.ifconfig()[2])
    print("DNS:", nic.ifconfig()[3])
    # Return WIZNET5K instance
    return nic
# ======================================== Custom classes ============================================
# ======================================== Initial setup ==========================================
# 3‑second delay for power‑on stabilization
time.sleep(3)
# Print debug banner
print("FreakStudio : Using W5x00 Ethernet to do Ping Test")
# Configure LED output
led = Pin(25, Pin.OUT)
# Bring‑up network interface
nic = w5x00_init()
# ======================================== Main program loop  ===========================================
while True:
    # Toggle LED to indicate program running
    led.value(1)
    time.sleep(1)
    led.value(0)
    time.sleep(1)
    # Prompt user to run ping against device IP from PC terminal
    print("try ping", nic.ifconfig()[0])
When choosing static host IP for W5500, you can use Advanced IP Scanner to scan active devices inside the local subnet and pick an un‑occupied IP address for the chip.
In this lab we use 192.168.1.20 as W5500 device IP. Flash the firmware and open remote serial terminal.
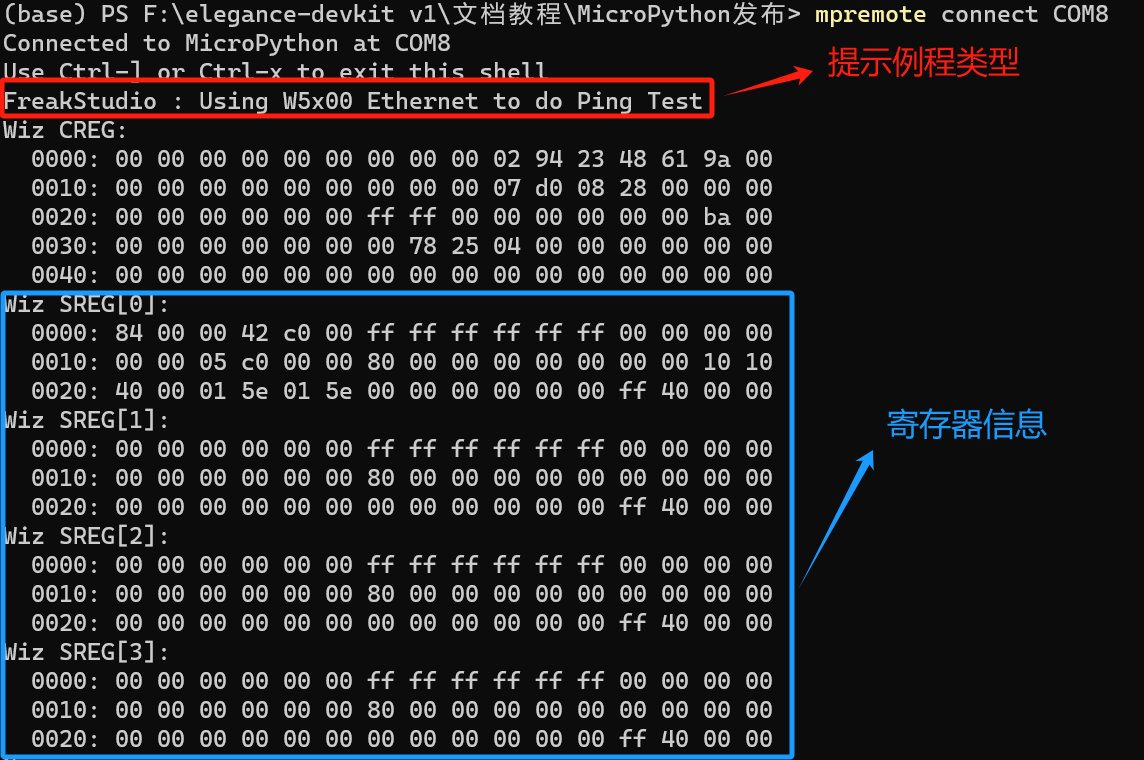
Debug output prints W5500 register contents which help troubleshooting:
Wiz CREG General‑purpose control registers of W5x00 chip, storing fundamental configuration such as hardware version and MAC address, read during initialization.
Wiz SREG[0]‑[3] Socket‑related register sets for W5x00. Each socket owns its dedicated register bank; output shows status for four sockets here.
Then the configured static IP values are printed. After successful link establishment, the debug log prints try ping 192.168.1.20.

Open another terminal window on PC and execute ping 192.168.1.20. You will observe successful ping replies confirming connectivity.