Embedded 101: Thonny Quick Start — MicroPython for Pico Zero Configuration
It introduces Thonny IDE for beginners, and explains its setup for MicroPython development on Raspberry Pi Pico.
COMPONENTS
PROJECT DESCRIPTION
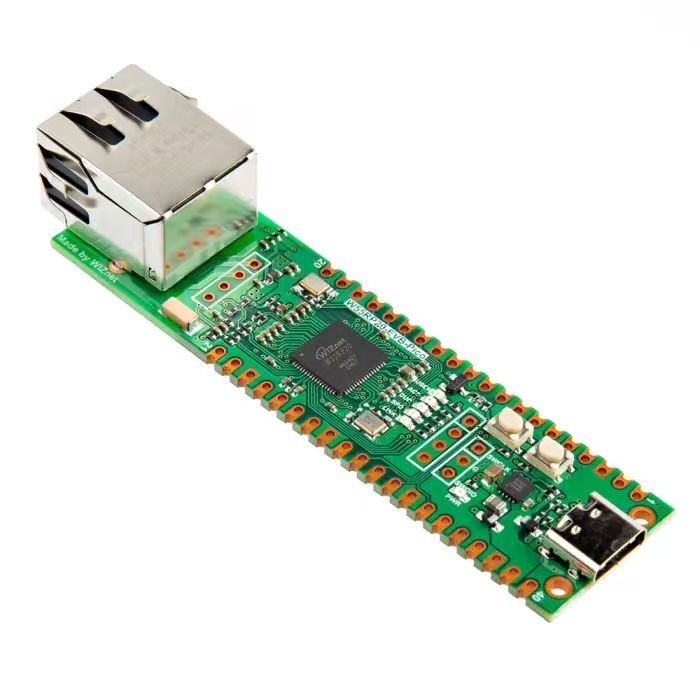
【Preliminary Note】The original hardware example in this article was written based on the RP2040. The actual hardware used in this hands-on demonstration features the W55RP20 as the main controller chip. The circuit logic and UF2 flashing operation principles are universally applicable, with only the main controller model differing. The original chip model mentioned in the circuit descriptions below is provided for reference purposes only.
Thonny is a new Python IDE designed for learning and teaching programming, which makes program visualization a natural part of the beginner's workflow. Its notable features include different ways to step through code, step-by-step expression evaluation, intuitive visualization of the call stack, and modes for explaining concepts of references and heaps. It supports educational research by recording user operations to replay or analyze the programming process. It is free to use and open for extension.
It has the following characteristics:
It supports all platforms (Windows, Mac, Linux)
It supports Simplified Chinese, which is very friendly to students who are not good at English.
It features a simple and straightforward interface, with all its built-in functions fully designed for beginners.
It comes with Python 3 built in, so beginners don't need to install Python separately or configure the environment additionally.
Its debugging interface is extremely intuitive, and it can outperform 90% of the editors on the market by a large margin.
One of its highlights is that it provides a debugging mode with finer granularity than lines of code.
It supports syntax highlighting, which should be a basic feature.
It supports code completion (unfortunately, it is not automatic but manual)
It comes with a built-in graphical package manager that is extremely simple and user-friendly.
For the download and installation of Thonny, you can refer to the tutorial:
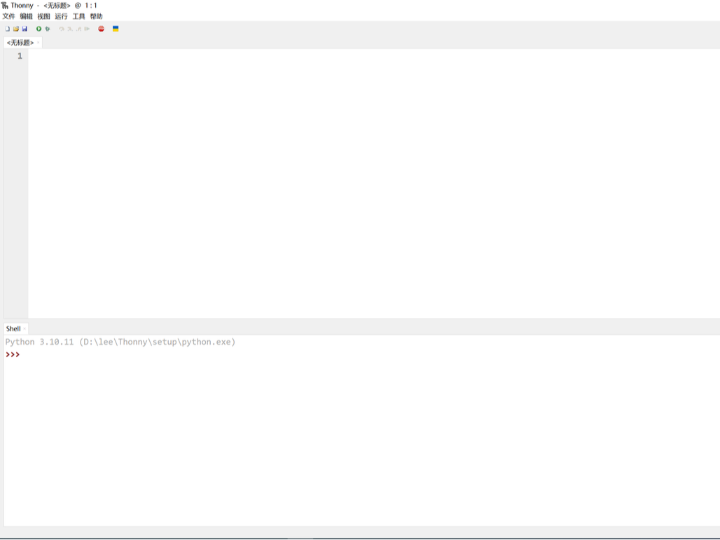
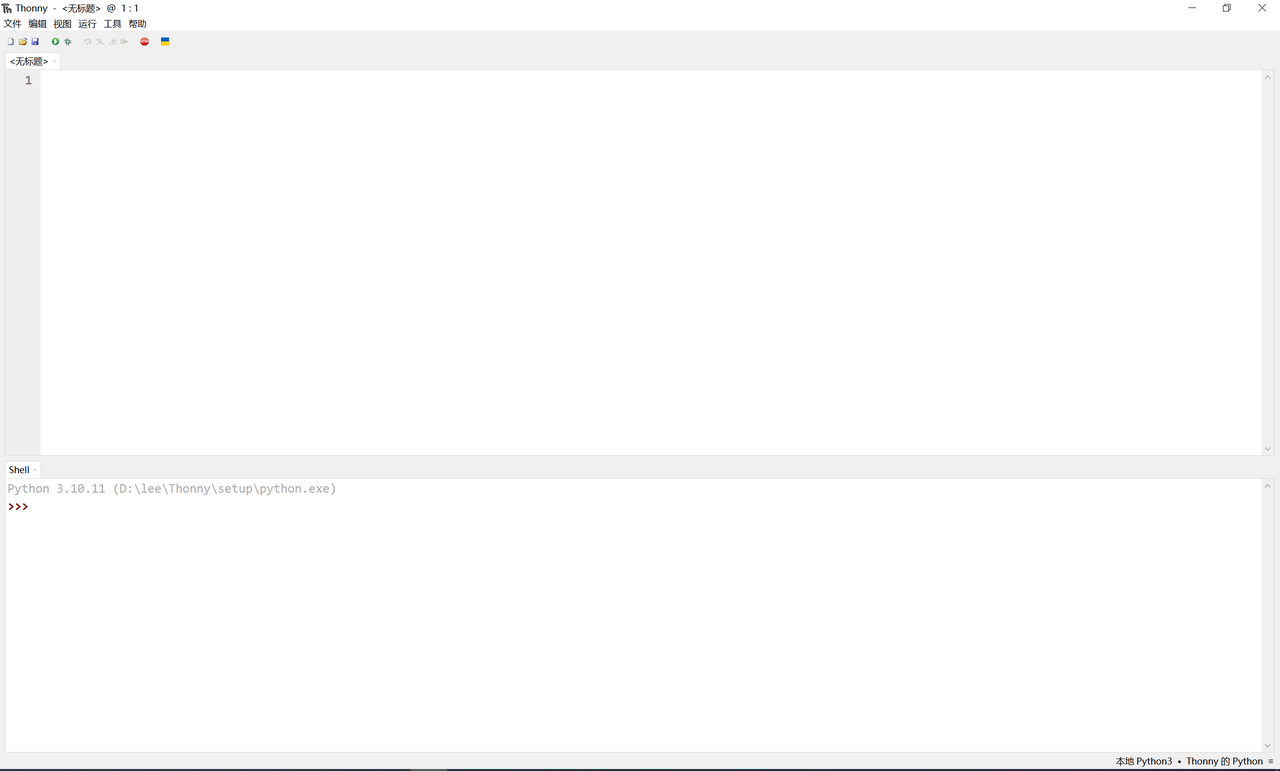
After the download and installation are complete, we first open the Thonny IDE:
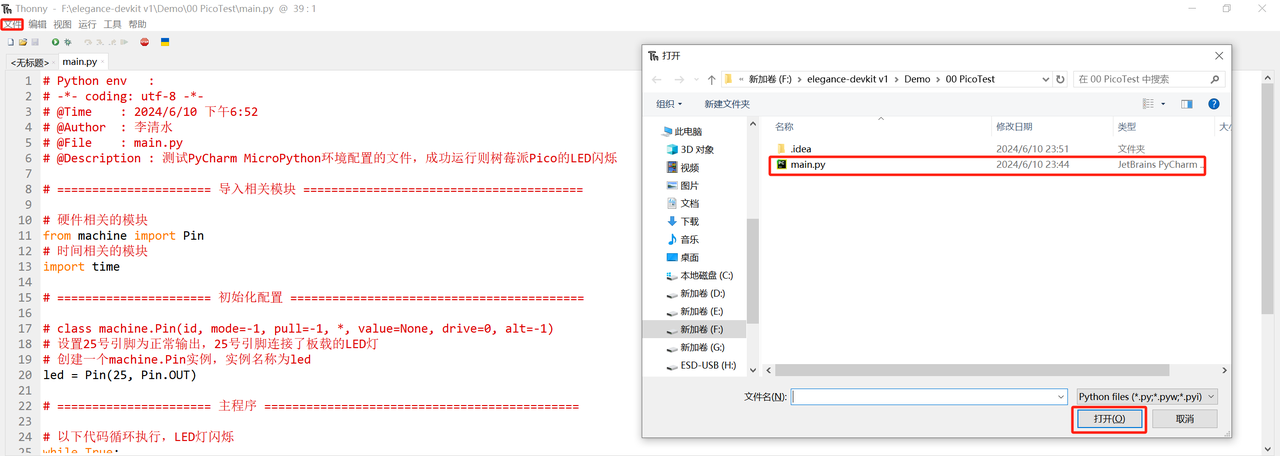
Open the MicroPython code file in Thonny
Then open our MicroPython program, using the same path as the one used in PyCharm above:
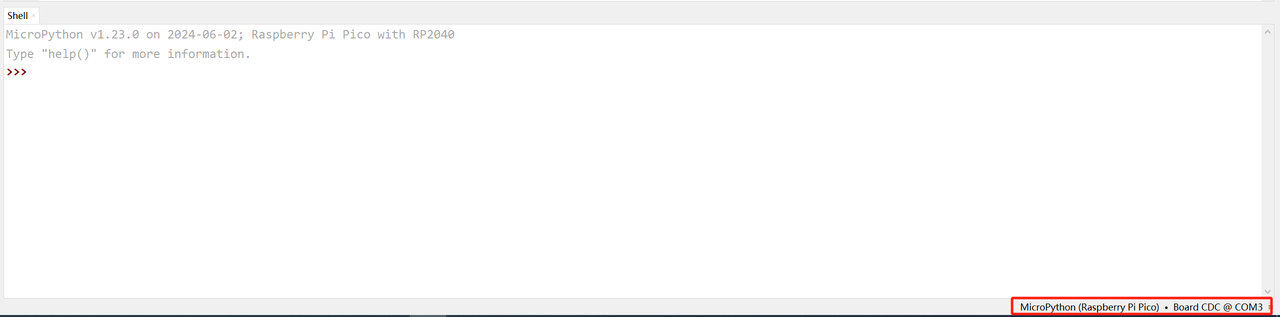
MicroPython REPL Interactive Environment
Then click the Python version number in the bottom right corner of Thonny, and select the corresponding Python interpreter: MicroPython (Raspberry Pi Pico):
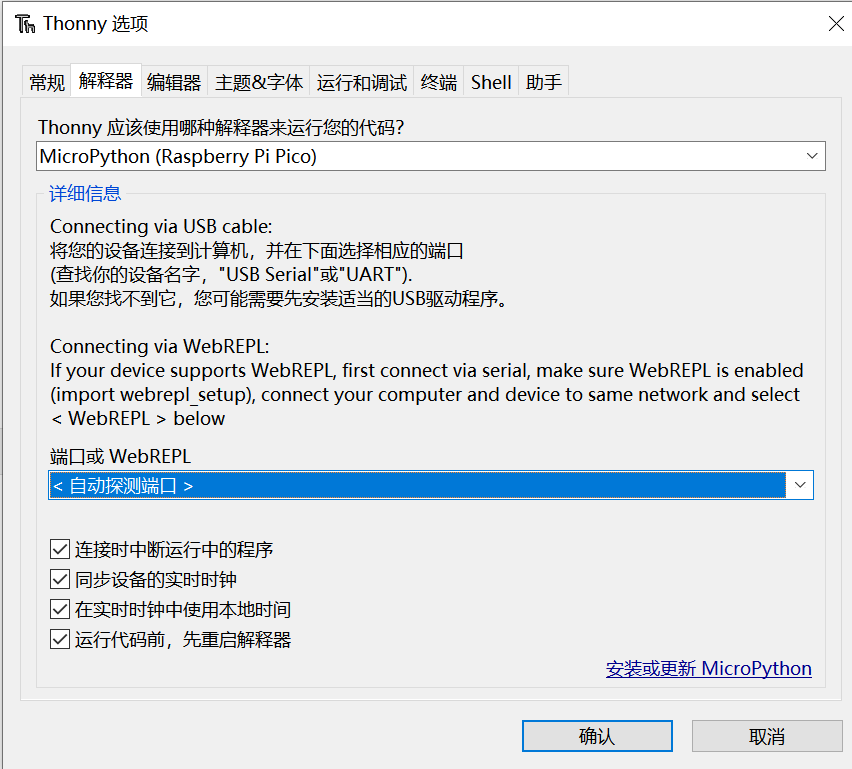
Click to configure the interpreter, and just configure it as follows:
Thonny Interpreter Configuration Interface
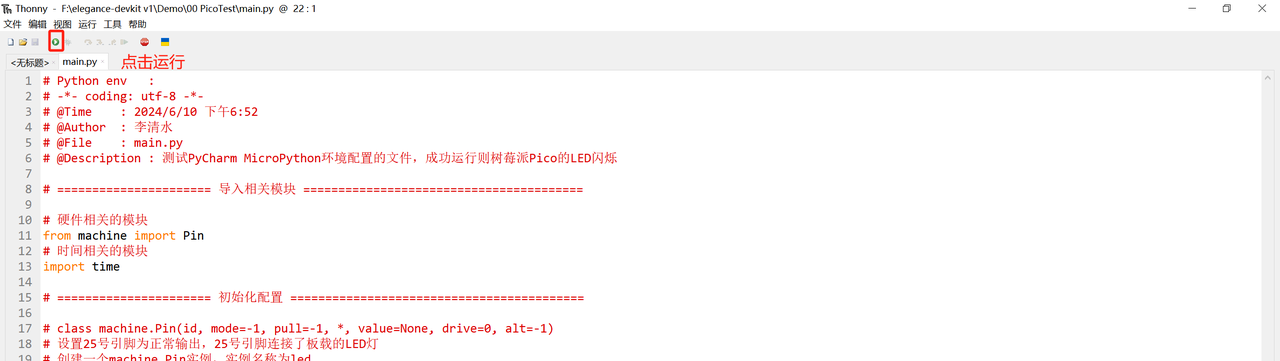
Click the Run button in the upper left corner:
Run MicroPython code in Thonny
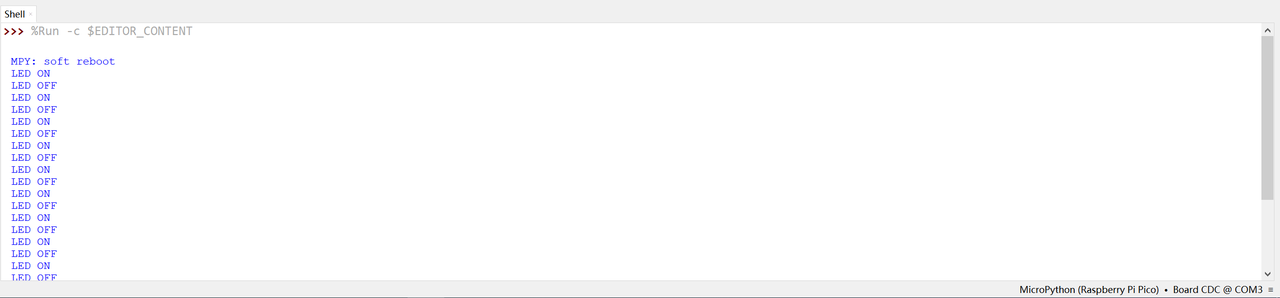
You can see the LED blinking, while the terminal outputs debug information:
MicroPython Code Execution Log
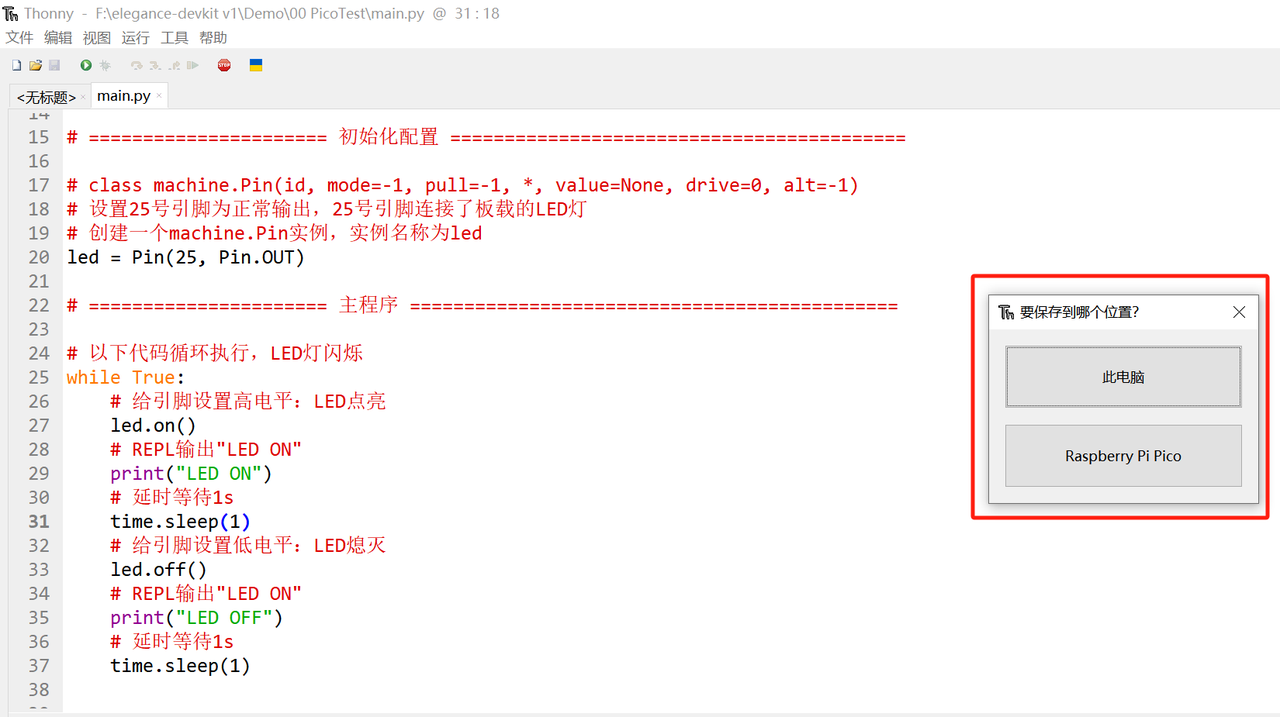
Use the "Save As" option in the file to save the test program. At this point, you need to select a storage location:
This PC
Raspberry Pi Pico
Save code to Raspberry Pi Pico in Thonny
You can choose different storage locations, and just select the corresponding storage space when reopening it later.
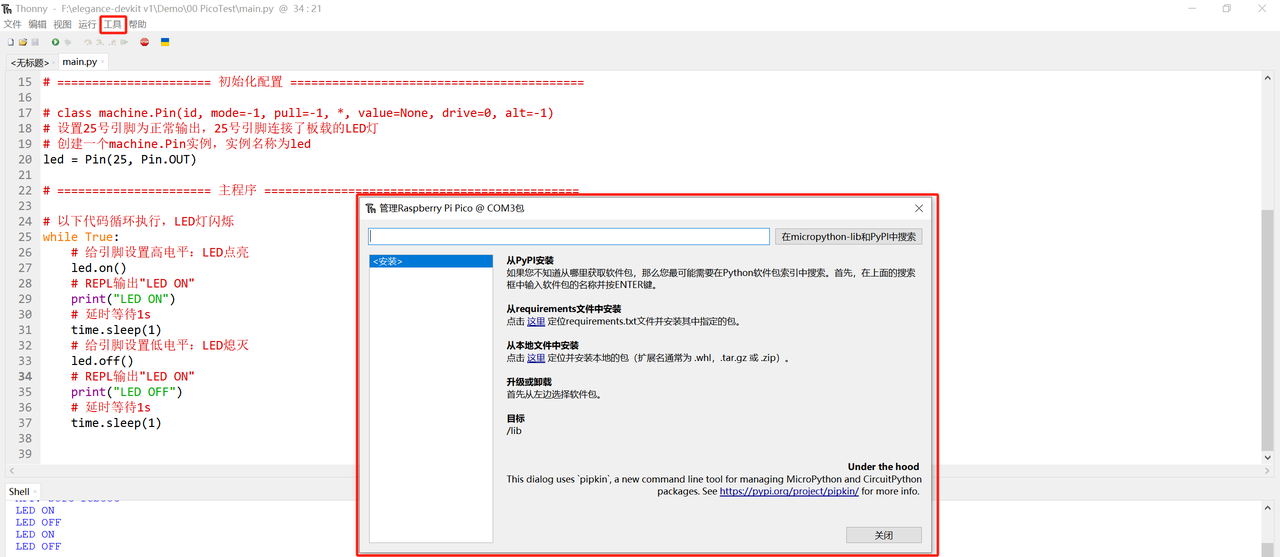
Thonny comes with a visual package manager that makes it easy for beginners to install and uninstall various third-party Python packages. To open it, just click "Tools" -> "Manage Packages" at the top of the IDE:
Manage packages for Raspberry Pi Pico in Thonny
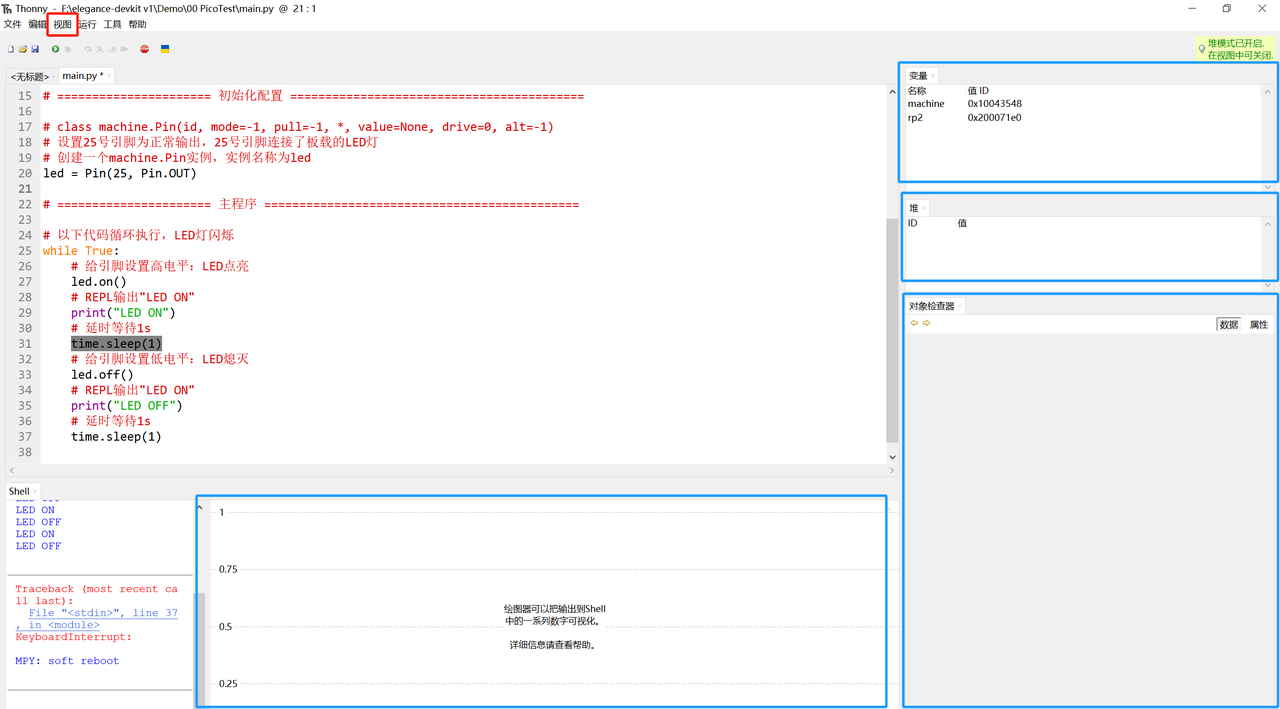
In addition, we can click on the View option at the top of the IDE to display multiple windows such as Plotter, stack, Variables, and Object Inspector to facilitate program debugging: