Embedded 101: Pico GPIO Interrupts – LED Control, Far More Efficient Than Polling
It shows GPIO external interrupt experiment on Fengya No.1 board to toggle LED, including debounce, type annotation and PEP8 coding standards.
COMPONENTS
PROJECT DESCRIPTION
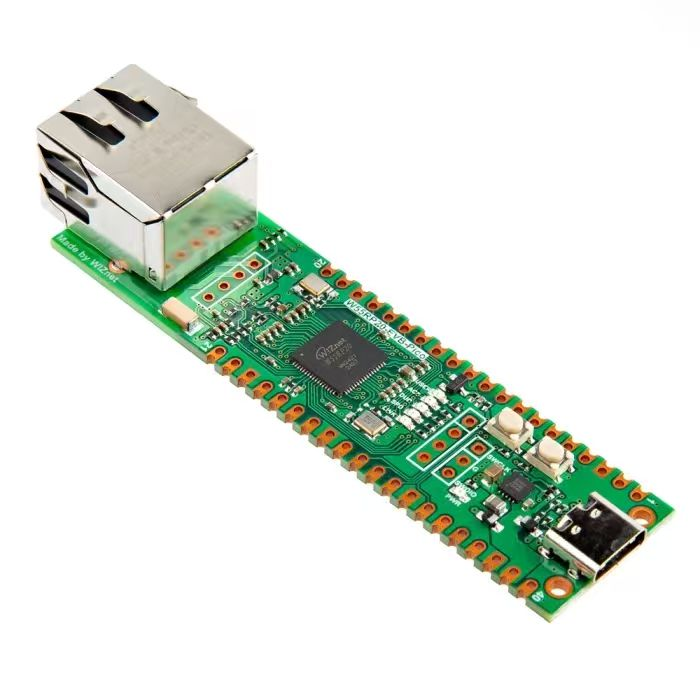
【Preliminary Note】The original hardware example in this article was written based on the RP2040. The actual hardware used in this hands-on demonstration features the W55RP20 as the main controller chip. The circuit logic and UF2 flashing operation principles are universally applicable, with only the main controller model differing. The original chip model mentioned in the circuit descriptions below is provided for reference purposes only.
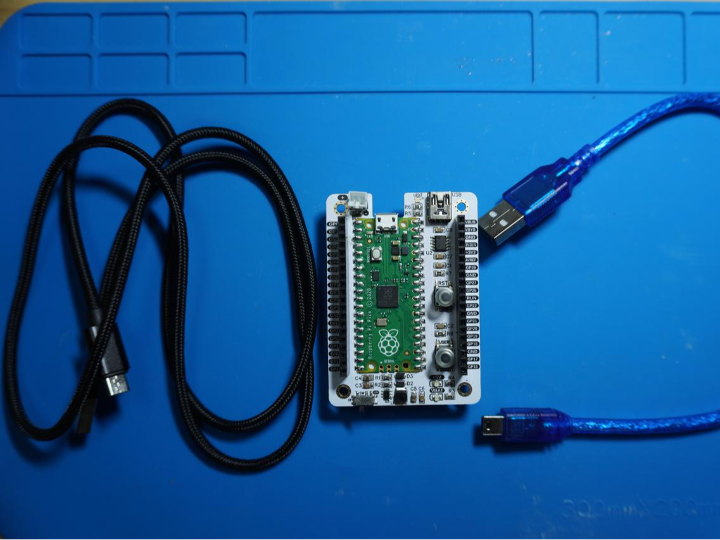
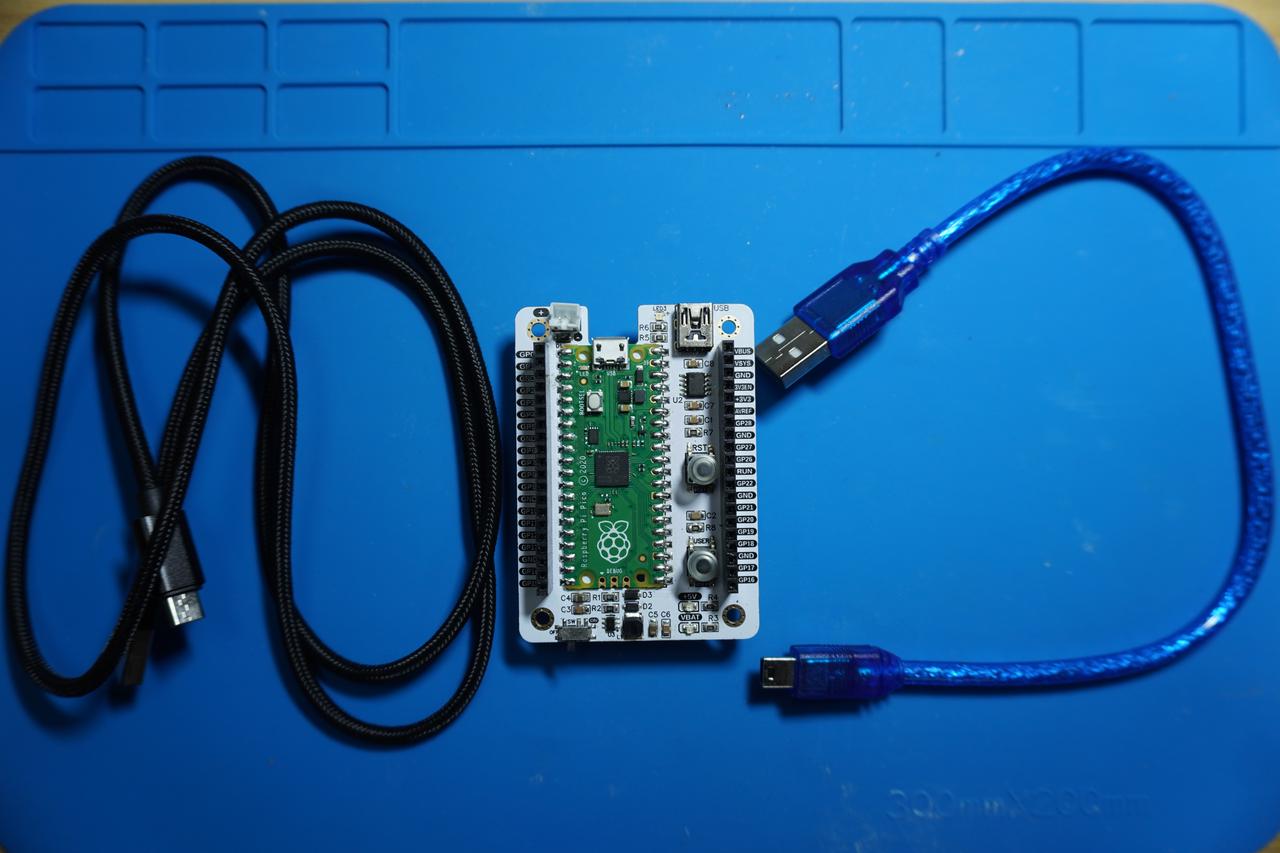
In the following experiment, we use Fengya No. 1 Board - Universal Compatible Expansion Board.
When using external interrupts, we need to specify which pins will be used for interrupts, the conditions for triggering the interrupts, and the operations to be performed after the interrupts are responded to.
In the following code, we set GPIO22 as a key input pin with pull-up resistor enabled, configure GPIO22 to generate a falling-edge triggered interrupt, and execute the handle_interrupt function after the interrupt is responded to, which toggles the value of led_state and the status of the LED, and prints the LED status information during the interrupt.
In the main program's while loop, debug information is output "Waiting for button press. ..". The main loop will not interfere with the execution of interrupts, which are triggered by hardware and respond in real time.
The sample code is as follows, which is located in the folder of the supporting materials: elegance-devkit v1\Demo\02 GPIO_EXTI:
# Python env   : MicroPython v1.23.0
# -*- coding: utf-8 -*-
# @Time    : 2024/6/14 上午11:10
# @Author  : 李清水
# @File    : main.py
# @Description : GPIO外部中断实验,完成按键按下切换LED点亮/熄灭任务

# ======================================== 导入相关模块 ========================================

# 硬件相关的模块
from machine import Pin
# 时间相关的模块
import time

# ======================================== 全局变量 ============================================

# LED状态标志位:True 表示点亮,False 表示熄灭
led_state: bool = False

# ======================================== 功能函数 ============================================

def handle_interrupt(pin: Pin) -> None:
    """
    GPIO外部中断的回调函数,用于切换LED的点亮/熄灭状态。

    中断触发后,先进行按键消抖处理。确认按键仍然按下后,
    根据当前LED状态切换为点亮或熄灭,并打印状态信息。

    Args:
        pin (Pin): 触发中断的GPIO引脚实例。

    Returns:
        None
    """
    # 声明全局变量
    global LED
    global led_state

    # 消抖处理:延时50ms
    time.sleep_ms(50)

    # 再次确认按键是否仍然按下(GPIO引脚电平为低)
    if pin.value() == 0:
        # 切换LED状态
        led_state = not led_state
        if led_state:
            # LED 点亮
            LED.on()
            print("The LED is ON")
        else:
            # LED 熄灭
            LED.off()
            print("The LED is OFF")

# ======================================== 初始化配置 ==========================================

# 上电延时3s
time.sleep(3)
# 打印调试消息
print("FreakStudio: Using GPIO EXTI interrupt to toggle LED")

# 设置GPIO 22 为按键输入引脚,启用上拉电阻
KEY = Pin(22, Pin.IN, Pin.PULL_UP)
# 设置GPIO 25为LED输出引脚,下拉电阻使能
LED = Pin(25, Pin.OUT, Pin.PULL_DOWN)

# 配置KEY的中断:中断回调函数为handle_interrupt,下降沿触发
KEY.irq(handler=handle_interrupt, trigger=Pin.IRQ_FALLING)

# ======================================== 主程序 ============================================

# 主循环:程序空闲时输出按键状态信息
while True:
    # 等待中断触发,打印调试信息
    print("Waiting for button press...")
    time.sleep(1)
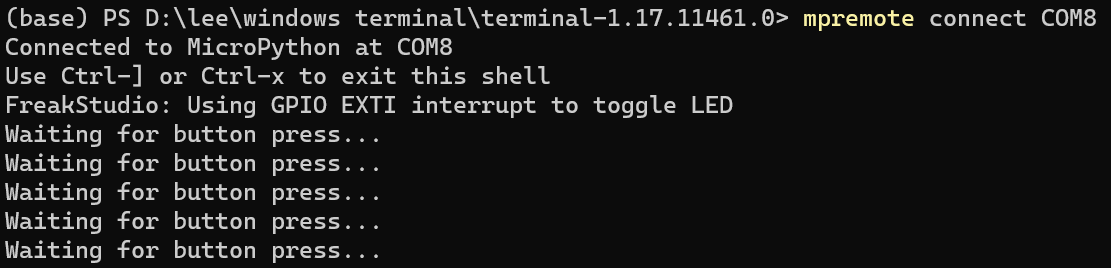
Burn the code, open the terminal, and you can see that when the button is not pressed, the terminal outputs the following:
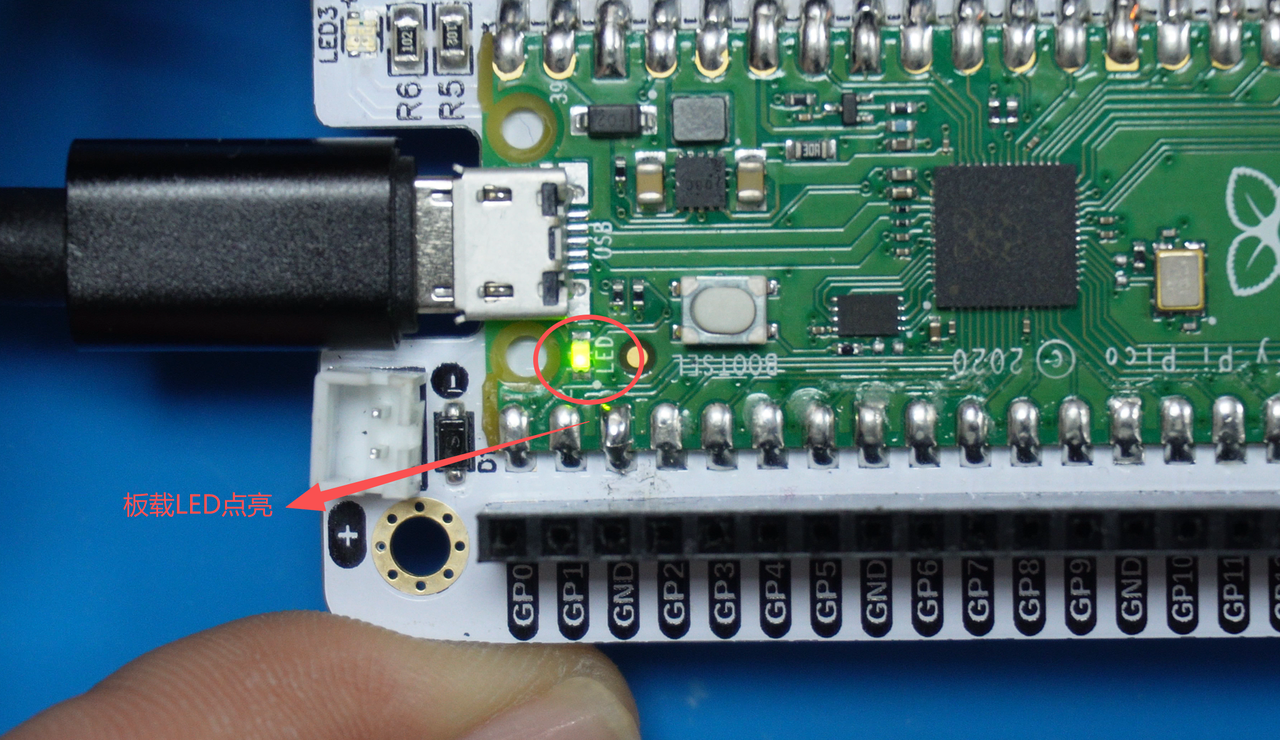
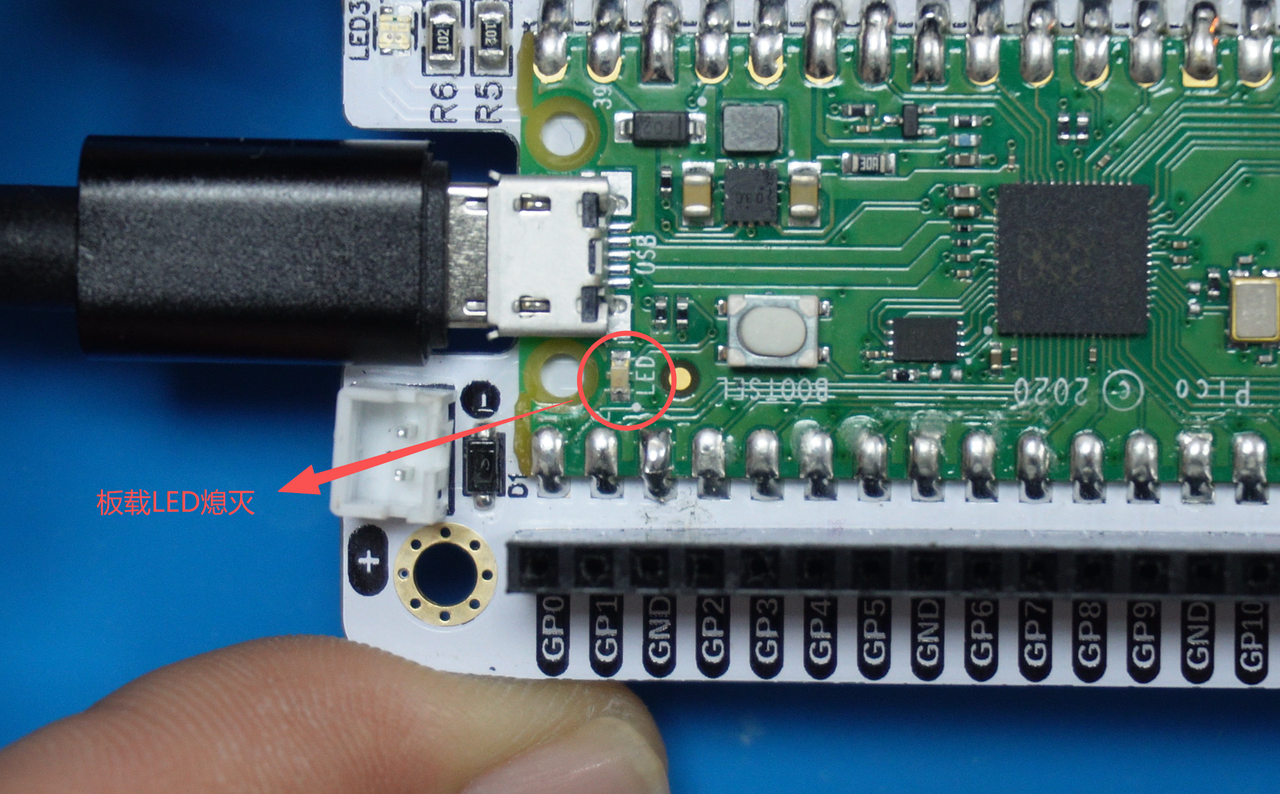
When the key is pressed, the LED lights up; when pressed again, the LED turns off. The experimental phenomenon is similar to that of the GPIO read-write routine in Section 3.1.
When the button is pressed for the first time:
When the button is pressed for the second time:
Here, we have added type annotations to the code and complied with the PEP8 specification. The so-called type annotation is a mechanism in Python used to indicate the data types of variables, function parameters and return values. Simply put, it explicitly tells others or program tools in the code what type a certain variable, function parameter or return value is (such as integer, string, list, etc.). It is like making notes for variables and functions. For example, if you define a function that receives a number but someone passes in a text, the type annotation can warn you in advance where the problem lies.
For more information about type annotations, you can refer to the following article:
At the same time, our entire code complies with the PEP8 specification. PEP8 is the code style guide of the Python programming language, the full name is "Python Enhancement Proposal 8" (Python Enhancement Proposal No. 8). It is a document that specifies the best practices and formatting requirements for writing Python code. Simply put, it is a code writing rule, similar to the formatting requirements for writing essays.It teaches you how to format code in a neater and more aesthetically pleasing way, such as using lowercase letters with underscores for variable names, leaving two blank lines between functions, keeping each line of code under 79 characters, and so on. Its goal is to ensure that the code everyone writes has a unified style, looks more comfortable, and is also easier to maintain and collaborate on.
For more information about the PEP8 specification, please refer to the following article: