Wiznet makers

ruilixin6

Published August 05, 2026 ©

94 UCC

0 VAR

0 Contests

0 Followers

0 Following

Dynamic Execution Instructions: Unlocking More Flexible Usage of RP2040 PIO

This demo applies `StateMachine.exec()` to run single‑shot PIO instructions to toggle LED without modifying stored PIO program.

COMPONENTS
PROJECT DESCRIPTION

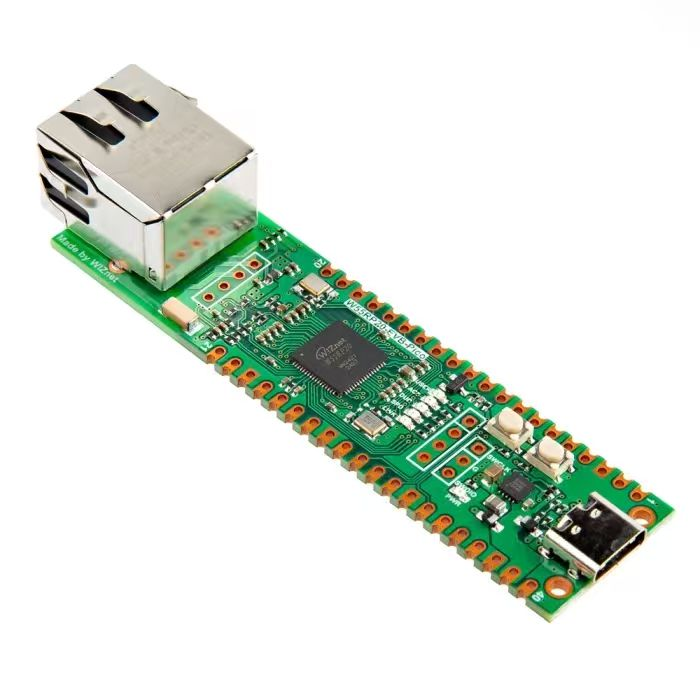
【Preliminary Note】The original hardware example in this article was written based on the RP2040. The actual hardware used in this hands-on demonstration features the W55RP20 as the main controller chip. The circuit logic and UF2 flashing operation principles are universally applicable, with only the main controller model differing. The original chip model mentioned in the circuit descriptions below is provided for reference purposes only.

PIO uses exec to execute the instruction in the instr register

As we mentioned earlier, in addition to the instruction memory, the finite-state machine can also execute instructions from three other sources:
MOV EXEC can execute instructions from a register specified by Source.
OUT EXEC can execute the data migrated out by OSR.
Execute instructions from the SMx_INSTR control register; the system can directly write instructions to this register for immediate execution.
Next, we use the StateMachine. exec () method to encode the instructions from the given string instr.
The following code can be found in the material package we provide elegance-devkit v1\Demo\31 PIO_Exec folder.
The sample code is as follows:
# Python env   : MicroPython v1.23.0
# -*- coding: utf-8 -*-        
# @Time    : 2024/7/28 上午11:16   
# @Author  : 李清水            
# @File    : main.py       
# @Description : PIO类实验,在PIO程序中使用exec指令执行 pioasm 指令

# ======================================== 导入相关模块 ========================================

# 导入时间相关的模块
import time
# 导入RP2040相关的模块
import rp2
# 导入硬件相关的模块
from machine import Pin

# ======================================== 全局变量 ============================================

# ======================================== 功能函数 ============================================

# 使用装饰器定义了一个 PIO 程序:blink函数,不执行任何操作
@rp2.asm_pio(set_init=rp2.PIO.OUT_LOW)
def blink() -> None:
    """
    定义一个空的 PIO 程序。

    Args:
        None

    Returns:
        None

    Description:
        该 PIO 程序不执行任何操作,仅作为状态机的占位程序。
    """
    pass

# ======================================== 自定义类 ============================================

# ======================================== 初始化配置 ==========================================

# 上电延时3s
time.sleep(3)
# 打印调试信息
print("FreakStudio: PIO use exec instruction to execute pioasm instruction")

# 创建了一个状态机,将 blink() 函数作为程序,并设置频率为 系统时钟/2000 Hz,同时设置set_bases为GPIO25
sm = rp2.StateMachine(0, blink, freq=2000, set_base=Pin(25))

# ========================================  主程序  ===========================================

# 启动状态机
sm.active(1)

while True:
    # 状态机加载指令'set(pins, 1)'
    sm.exec('set(pins, 1)')
    # 延时1s
    time.sleep(1)
    # 状态机加载指令'set(pins, 0)'
    sm.exec('set(pins, 0)')
    # 延时1s
    time.sleep(1)
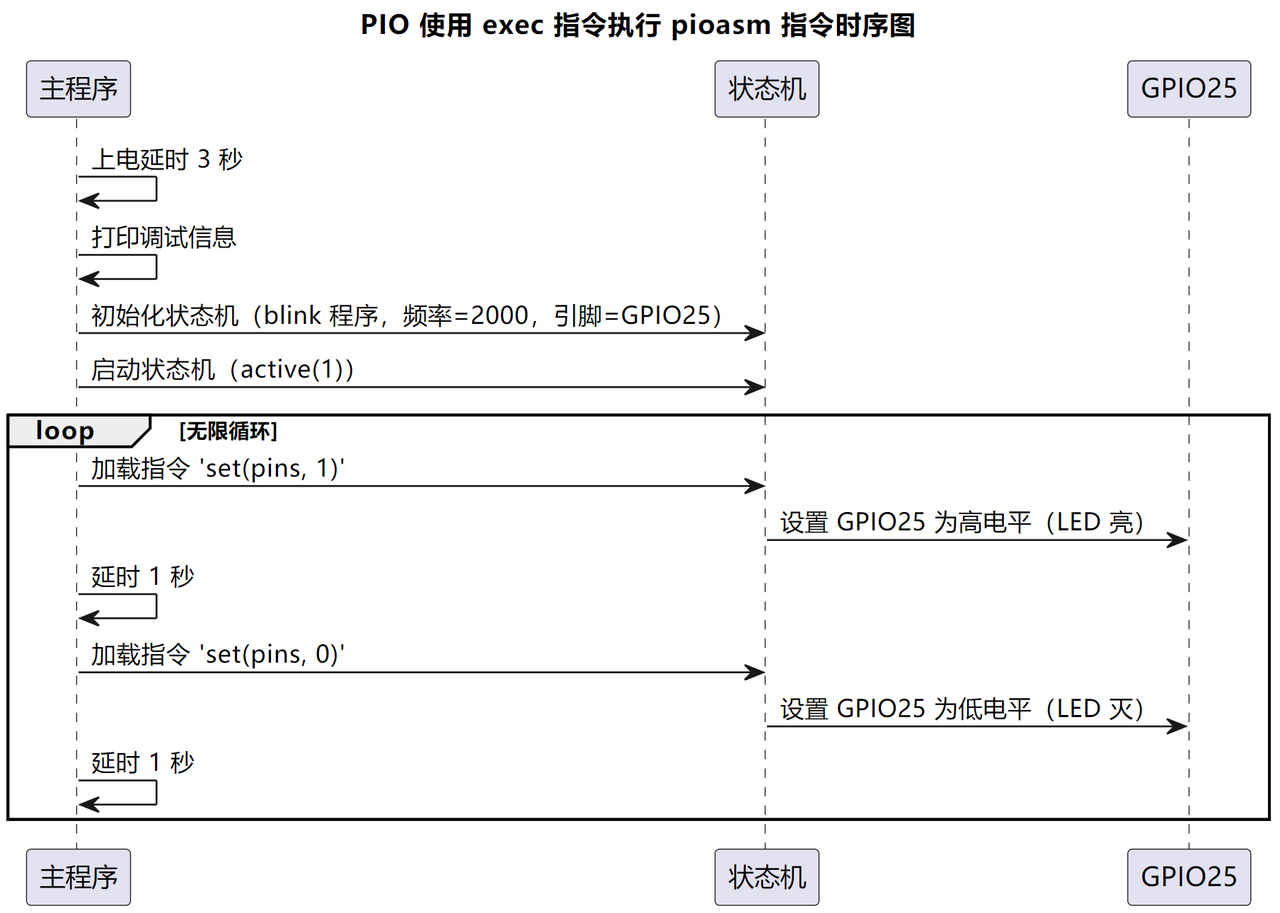
The overall execution process is shown in the following figure:
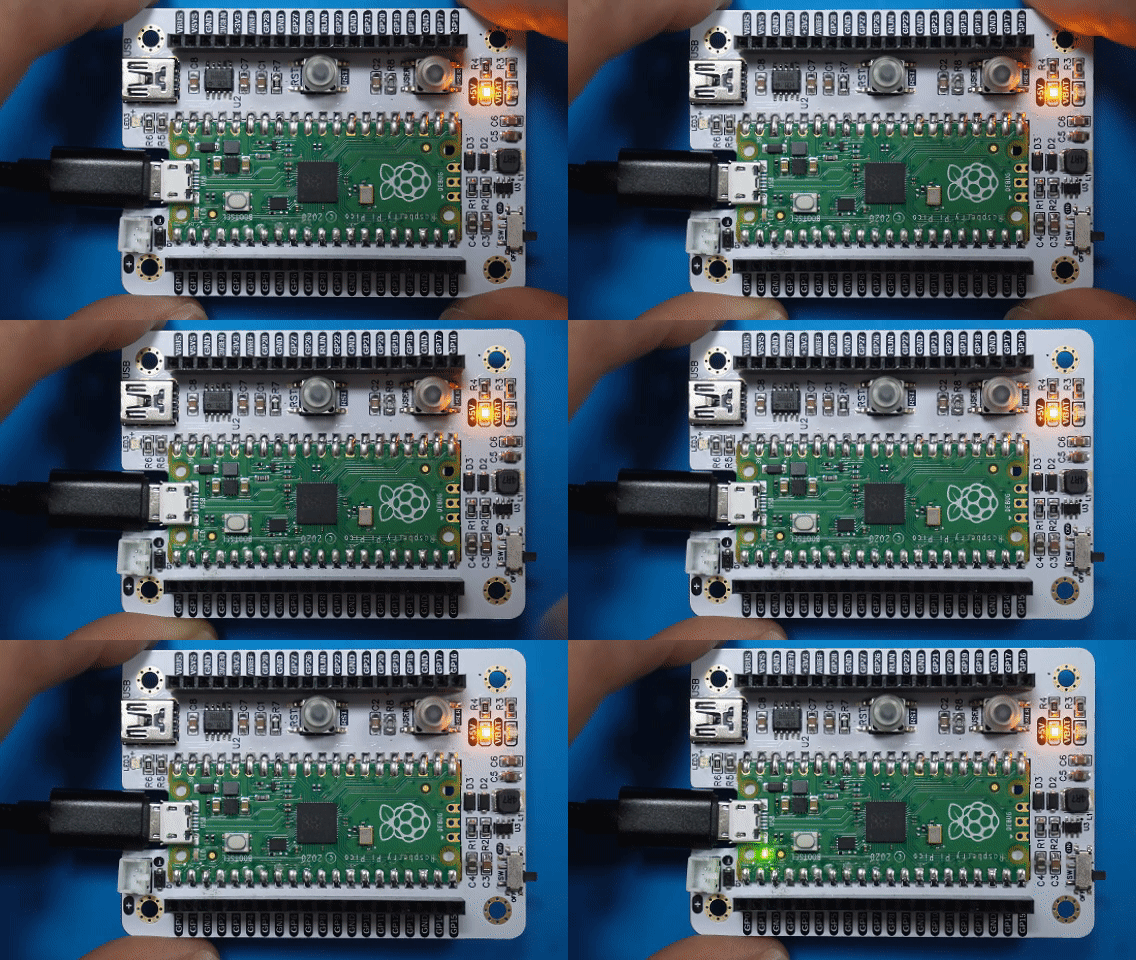
Burn the code to Pico, and you will see the on-board LED blinking:
Documents
Comments Write