
WIZnet W51000S-EVB-PICO Getting Started Tutorial (1)
WIZnet W51000S-EVB-PICO Getting Started Tutorial (1)
Overview
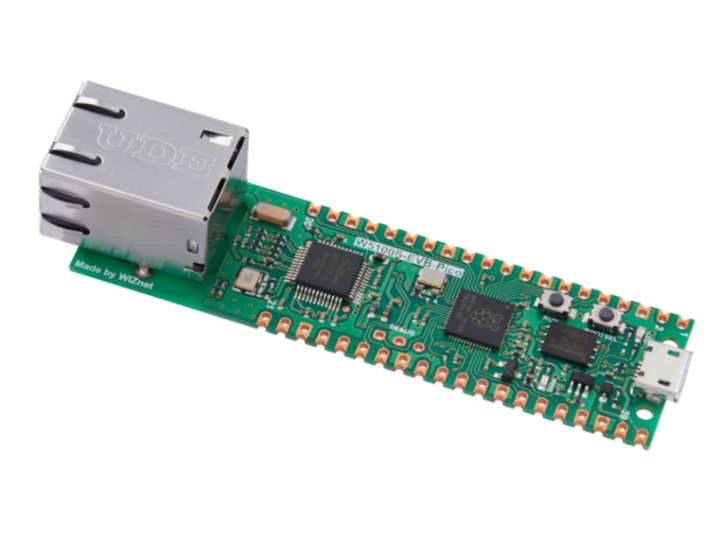
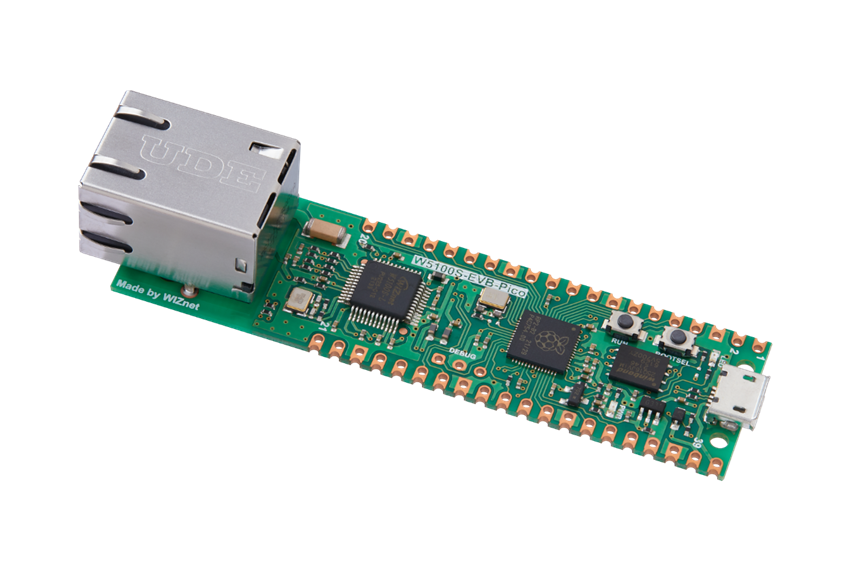
The W5100S-EVB-Pico is a microcontroller development board based on the Raspberry Pi RP2040 and the full hardware TCP/IP protocol stack controller W5100S - basically the same as the Raspberry Pi Pico board, but with added Ethernet functionality through the W5100S chip.
W5100S-EVB-Pico Features
- RP2040 specifications
- Dual-core Arm Cortex-M0 + @133MHz
- 264KB high-speed SRAM and 2MB onboard memory
- Support up to 16MB off-chip flash memory through dedicated QSPI bus
- DMA controller
- 30 GPIO pins, 4 of which can be used as analog inputs
- 2 UARTs, 2 SPI controllers and 2 I2C controllers, 16 PWM channels, 1 timer, 1 RTC
- 8 programmable I/O (PIO) state machines
- Supports USB mass storage boot mode for UF2 for drag-and-drop programming
- W5100S Chip Specifications
- Support full hardware TCP/IP protocols: TCP, UDP, WOL, ICMP, IGMPv1/v2, IPv4, ARP, PPPoE
- Support 4 independent Sockets
- Support SOCKET-less instructions: ARP-request, PING-request
- Supports Ethernet power-down mode and power-saving mode
- Built-in transmit/receive buffer totaling 16 KB
- Supports SPI and parallel bus interfaces
- High-speed SPI (70MHz) interface (MODE 0/3)
- System bus interface (2-bit address lines and 8-bit data lines)
- Integrated 10BaseT/100BaseTX Ethernet PHY
- Support Ethernet auto-negotiation (full/half duplex, 10Base-T/100Base-TX)
- Micro-USB B interface for power supply and downloading programs
- 3pin Serial Wire Debug (SWD) port
- Built-in RJ45
- Built-in LDO
Hardware Specification
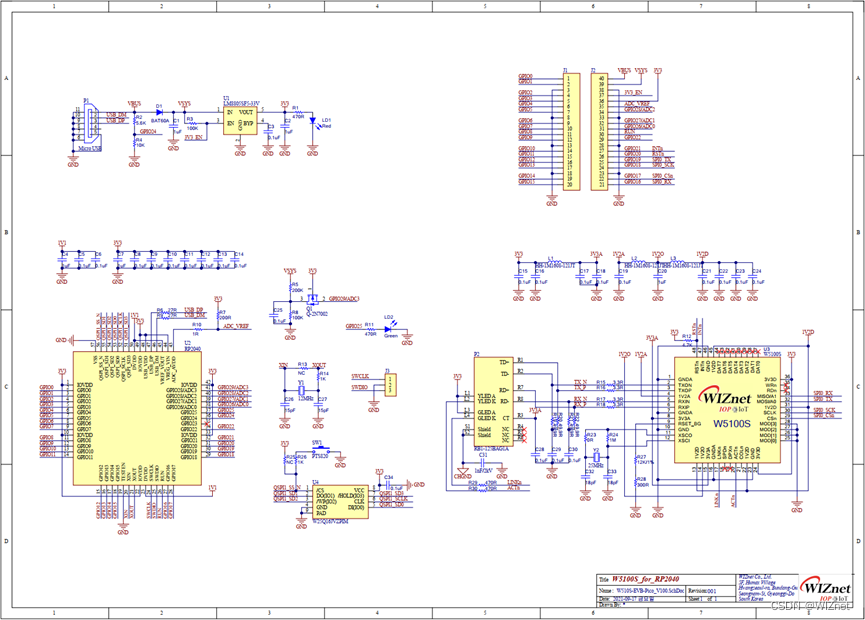
Schematic & Parts List & Gerber Files
Dimensions V1.0 (unit: mm)
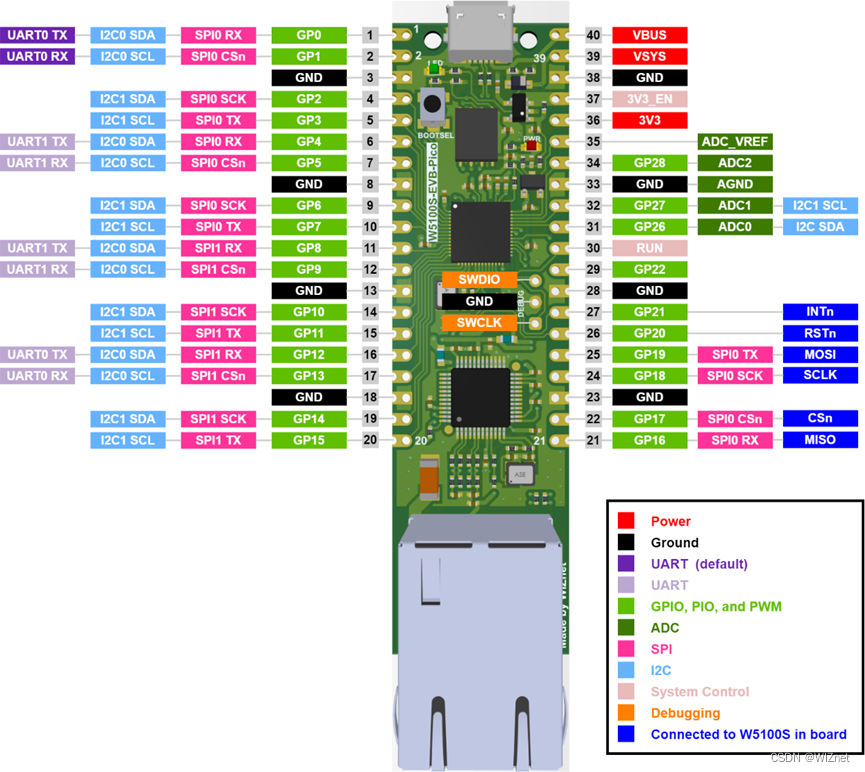
The W5100S-EVB-Pico pin output is directly connected to the GPIO of the RP 2040, as shown in the figure above. It is the same as Raspberry Pi Pico board, but GPIO 16, GPIO 17, GPIO 18, GPIO 19, GPIO 20, GPIO 21 are connected to W5100S inside the board, these pins support SPI. Communication with W5100S uses Ethernet function. If you are using the Ethernet functionality, these pins cannot be used for any other purpose. The RP 2040 GPIO used inside W5100S-EVB-Pico is shown below.
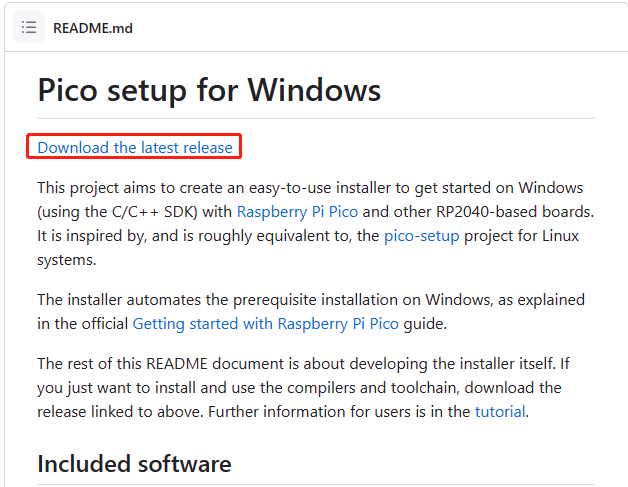
After entering, select: Download the latest release
| I/O | Pin Name | Description |
| I | GPIO16 | Connects to MISO interface of W5100S |
| O | GPIO17 | Connects to CS interface of W5100S |
| O | GPIO18 | Connect to SCLK interface of W5100S |
| O | GPIO19 | Connect to MOSI interface of W5100S |
| O | GPIO20 | Connect to RSTn interface of W5100S |
| I | GPIO21 | Connect to INTn interface of W5100S |
| I | GPIO24 | VBUS detection interface |
| O | GPIO25 | User LED port |
| I | GPIO29 | For ADC mode detection VSYS/3 |
- Besides the GPIO and ground pins, there are 7 other pins on the main 40-pin header:
| Pin Number | Pin Name | Description |
| PIN40 | VBUS | Micro-USB input voltage, connected to Micro-USB interface pin 1. Theoretically support 5V. |
| PIN39 | VSYS | The main system input voltage, which can vary within the allowable range of 4.3V to 5.5V, is generated by the onboard LDO to 3.3V. |
| PIN37 | 3VE_EN | Connect to on-board LDO enable pin. To disable 3.3V (also power down the RP2040 and W5100S), short this pin low. |
| PIN36 | 3V3 | The main 3.3V power supply for RP2040 and W5500 is generated by the onboard LDO. |
| PIN35 | ADC_VREF | ADC supply (and reference) voltage and is generated on the W5100S-EVB-Pico from a filtered 3.3V supply. |
| PIN33 | AGND | GPIO26-29 ground reference. |
| PIN30 | RUN | RP2040 enable pin, reset RP2040, short this pin low. |
Working Environment
Parameter | Description |
Working Temperature | 85℃ |
Minimum working temperature | -20℃ |
VBUS | DC 5V (+/- 10%) |
Minimum VSYS | DC 4.3V |
Highest VSYS | DC 5.5V |
The recommended maximum ambient temperature is 70°C.
Development Environment Configuration
Development Environment: Windows10/11,Visual Studio Code
Hardware Preparation:W5100S-EVB-Pico board,Ethernet Cable,Micro USB
Step 1: Download Compilation Tools
First download the official compilation tool of Raspberry Pi: GitHub - raspberrypi/pico-setup-windows
The tool integration includes the following software:
- Arm GNU Toolchain
- CMake
- Ninja
- Python3.9
- Git for Windows
- Visual Studio Code
- OpenOCD
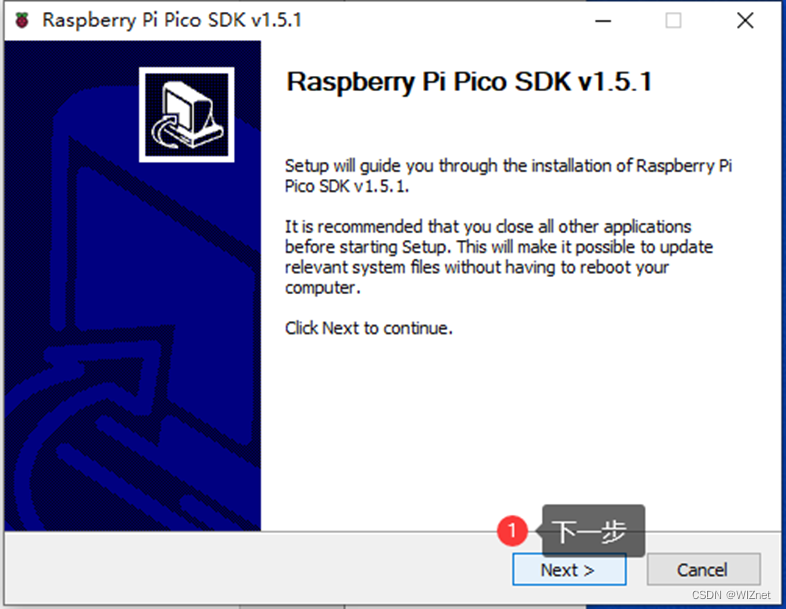
Step 2: Install the program
Install after the download is complete
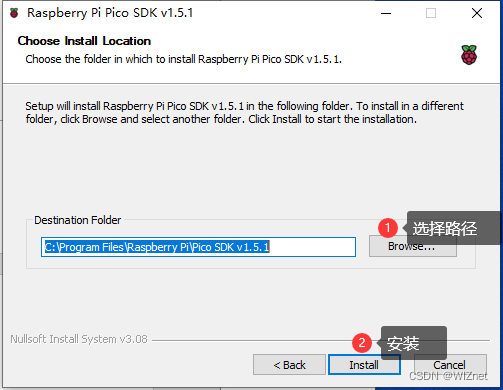
Choose the installation path
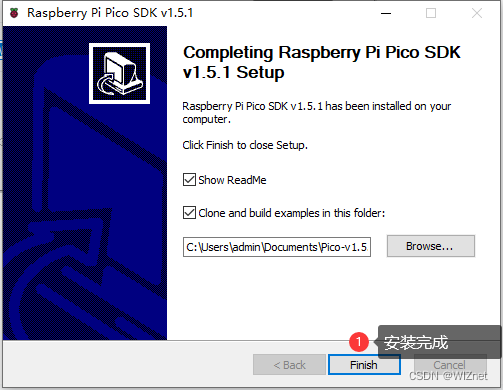
Click Finish
First Program
USB virtual serial port printing example
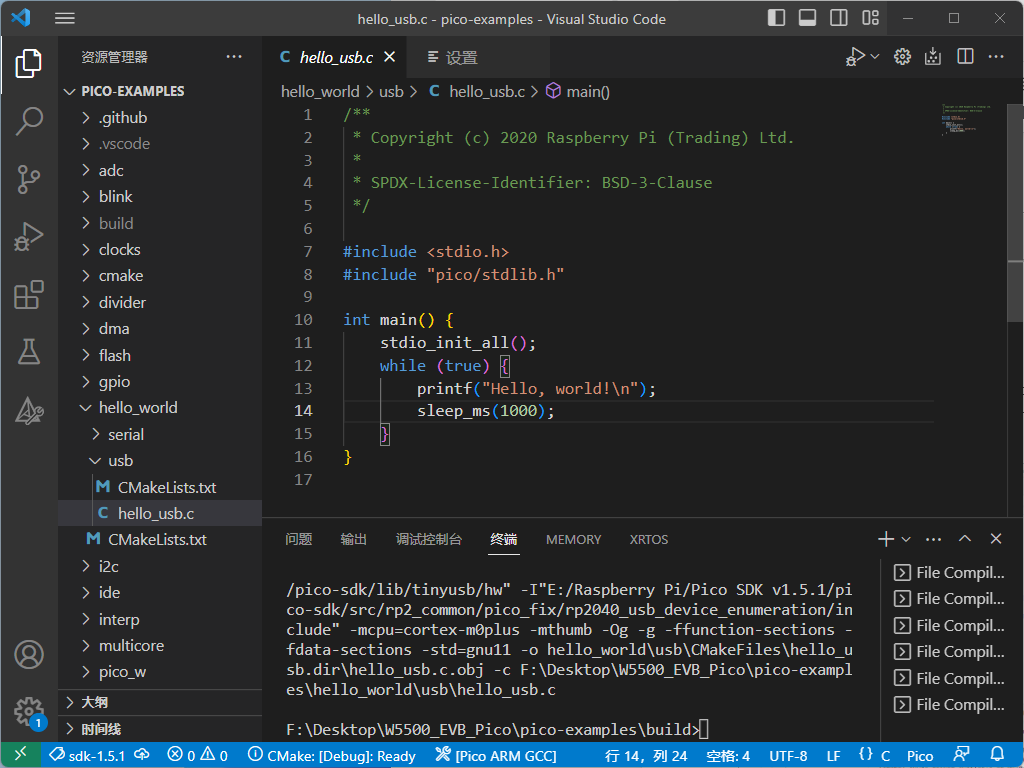
Find Visual Studio Code in the start menu. After opening, it will automatically load the sample program we just downloaded. Open the hello_usb.c file under the usb folder under the hello_world folder. The function of this example is to automatically print "Hello, world" through the USB port."

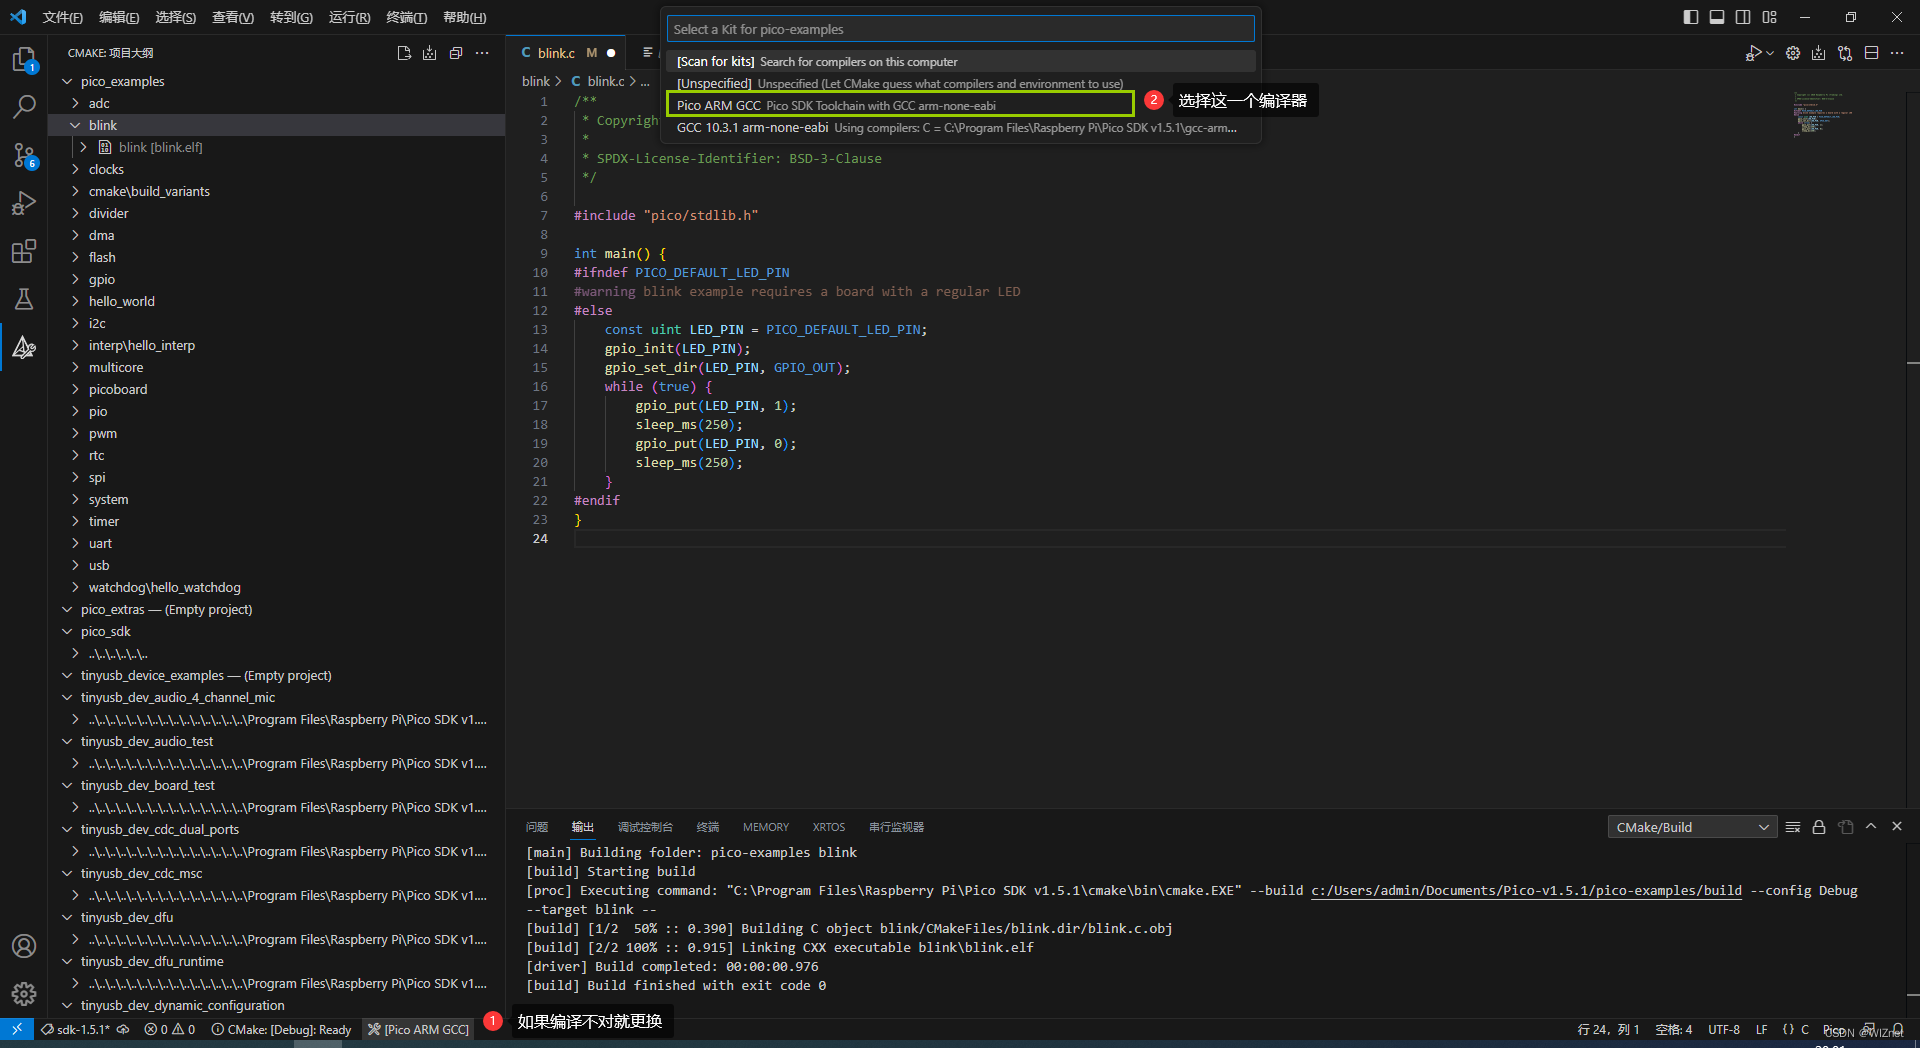
Click the tool icon at the bottom and select Pico ARM GCC as our compilation chain
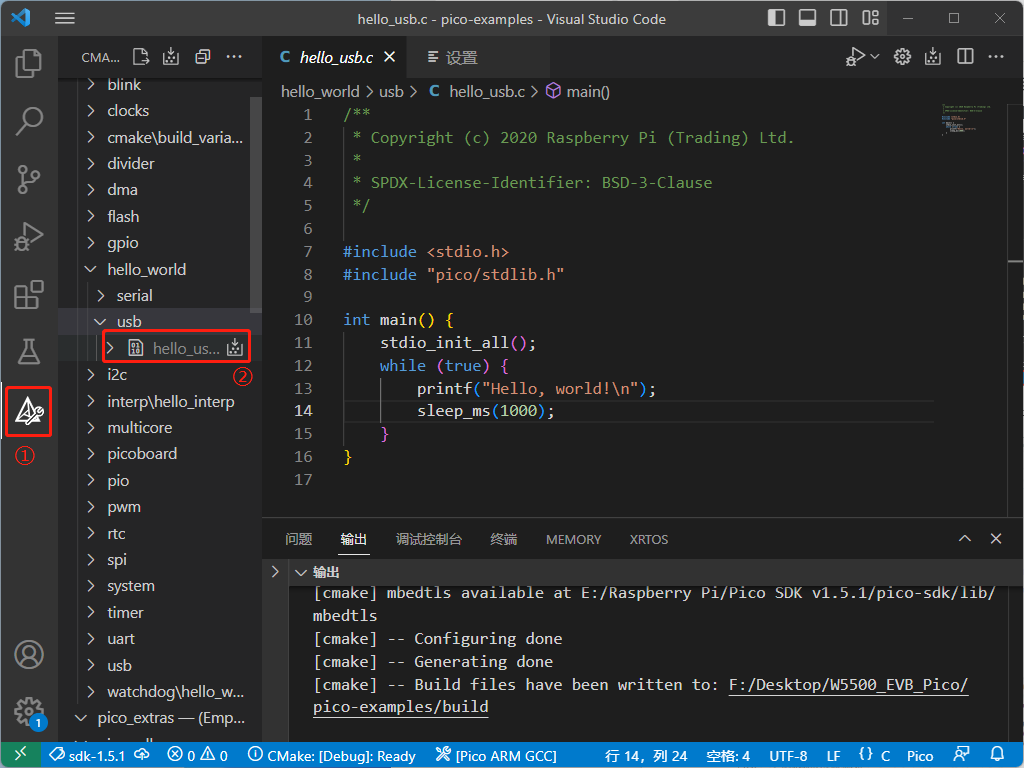
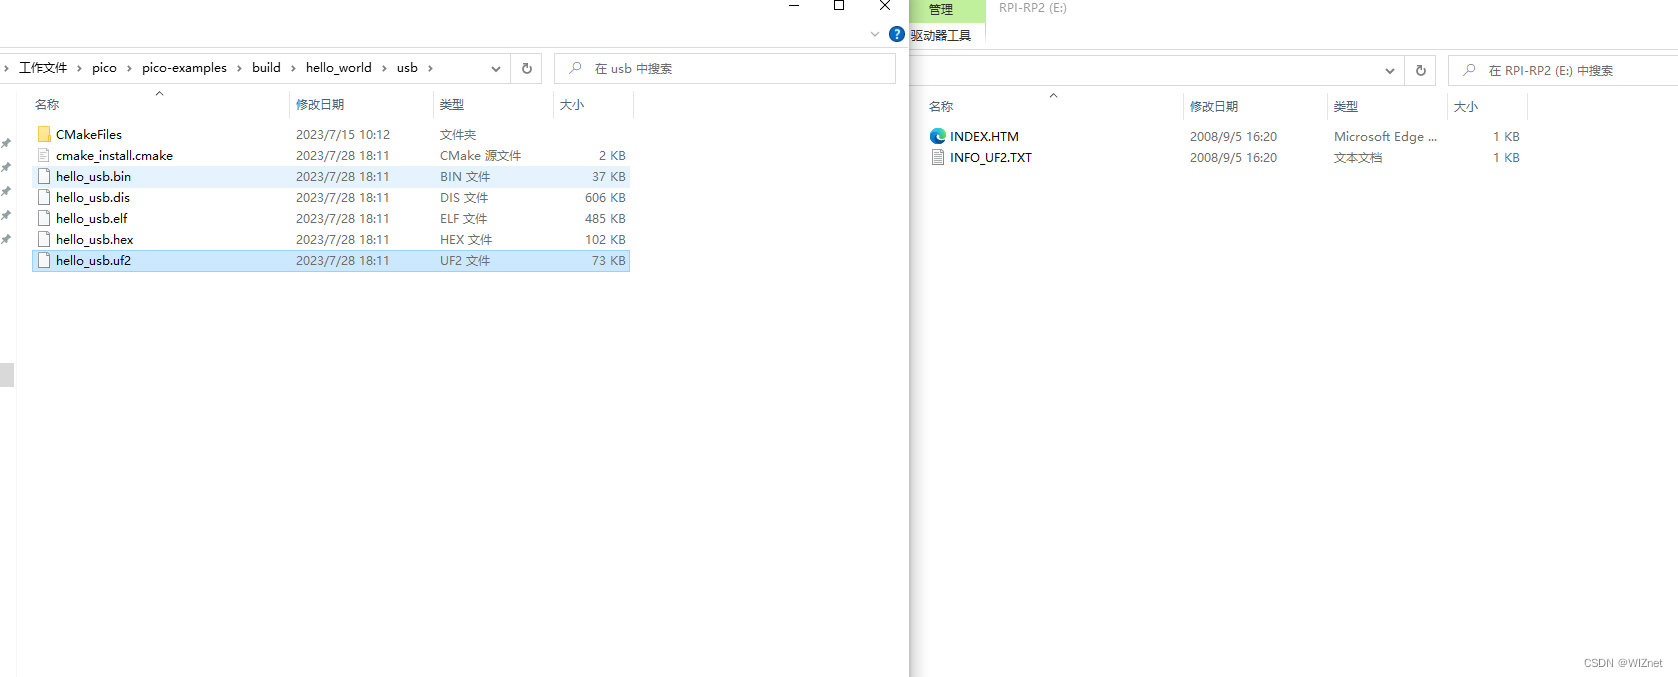
After opening the file, press and hold the BOOT button on the Raspberry Pi, then drag the .uf2 file to the RP1-RP2 virtual U disk to complete the program burning.
Phenomenon:

Technical Documentation
Raspberry Pi Pico
RP2040 Datasheet (raspberrypi.com)