Circuit python coding for WizFi360-EVB-PICO
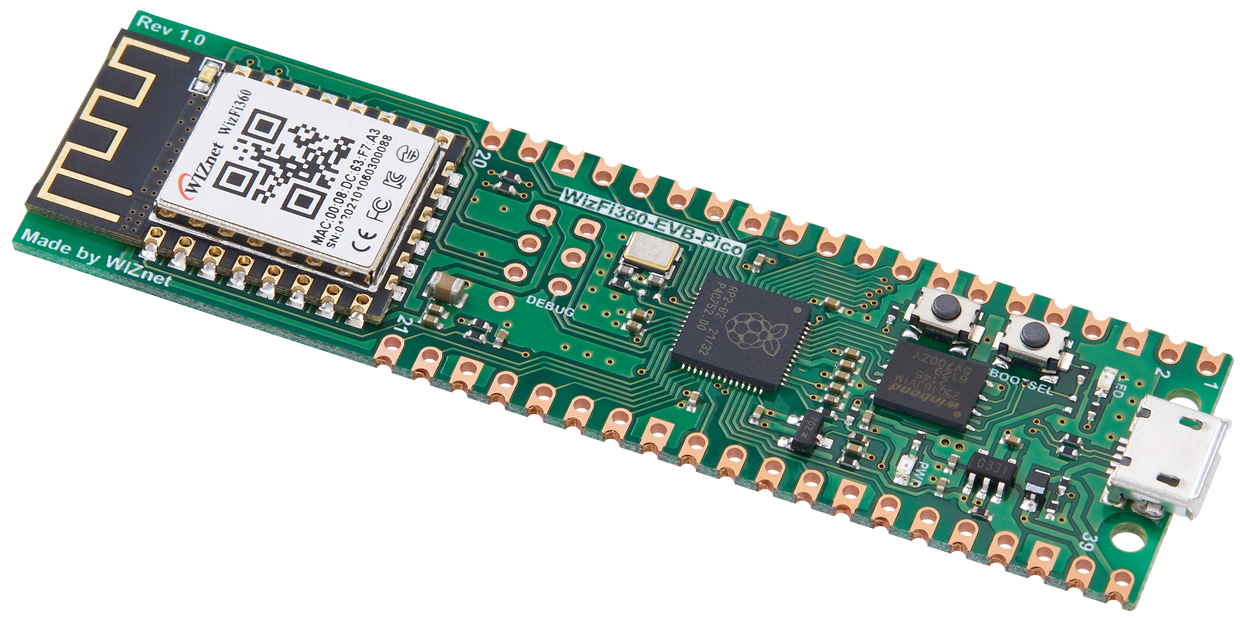
This is a circuitpython coding for WizFi360-EVB-PICO that made by Ron

These code is based on Adafruit's circuitpython ESP AT control to modified.
WizFi360 Firmware version: 1.1.1.9
If you are interested on the codes and commands, please refer to the links below.
1.ESP AT control - circuitpython
By using WIZnet's WizFi360-EVB-PICO, it required to use AT commands to control WizFi360 to communicate to the world
Upadtes
MQTT:
- Allow to change MQTT Publish topic after connected to adafruit IO
- Accept JSON method
- WizFi360 could accept Maximum 3 Subscribe topics
📚 Required Software
Bundles:
- Circuit Python 7.0 or above (it required to use 1 MB from the flash)
- Adafruit circuit python bundle - Use the latest version from adafruit bundle page [ESP AT control or download from this github]
Required Libraries from adafruit bundle:
- adafruit_espatcontrol library or this library
- adafruit_request
Required codes to run example codes
- Secret.py -> Please modified the information to allow WizFi360 to connect your personal AP and adafruit IO.
- Example codes
Programming and debug software
🤖 Basic Setup
Step 1: How to install circuit Python into WizFi360-EVB-PICO (same method as adding to Raspberry Pi Pico)
Step 2: Modified your secret.py and put the file inside the Pico flash
It is used for saving your AP information and Adafruit IO information to allow WizFi360 to connect.
secrets = {
    "ssid": "my access point", # Your AP's or router's name
    "password": "my password", # The password for your AP/router
    "timezone": -5,  # this is offset from UTC
    "github_token": "abcdefghij0123456789",
    "aio_username": "myusername", #adafruit IO username
    "aio_key": "abcdefghij0123456789", #adafruit IO
}
Step 3: Add the libraries to your lib section
It is required to add libraries to the folder lib to allow the codes could run.
Step 4: Put the example codes to flash
Draging the examples codes to the flash inside the pico board, it should run the software easily.
Step 5: Setting the GPIO PINS
It is required to modify the GPIO PIN settings to allow the RP2040 coould communicate with WizFi360
RX = board.GP5 #TXD1 pin for WizFi360
TX = board.GP4 #RXD1 pin for WizFi360
resetpin = DigitalInOut(board.GP20)
rtspin = False
uart = busio.UART(TX, RX, baudrate=11520, receiver_buffer_size=2048)
📓 Examples:
- TCP Client
- Adafruit io (MQTT)
- Adafruit io (HTTP) - Used the same coding method as ESP AT control
- Ping - Used the same coding method as ESP AT control
- Blynk
-
HTTP to adafruit IO
-
Blynk
-
MQTT to adafruit io (Single feed topic)
-
MQTT to adafruit io (Group feed)
-
WizFi360 firmware upgrade
Upgrade to the latest version
-
Ping
-
Loopback test


