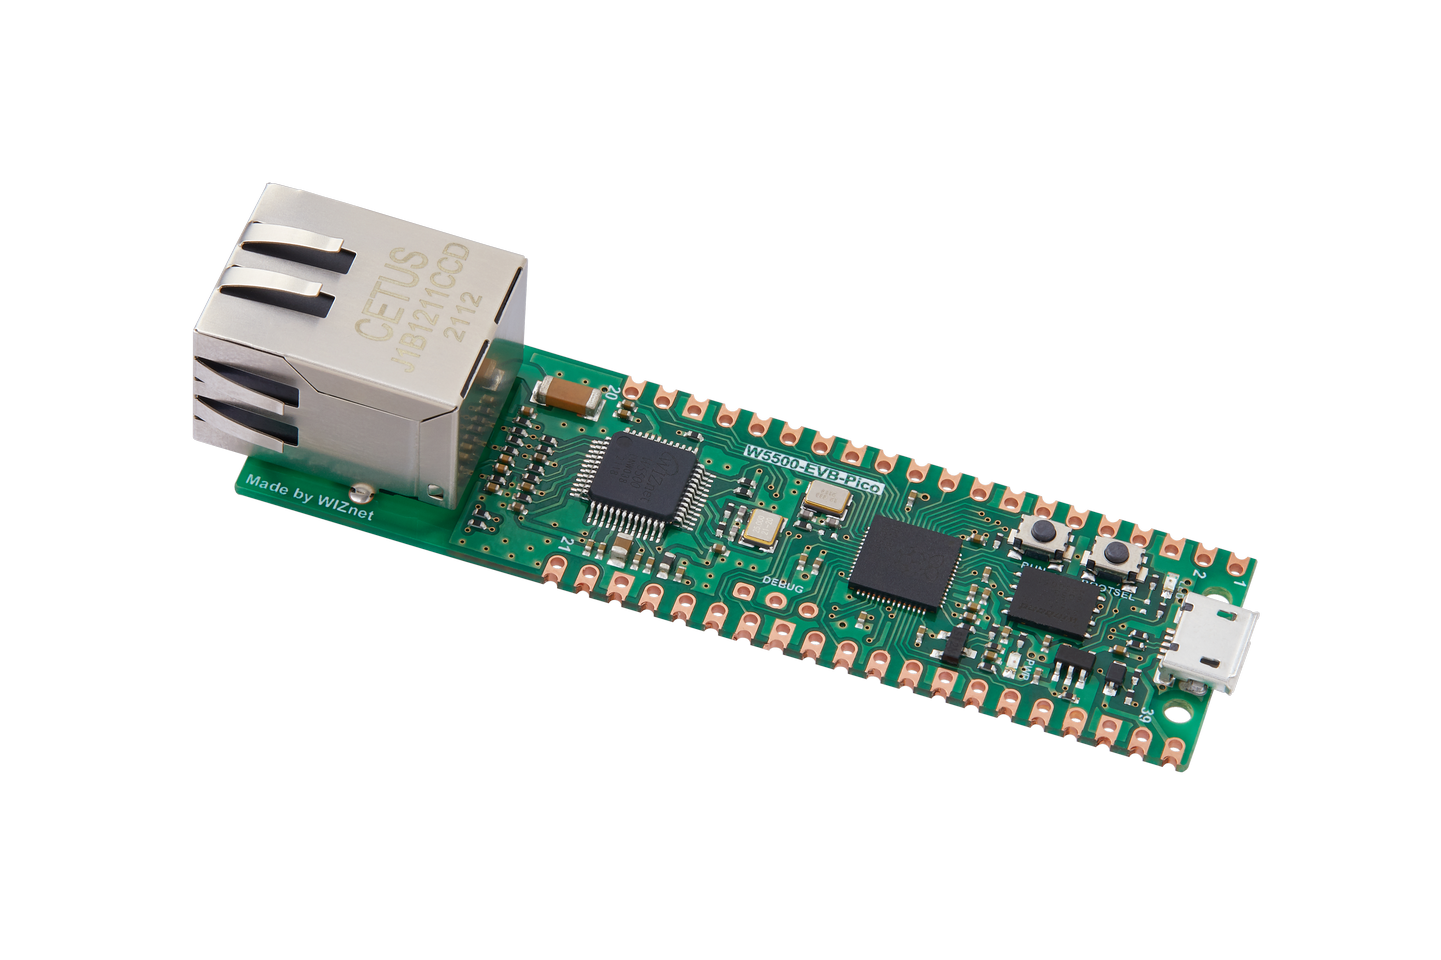
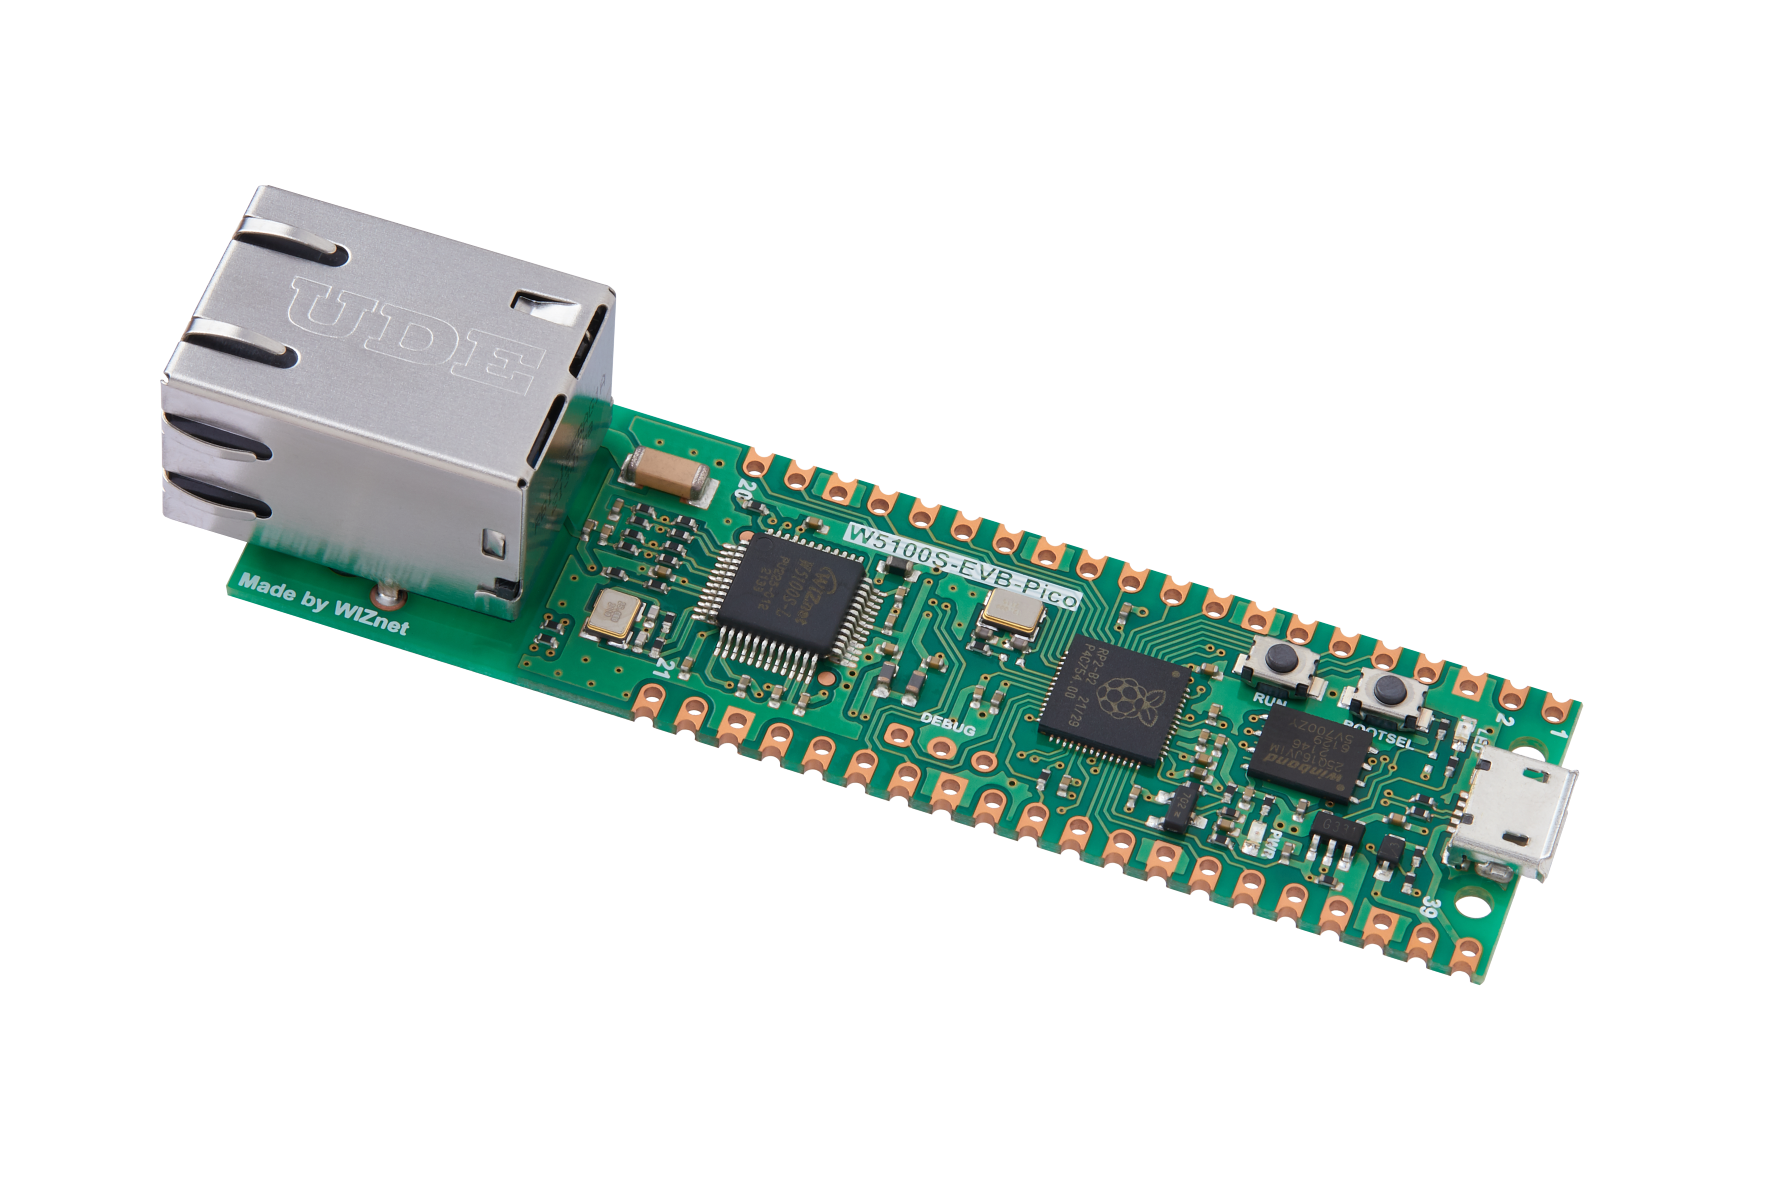
9. MicroPython development for W5100S/W5500+RP2040<HTTP&OneNET example>
9. MicroPython development for W5100S/W5500+RP2040<HTTP&OneNET example>

1 Introduction
In this era of smart hardware and the Internet of Things, MicroPython and Raspberry Pi PICO are leading the new trend of embedded development with their unique advantages. MicroPython, as a streamlined and optimized Python 3 language, provides efficient development and easy debugging for microcontrollers and embedded devices.
When we combine it with the WIZnet W5100S/W5500 network module, the development potential of MicroPython and Raspberry Pi PICO is further amplified. Both modules have built-in TCP/IP protocol stacks, making it easier to implement network connections on embedded devices. Whether it is data transmission, remote control, or building IoT applications, they provide powerful support.
In this chapter, we will take WIZnet W5100S as an example, use MicroPython development method to connect to OneNET's HTTP server, and regularly upload the temperature and humidity information collected by the DHT11 temperature and humidity sensor through POST, and then obtain the temperature and humidity information through GET.
2. Platform operation process
2.1 Create device
First, enter the developer center, create products and devices under the HTTP interface for multi-protocol access, and then add apikey.
Note: If you do not have the option of multi-protocol access after logging in, you need to perform real-name authentication first.
2.2 Create data flow template
Create data flow templates for temperature and humidity in the data flow template interface.
3. WIZnet Ethernet chip
WIZnet mainstream hardware protocol stack Ethernet chip parameter comparison
| Model | Embedded Core | Host I/F | TX/RX Buffer | HW Socket | Network Performance |
|---|---|---|---|---|---|
| W5100S | TCP/IPv4, MAC & PHY | 8bit BUS, SPI | 16KB | 4 | Max 25Mbps |
| W6100 | TCP/IPv4/IPv6, MAC & PHY | 8bit BUS, Fast SPI | 32KB | 8 | Max 25Mbps |
| W5500 | TCP/IPv4, MAC & PHY | Fast SPI | 32KB | 8 | Max 15Mbps |
W5100S/W6100 supports 8-bit data bus interface, and the network transmission speed will be better than W5500.
W6100 supports IPV6 and is compatible with W5100S hardware. If users who already use W5100S need to support IPv6, they can be Pin to Pin compatible.
W5500 has more Sockets and send and receive buffers than W5100S
Compared with the software protocol stack, WIZnet's hardware protocol stack Ethernet chip has the following advantages:
Hardware TCP/IP protocol stack: WIZnet's hardware protocol stack chip provides a hardware-implemented TCP/IP protocol stack. This hardware-implemented protocol stack has better performance and stability than software-implemented protocol stacks.
No additional embedded system software stack and memory resources required: Since all Ethernet transmit and receive operations are handled by the independent Ethernet controller, no additional embedded system software stack and memory resources are required.
Resistant to network environment changes and DDoS attacks: Compared with software TCP/IP protocol stacks that are susceptible to network environment changes and DDoS attacks, hardware protocol stack chips can provide more stable Ethernet performance.
Suitable for low-specification embedded systems: Even in low-specification embedded systems, hardware protocol stack chips using WIZnet can show more efficient Internet application operating performance than high-specification systems using software TCP/IP protocol stacks.
4. Example explanation and usage
4.1 Program flow chart
4.2 Test preparation
Software:
Thonny
OneNET platform
Hardware:
W5100S IO module + RP2040 Raspberry Pi Pico development board or WIZnet W5100S-EVB-Pico development board
DHT11 temperature and humidity sensor
Micro USB interface data cable
cable
4.3 Connection method
Connect to PC USB port via data cable
When using W5100S/W5500 IO module to connect to RP2040
RP2040 GPIO 16 <----> W5100S/W5500 MISO
RP2040 GPIO 17 <----> W5100S/W5500 CS
RP2040 GPIO 18 <----> W5100S/W5500 SCK
RP2040 GPIO 19 <----> W5100S/W5500 MOSI
RP2040 GPIO 20 <----> W5100S/W5500 RST
DHT11 connected to RP2040
RP2040 GPIO 2 <----> DHT11 data
RP2040 3V3 <----> DHT11 VCC
RP2040 GND <----> DHT11 GND
Directly connect to the PC network port through a network cable (or: both the PC and the device are connected to the switch or router LAN port through a network cable)
4.4 Related code
We open the http_client.onenet.py file directly.
Step one: You can see that SPI is initialized in the w5x00_init() function. And register the spi-related pins and reset pins into the library. The subsequent step is to activate the network and use DHCP to configure the network address information. When DHCP fails, configure the static network address information. When the configuration is not successful, the information about the network address-related registers will be printed out, which can help us better troubleshoot the problem.
Step 2: Turn on the timer, and the routine is set to trigger once every 5 seconds.
Step 3: After triggering the timer, you will enter the request() function. In this function, the sensor will first be calibrated, and then the temperature and humidity information will be uploaded to the platform through POST, and then the temperature and humidity information just obtained will be obtained through GET. The uploaded temperature and humidity information is then printed out through the serial port.
Note: Replace apiaddress in the program with your HTTP api address, and replace apikey with your HTTP APIKey
from usocket import socket
from machine import Pin,SPI,Timer
import dht
import urequests
import network
import time
#Timer-related definitions
message_interval = 5
timer_1s_count = 0
tim = Timer()
#HTTP of OneNET
apiaddress = "http://api.heclouds.com/devices/1168040732"
apikey = "fh=hneBwiD6m4o4X==1u=Q6HXp8="
#DHT11 definitions
pin = Pin(2,Pin.OUT)
sensor = dht.DHT11(pin)
"""
W5x00 chip initialization.
param: None
returns: None
"""
def w5x00_init():
spi=SPI(0,2_000_000, mosi=Pin(19),miso=Pin(16),sck=Pin(18))
nic = network.WIZNET5K(spi,Pin(17),Pin(20)) #spi,cs,reset pin
nic.active(True)
try:
#DHCP
print("\r\nConfiguring DHCP")
nic.ifconfig('dhcp')
except:
#None DHCP
print("\r\nDHCP fails, use static configuration")
nic.ifconfig(('192.168.1.20','255.255.255.0','192.168.1.1','8.8.8.8'))#Set static network address information
#Print network address information
print("IP :",nic.ifconfig()[0])
print("Subnet Mask:",nic.ifconfig()[1])
print("Gateway :",nic.ifconfig()[2])
print("DNS :",nic.ifconfig()[3],"\r\n")
#If there is no network connection, the register address information is printed
while not nic.isconnected():
time.sleep(1)
print(nic.regs())
"""
POST submission data and GET request data.
param: None
returns: None
"""
def request():
sensor.measure()
r= urequests.request('POST',apiaddress+'/datapoints',headers={"api-key":apikey},json={'datastreams':[{'id':'CurrentTemperature','datapoints':[{'value':sensor.temperature()}]},{'id':'CurrentHumidity','datapoints':[{'value':sensor.humidity()}]}]})
if not r:
print('spreadsheet: no response received')
print("\r\npost response:",r.json())
r = None
r = urequests.request('GET',apiaddress+'/datapoints',headers={"api-key":apikey})
if r.status_code == 200:
print("get request succ\r\n",r.text)
else:
print("get request error")
"""
1-second timer callback function.
param1: class timer
returns: None
"""
def tick(timer):
global timer_1s_count
timer_1s_count += 1
if timer_1s_count >= message_interval:
timer_1s_count = 0
request()
def main():
print("WIZnet chip HTTP Client of OneNET example")
w5x00_init()
tim.init(freq=1, callback=tick)
while True:
time.sleep(1)
if __name__ == "__main__":
main()You also need to use the urequests.py library, the code is as follows:
import usocket
class Response:
def __init__(self, f):
self.raw = f
self.encoding = "utf-8"
self._cached = None
def close(self):
if self.raw:
self.raw.close()
self.raw = None
self._cached = None
def content(self):
if self._cached is None:
try:
self._cached = self.raw.recv(4096)
finally:
self.raw.close()
self.raw = None
return self._cached
def text(self):
return str(self.content, self.encoding)
def json(self):
import ujson
return ujson.loads(self.content)
def request(method, url, data=None, json=None, headers={}, stream=None):
try:
proto, dummy, host, path = url.split("/", 3)
except ValueError:
proto, dummy, host = url.split("/", 2)
path = ""
if proto == "http:":
port = 80
elif proto == "https:":
import ussl
port = 443
else:
raise ValueError("Unsupported protocol: " + proto)
if ":" in host:
host, port = host.split(":", 1)
port = int(port)
ai = usocket.getaddrinfo(host, port, 0, usocket.SOCK_STREAM)
ai = ai[0]
s = usocket.socket(ai[0], ai[1], ai[2])
try:
s.connect(ai[-1])
if proto == "https:":
s = ussl.wrap_socket(s, server_hostname=host)
s.write(b"%s /%s HTTP/1.0\r\n" % (method, path))
if not "Host" in headers:
s.write(b"Host: %s\r\n" % host)
# Iterate over keys to avoid tuple alloc
for k in headers:
s.write(k)
s.write(b": ")
s.write(headers[k])
s.write(b"\r\n")
if json is not None:
assert data is None
import ujson
data = ujson.dumps(json)
s.write(b"Content-Type: application/json\r\n")
if data:
s.write(b"Content-Length: %d\r\n" % len(data))
s.write(b"\r\n")
if data:
s.write(data)
l = s.readline()
#print(l)
l = l.split(None, 2)
status = int(l[1])
reason = ""
if len(l) > 2:
reason = l[2].rstrip()
while True:
l = s.readline()
if not l or l == b"\r\n":
break
#print(l)
if l.startswith(b"Transfer-Encoding:"):
if b"chunked" in l:
raise ValueError("Unsupported " + l)
elif l.startswith(b"Location:") and not 200 <= status <= 299:
raise NotImplementedError("Redirects not yet supported")
except OSError:
s.close()
raise
resp = Response(s)
resp.status_code = status
resp.reason = reason
return resp
def head(url, **kw):
return request("HEAD", url, **kw)
def get(url, **kw):
return request("GET", url, **kw)
def post(url, **kw):
return request("POST", url, **kw)
def put(url, **kw):
return request("PUT", url, **kw)
def patch(url, **kw):
return request("PATCH", url, **kw)
def delete(url, **kw):
return request("DELETE", url, **kw)
4.5 Burning Verification
To test the Ethernet examples, the development environment must be configured to use a Raspberry Pi Pico.
Required development environment
If you must compile MicroPython, you must use a Linux or Unix environment.
Step 1: Copy the program into Thonny and select the environment as Raspberry Pi Pico
Step 2: Save the urequests.py library file to the Raspberry Pi Pico development board
Step 2: Run the http_client_onenet.py program to see the reported sensor information on the OneNET platform.
Note: Because MicroPython's print function enables stdout buffering, sometimes the content will not be printed out immediately.
5. Precautions
If you use WIZnet's W5500 to implement the examples in this chapter, you only need to burn the firmware of the W5500 and run the example program.


