27. W5100S/W5500+RP2040 Raspberry Pi Pico<iperf speed measurement example>
27. W5100S/W5500+RP2040 Raspberry Pi Pico<iperf speed measurement example>

1 Introduction
With the continuous development of technologies such as artificial intelligence and big data, network speed measurement technology can also be combined with these technologies for more accurate measurement and optimization. For example, by using artificial intelligence technology to analyze and process network traffic, network problems can be more accurately identified and solved; by using big data technology to store and analyze network speed measurement data, network performance and user needs can be more comprehensively understood.
W5100S/W5500 is an embedded Ethernet controller integrating a full hardware TCP/IP protocol stack. It is also an industrial-grade Ethernet control chip. This tutorial will introduce the use of speed measurement tools to measure the speed of the W5100S/W5500 chip.
2 Brief introduction
2.1 What is network speed measurement technology?
Network speed testing is a technology used to measure the speed and performance of network connections. It can simulate the real network transmission process by sending data packets of a certain size and specified time, and calculate the speed of the network. At the same time, factors such as network stability and reliability will also be calculated during the test process.
Network speed testing technology mainly includes Ping test, download speed test and upload speed test. Through these tests, users can understand the speed and quality of their network connection so that they can take necessary steps to optimize network performance.
2.2 Advantages of network speed measurement technology
The advantages of network speed testing mainly include:
Real-time and efficient: Network speed measurement can obtain the operating status of the network in real time, thereby helping network administrators quickly locate and solve network problems. This kind of efficiency is very important, especially in large-scale network environments, to quickly detect problems such as network congestion and insufficient bandwidth to avoid adverse effects on users.
Provide objective data support: Network speed testing can provide objective data support for network planning and decision-making by collecting and analyzing a large amount of data. By measuring and analyzing network performance, we can understand user needs, cope with possible network peak loads, and make corresponding adjustments and optimizations.
Optimize network settings: Network speed testing can help users understand the real-time speed and stability of the network, thereby optimizing network settings and improving network performance.
Monitor network quality: By regularly measuring network speed, users can monitor the quality and stability of the network and discover and solve network problems in a timely manner.
Detect network security: Network speed testing can help users detect network security and promptly discover and solve network attacks, viruses and other problems.
2.3 Data interaction principle of network speed measurement technology
The testing principle is based on the standard TCP/IP protocol stack, and its workflow is as follows:
The client makes a request to the server.
After the server receives the request, it creates a data stream and sends the data to the client.
After the client receives the data, it calculates indicators such as data transmission speed, delay, and packet loss rate.
After the test is completed, the client returns the test results to the server.
The server summarizes the test results and sends them to the client.
2.4 Network speed measurement application scenarios
Network speed testing has a wide range of application scenarios. Here are some common application scenarios:
Network troubleshooting: When a network failure occurs, network speed testing can help technicians quickly locate the problem, such as testing the packet loss rate, delay and other parameters of the network connection to determine whether it is a network equipment failure or a network line problem.
Network performance evaluation: Network speed testing can evaluate network performance, such as testing network throughput, bandwidth and other parameters to understand the overall performance level of the network, helping technicians optimize the network structure, adjust network device configuration, etc.
Network security monitoring: Network speed testing can help monitor network security, such as testing the network's firewall performance, intrusion detection system (IDS) performance, etc., and timely discover and resolve network attacks and viruses.
Network quality monitoring: Network speed testing can monitor the quality and stability of the network, such as testing the network's packet loss rate, delay and other parameters, timely discover and solve network problems, and ensure the stability and availability of the network.
Network planning and design: Network speed testing can help with network planning and design, such as testing network topology, bandwidth requirements and other parameters to provide data support for the construction of new networks.
3 WIZnet Ethernet chip
WIZnet mainstream hardware protocol stack Ethernet chip parameter comparison
| Model | Embedded Core | Host I/F | TX/RX Buffer | HW Socket | Network Performance |
|---|---|---|---|---|---|
| W5100S | TCP/IPv4, MAC & PHY | 8bit BUS, SPI | 16KB | 4 | Max.25Mbps |
| W6100 | TCP/IPv4/IPv6, MAC & PHY | 8bit BUS, Fast SPI | 32KB | 8 | Max.25Mbps |
| W5500 | TCP/IPv4, MAC & PHY | Fast SPI | 32KB | 8 | Max 15Mbps |
W5100S/W6100 supports 8-bit data bus interface, and the network transmission speed will be better than W5500.
W6100 supports IPv6 and is compatible with W5100S hardware. If users who already use W5100S need to support IPv6, they can be Pin to Pin compatible.
W5500 has more Sockets and send and receive buffers than W5100S.
4 Example overview and usage
4.1 Flowchart
The running block diagram of the program is as follows:
4.2 Core preparation work
Software
Visual Studio Code
WIZnet UartTool
iperf speed test tool
Hardware
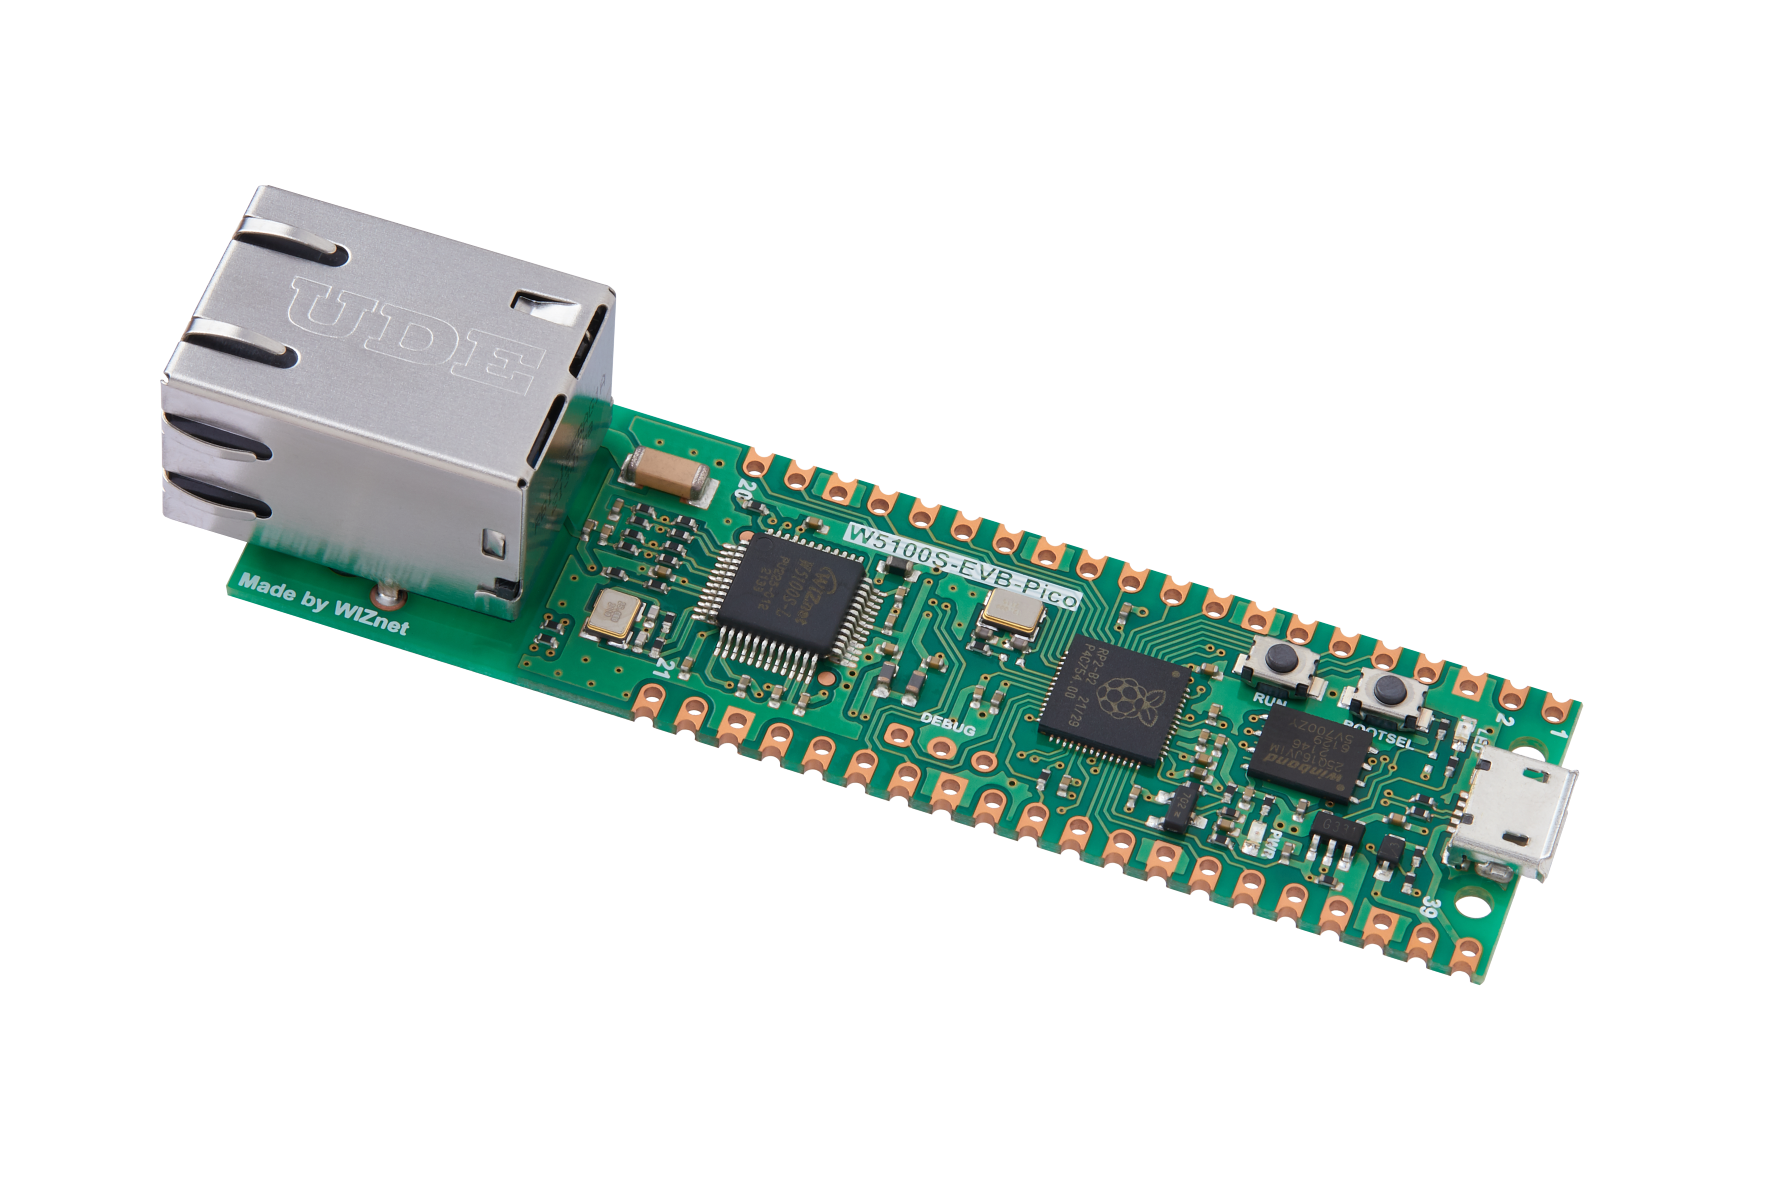
W5100SIO module + RP2040 Raspberry Pi Pico development board or WIZnet W5100S-EVB-Pico development board
Micro USB interface data cable
TTL to USB
cable
4.3 Connection method
Connect the USB port of the PC through the data cable (mainly used for burning programs, but can also be used as a virtual serial port)
Convert TTL serial port to USB and connect the default pin of UART0:
RP2040 GPIO0 (UART0 TX) <----> USB_TTL_RX
RP2040 GPIO1 (UART0 RX) <----> USB_TTL_TX
When wiring using module connection RP2040
RP2040 GPIO16 <----> W5100S MISO
RP2040 GPIO17 <----> W5100S CS
RP2040 GPIO18 <----> W5100S SCK
RP2040 GPIO19 <----> W5100S MOSI
RP2040 GPIO20 <----> W5100S RST
Connect the PC and device to the router LAN port through network cables
4.4 Main code overview
We are using the official ioLibrary_Driver library of WIZnet. The library supports rich protocols and is easy to operate. The chip integrates the TCP/IP protocol stack on the hardware. The library also encapsulates the protocols above the TCP/IP layer. We only need to simply call the corresponding function to complete the application of the protocol. .
Step 1: Add the corresponding library file to the velocity_measurement.c file.
Step 2: Define the macros required for DHCP configuration.
Step 3: Configure network information, turn on DHCP mode, and set the connected server IP and port number.
Step 4: Write a timer callback processing function for the DHCP 1 second tick timer processing function.
Step 5: The main function first defines a timer structure parameter to trigger the timer callback function, initializes the serial port and SPI, then writes the network configuration parameters of W5100S, initializes DHCP and starts DHCP to obtain the IP. Print the obtained IP. When the number of acquisitions exceeds the maximum number of acquisitions, a static IP will be used. The main loop is to connect to the TCP server, then send the data to the server, and finally measure the speed with the network testing tool.
// Use loop test
// Use dhcp
// Use socket
// Socket number
// Socket number
// Send and receive cache size
// DHCP retry times
/**
* @brief Timer callback processing function, used for dhcp timing processing
* @param repeating :Timer structure
* @return bool
*/
bool repeating_timer_callback(struct repeating_timer *t);
/**
* @brief Initialization of chip network information
* @param conf_info :Static configuration information
* @return none
*/
void network_init(wiz_NetInfo *conf_info);
/* Network information to be configured. */
wiz_NetInfo net_info = {
.mac = {0x00, 0x08, 0xdc, 0x1e, 0xed, 0x2e}, // Configured MAC address
.ip = {192, 168, 1, 10}, // Configured IP address
.sn = {255, 255, 255, 0}, // Configured subnet mask
.gw = {192, 168, 1, 1}, // Configured gateway
.dns = {8, 8, 8, 8}, // Configured domain address
.dhcp = NETINFO_DHCP}; // Configured dhcp model,NETINFO_DHCP:use dhcp; NETINFO_STATIC: use static ip.
wiz_NetInfo get_info;
static uint8_t ethernet_buf[ETHERNET_BUF_MAX_SIZE] = {
0,
}; // Send and receive cache
static uint8_t des_ip[4] = {192, 168, 1, 18}; // Server IP address
static uint16_t des_port = 8080; // Server port
static uint16_t local_port = 8000; // Local port
static uint8_t dhcp_get_ip_flag = 0; // Define the DHCP acquisition flag
uint8_t buffer[2048];
uint8_t buffer_txst[2024] = "1234567890";
int main()
{
struct repeating_timer timer; // Define the timer structure
uint16_t len = 0;
/* MCU init */
stdio_init_all(); // Initialize the main control peripheral
wizchip_initialize(); // Initialize the chip interface
wizchip_setnetinfo(&net_info); // Configure once first
/*dhcp init*/
DHCP_init(SOCKET_DHCP, ethernet_buf); // DHCP initialization
add_repeating_timer_ms(1000, repeating_timer_callback, NULL, &timer); // Add DHCP 1s Tick Timer handler
printf("wiznet chip tcp server example.\r\n");
network_init(&net_info); // Configuring Network Information
print_network_information(&get_info); // Read back the configuration information and print it
while (true)
{
switch (getSn_SR(SOCKET_ID))
{
case SOCK_INIT:
connect(SOCKET_ID, des_ip, des_port);
printf("%d:Try to connect to the %d.%d.%d.%d : %d\r\n", SOCKET_ID, des_ip[0], des_ip[1], des_ip[2], des_ip[3], des_port);
break;
case SOCK_ESTABLISHED:
if (getSn_IR(SOCKET_ID) & Sn_IR_CON) //// Socket n interrupt register mask; TCP CON interrupt = connection with peer is successful
{
setSn_IR(SOCKET_ID, Sn_IR_CON); // this interrupt should be write the bit cleared to '1'
printf("%d:Connected to - %d.%d.%d.%d : %d\r\n", SOCKET_ID, des_ip[0], des_ip[1], des_ip[2], des_ip[3], des_port);
}
send(SOCKET_ID, buffer_txst, strlen(buffer_txst)); // Data send process (User's buffer -> Destination through H/W Tx socket buffer)
len = getSn_RX_RSR(SOCKET_ID);
if (len >= sizeof(buffer)) // Sn_RX_RSR: Socket n Received Size Register, Receiving data length
{
recv(SOCKET_ID, buffer, len); // Data Receive process (H/W Rx socket buffer -> User's buffer)
send(0, buffer, len);
}
else if (len > 0)
{
len = recv(SOCKET_ID, buffer, len);
send(SOCKET_ID, buffer, len);
}
break;
case SOCK_CLOSE_WAIT:
disconnect(SOCKET_ID);
break;
case SOCK_CLOSED:
socket(SOCKET_ID, Sn_MR_TCP, local_port, Sn_MR_ND);
break;
}
}
}4.5 Results demonstration
1. After the code is compiled and burned, open the WIZnet UartTool serial port debugging tool, fill in the parameters, press reset, display the network configuration information of the development board, and try to connect to the server.
2. Then open our iperf speed measurement tool and create a server. When the development board is connected to the server, the serial port will print a successful connection and send data to the server. Then the iperf speed measurement tool starts to measure the speed and prints the rate.
5 Precautions
Installing the iperf speed test tool requires a java environment on your computer, otherwise the software cannot be opened.
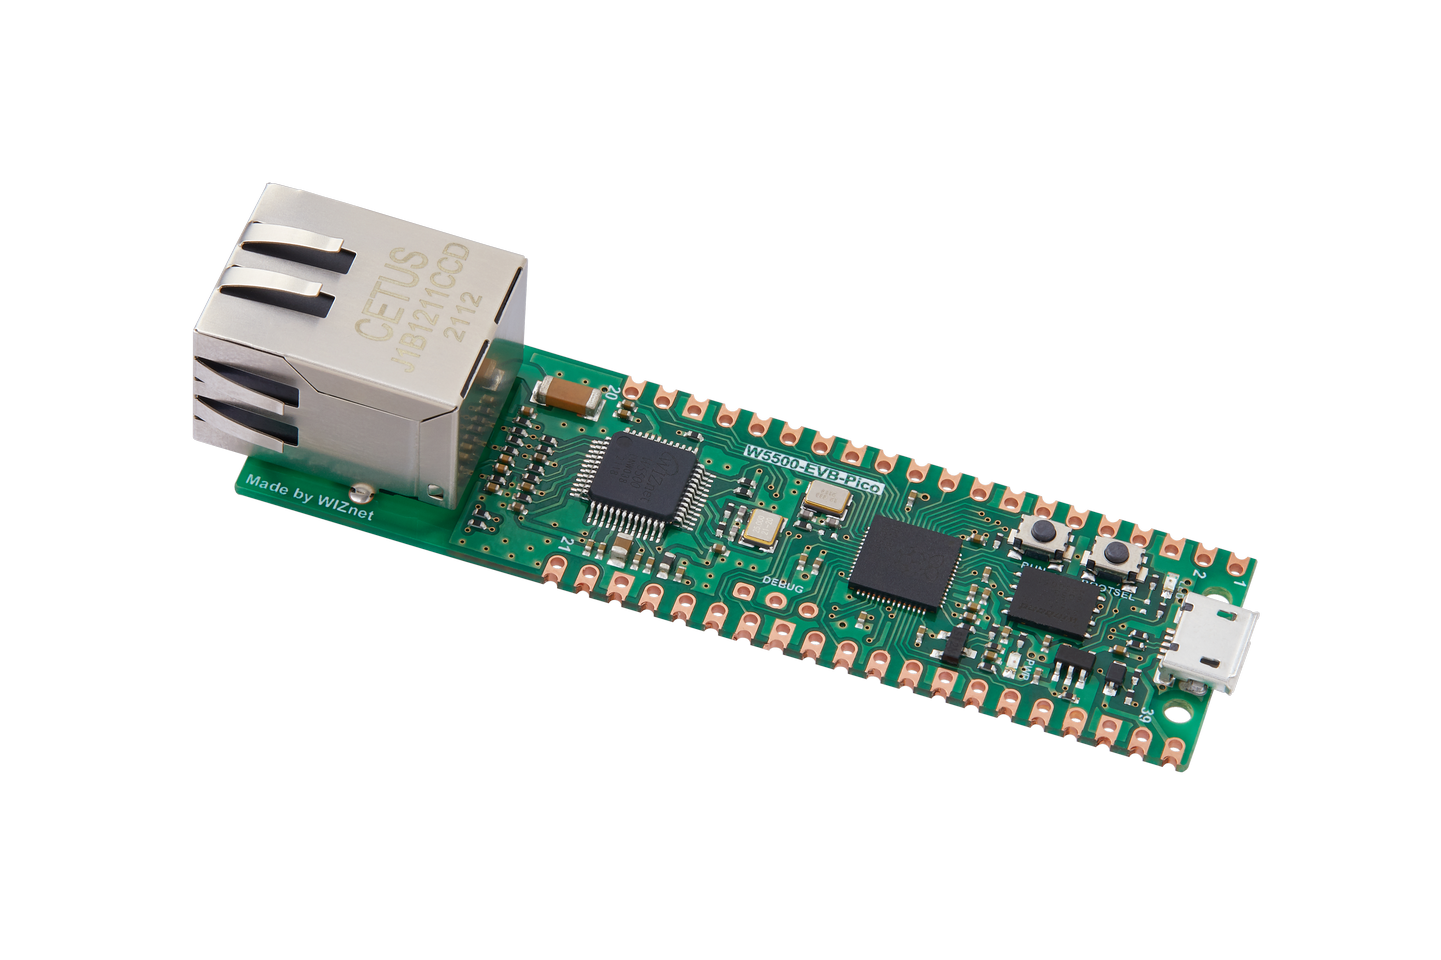
If we want to use WIZnet's W5500 to implement the example in this chapter, we only need to modify two places:
(1) Find the wizchip_conf.h header file under library/ioLibrary_Driver/Ethernet/ and modify the WIZCHIP macro definition to W5500.
(2) Find the CMakeLists.txt file under library and set COMPILE_SEL to ON. OFF is W5100S and ON is W5500.


