24. W5100S/W5500+RP2040 Raspberry Pi Pico<PHY status mode control>
24. W5100S/W5500+RP2040 Raspberry Pi Pico<PHY status mode control>

1 Introduction
W5100S/W5500 not only supports automatic PHY auto-negotiation, but also supports user-defined PHY modes, including 10M/100M, half-duplex/full-duplex, power-down mode, etc.
This chapter will use W5100S/W5500 + Raspberry Pi RP2040 to configure and test one by one.
W5100S/W5500 is an embedded Ethernet controller integrating a full hardware TCP/IP protocol stack. It is also an industrial-grade Ethernet control chip. Using the W5100S/W5500 in Ethernet applications makes it easier for users to connect and communicate remotely between devices.
2. Related introduction
2.1 Brief description
PHY's 10M and 100M refer to the network transmission rate, which respectively represents the data rate of 10 megabits (Mbit) and 100 megabits (Mbit) per second. These rates are commonly used to describe the performance of local area network (LAN) and wide area network (WAN) connections.
Half-duplex and full-duplex refer to the working modes of network connections. Half-duplex means that both parties to the data connection can only perform an operation mode in which one party sends data and the other party receives data at the same time. Full-duplex refers to the operating mode in which both parties of the data connection can send and receive data at the same time. The full-duplex mode does not require direction switching, so there is no time delay caused by switching operations, which is very beneficial for interactive applications that cannot have time delays (such as remote monitoring and control systems).
The PHY power-down mode means that when the PHY chip encounters an abnormal situation or needs to save energy, it will automatically enter the power-down mode and shut down unnecessary equipment and functions to reduce energy consumption and extend the service life of the equipment. In power-down mode, the operation of some devices will be affected, such as reduced screen brightness, reduced processor frequency, etc. Power-down mode is an energy-saving technology that can achieve efficient use of energy while ensuring the normal operation of the equipment.
2.2 Principle
According to actual needs, the PHY can be configured in different modes by writing the PHYCR0 and PHYCR1 register parameters.
2.3 Advantages & Applications
Energy saving: The low-power PHY chip can effectively reduce power consumption while maintaining high performance. For battery-powered devices, it can greatly extend the working time of the device.
Thermal design optimization: The low-power PHY chip has been designed with thermal performance optimization in mind and can maintain good heat dissipation performance under high load conditions, thereby ensuring efficient and stable operation of the chip.
Extend the service life of the device: Since the low-power PHY chip can effectively reduce power consumption, it can reduce the heat accumulation and loss of the device, thereby extending the service life of the device.
Comply with green environmental protection requirements: As people's awareness of environmental protection increases, the high efficiency and energy saving of electronic equipment has also become a focus of attention. Low-power PHY chips can better meet the requirements of green environmental protection and contribute to the green development of electronic equipment.
Wide range of applications: Low-power PHY chips are widely used in various fields, such as the Internet of Things, smart homes, medical equipment, etc. These fields require long-term work and efficient performance, and low-power PHY chips can just meet the requirements. these needs.
In short, the advantages of PHY's low power consumption are mainly reflected in energy saving, thermal design optimization, extended equipment service life, compliance with green environmental protection requirements and wide application. These advantages have made low-power PHY chips widely used in various fields. application and promotion.
3. WIZnet Ethernet chip
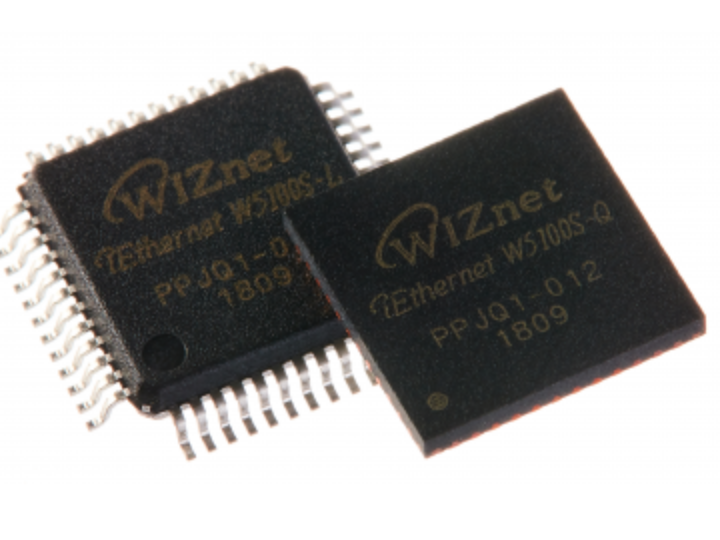
WIZnet mainstream hardware protocol stack Ethernet chip parameter comparison
| Model | Embedded Core | Host I/F | TX/RX Buffer | HW Socket | Network Performance |
|---|---|---|---|---|---|
| W5100S | TCP/IPv4, MAC & PHY | 8 bit BUS, SPI | 16 KB | 4 | Max 25 Mbps |
| W6100 | TCP/IPv4/IPv6, MAC & PHY | 8 bit BUS, Fast SPI | 32 KB | 8 | Max 25 Mbps |
| W5500 | TCP/IPv4, MAC & PHY | Fast SPI | 32 KB | 8 | Max 15 Mbps |
W5100S/W6100 supports 8-bit data bus interface, and the network transmission speed will be better than W5500.
W6100 supports IPv6 and is Pin to Pin compatible with W5100S. If users who already use W5100S need to support IPv6, they can directly switch to it.
W5500 has more sockets and send and receive buffers than W5100S
4. PHY mode configuration test
4.1 Program flow chart
4.2 Test preparation
Software:
Visual Studio Code
WIZnet UartTool
Hardware:
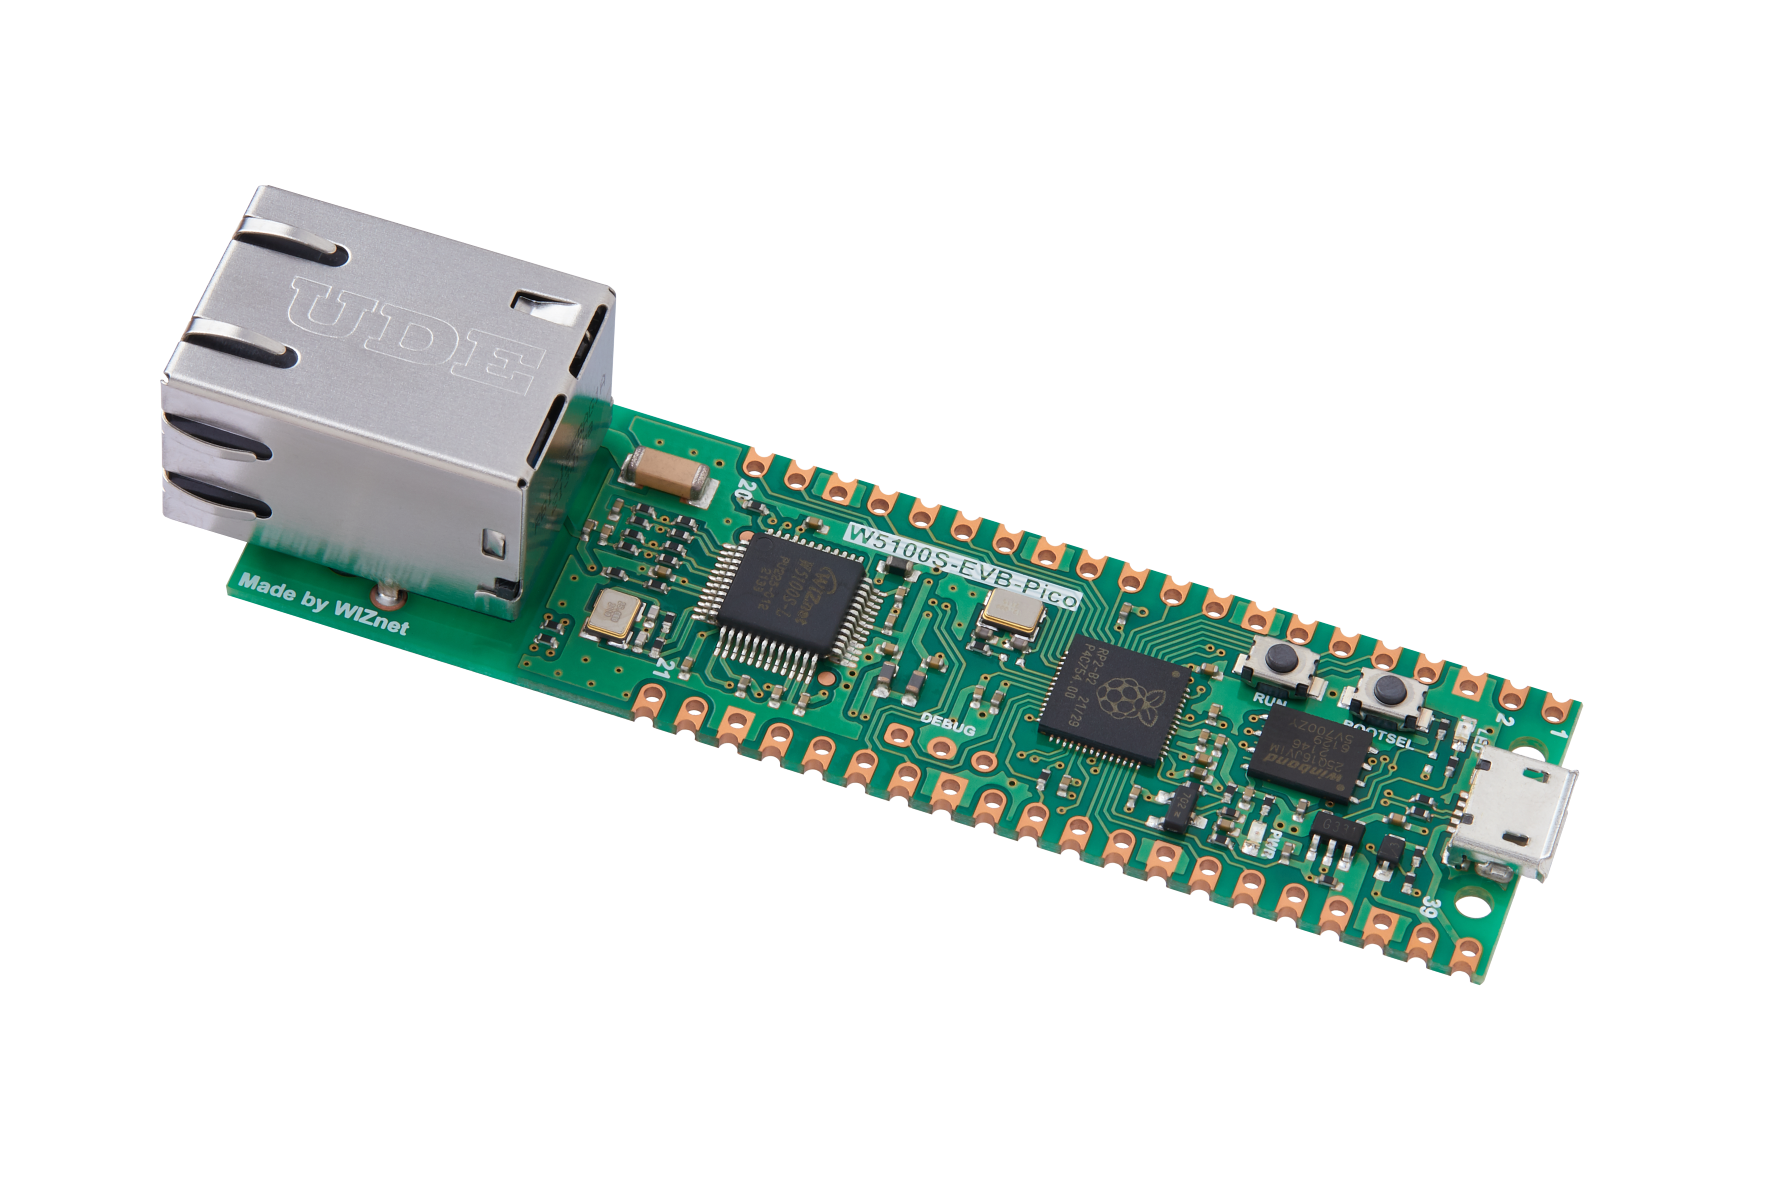
W5100SIO module + RP2040 Raspberry Pi Pico development board or WIZnet W5100S-EVB-Pico development board
Micro USB interface data cable
TTL to USB
cable
4.3 Connection method
Connect the USB port of the PC through the data cable (mainly used for burning programs, but can also be used as a virtual serial port)
Convert TTL serial port to USB and connect the default pin of UART0:
RP2040 GPIO 0 (UART0 TX) <----> USB_TTL_RX
RP2040 GPIO 1 (UART0 RX) <----> USB_TTL_TX
When using the module to connect RP2040 for wiring
RP2040 GPIO 16 <----> W5100S MISO
RP2040 GPIO 17 <----> W5100S CS
RP2040 GPIO 18 <----> W5100S SCK
RP2040 GPIO 19 <----> W5100S MOSI
RP2040 GPIO 20 <----> W5100S RST
Directly connect to the PC network port through a network cable (or: both the PC and the device are connected to the switch or router LAN port through a network cable)
4.4 Related code
Open the low_power.c file (path: examples/low_power/low_power.c) to see the specific implementation:
You can see that the network information is configured in dhcp mode. Therefore, after the master control and W5100S are initialized, DHCP initialization will be performed, and then a timer initialization will be added for timing during the dhcp process for timeout processing; then enter dhcp configures network information. If it fails, use static configuration information. Then configure the PHY to 10M mode, 100M mode, power-down mode and read back the print configuration. Finally, it enters while blocking, as shown below:
/* Network information to be configured. */
wiz_NetInfo net_info = {
.mac = {0x00, 0x08, 0xdc, 0x11, 0x22, 0x33}, // Configured MAC address
.ip = {192, 168, 1, 10}, // Configured IP address
.sn = {255, 255, 255, 0}, // Configured subnet mask
.gw = {192, 168, 1, 1}, // Configured gateway
.dns = {8, 8, 8, 8}, // Configured domain address
.dhcp = NETINFO_DHCP}; // Configured dhcp model,NETINFO_DHCP:use dhcp; NETINFO_STATIC: use static ip.
static uint8_t ethernet_buf[ETHERNET_BUF_MAX_SIZE] = {
0,
}; // Send and receive cachestatic
static uint8_t breakout_flag = 0; // Define the DHCP acquisition flag
int main()
{
struct repeating_timer timer; // Define the timer structure
wiz_NetInfo get_info; // Stores the read configuration information
wiz_PhyConf phy_conf, get_conf;
/* MCU init */
stdio_init_all(); // Initialize the main control peripheral
wizchip_initialize(); // Initialize the chip interface
wizchip_setnetinfo(&net_info); // Configure once first
/*dhcp init*/
DHCP_init(SOCKET_ID, ethernet_buf); // DHCP initialization
add_repeating_timer_ms(1000, repeating_timer_callback, NULL, &timer); // Add DHCP 1s Tick Timer handler
printf("wiznet chip low power example.\r\n");
network_init(&net_info); // Configuring Network Information
print_network_information(&get_info); // Read back the configuration information and print it
/* config init massage */
phy_conf.by = PHY_CONFBY_SW; // Use software config
phy_conf.mode = PHY_MODE_MANUAL; // User config mode
phy_conf.duplex = PHY_DUPLEX_FULL; // Full duplex
phy_conf.speed = PHY_SPEED_100; // Speed
/* setting phy 100M mode */
ctlwizchip(CW_SET_PHYCONF, &phy_conf);
ctlwizchip(CW_GET_PHYCONF, &get_conf);
printf("The current Mbtis speed : %d\r\n", get_conf.speed == PHY_SPEED_100 ? 100 : 10);
printf("The current Duplex Mode : %s\r\n", get_conf.duplex == PHY_DUPLEX_HALF ? "Half-Duplex" : "Full-Duplex");
/* setting phy 10M mode */
phy_conf.speed = PHY_SPEED_10;
ctlwizchip(CW_SET_PHYCONF, &phy_conf);
ctlwizchip(CW_GET_PHYCONF, &get_conf);
printf("The current Mbtis speed : %d\r\n", get_conf.speed == PHY_SPEED_100 ? 100 : 10);
printf("The current Duplex Mode : %s\r\n", get_conf.duplex == PHY_DUPLEX_HALF ? "Half-Duplex" : "Full-Duplex");
/* setting phy low power mode */
wizphy_setphypmode(PHY_POWER_DOWN);
printf("The current phy is : %s\r\n", (read_phy_pwdn(PHYCR1) & (1 << 5)) ? "normal mode" : "power down mode");
printf("FHY is in power down state and cannot be ping reply.\r\n");
setPHYCFGR((uint8_t) PHYCFGR_RST);
setPHYCFGR(PHYCFGR_OPMDC_PDOWN);
printf("The current phy is : %s\r\n", (getPHYCFGR() & PHYCFGR_OPMDC_PDOWN) ? "power down mode" : "normal mode");
printf("FHY is in power down state and cannot be ping reply.\r\n");
while (true)
{
}
}4.5 Test phenomena
After the hardware connection is correct, compile the burning program, open WIZ UartTool, select the corresponding COM port, and fill in the parameters: baud rate 115200, 8 data bits, 1 stop bit, no parity bit, no flow control, complete After setting the parameters, click open to open and observe the information printed by the serial port to obtain the device running status; you can see the information read back: the PHY enters the corresponding mode in sequence according to the configuration, as shown in the figure below:
5. Precautions
After entering power-down mode, data cannot be sent or received, and ping requests will not be replied to;
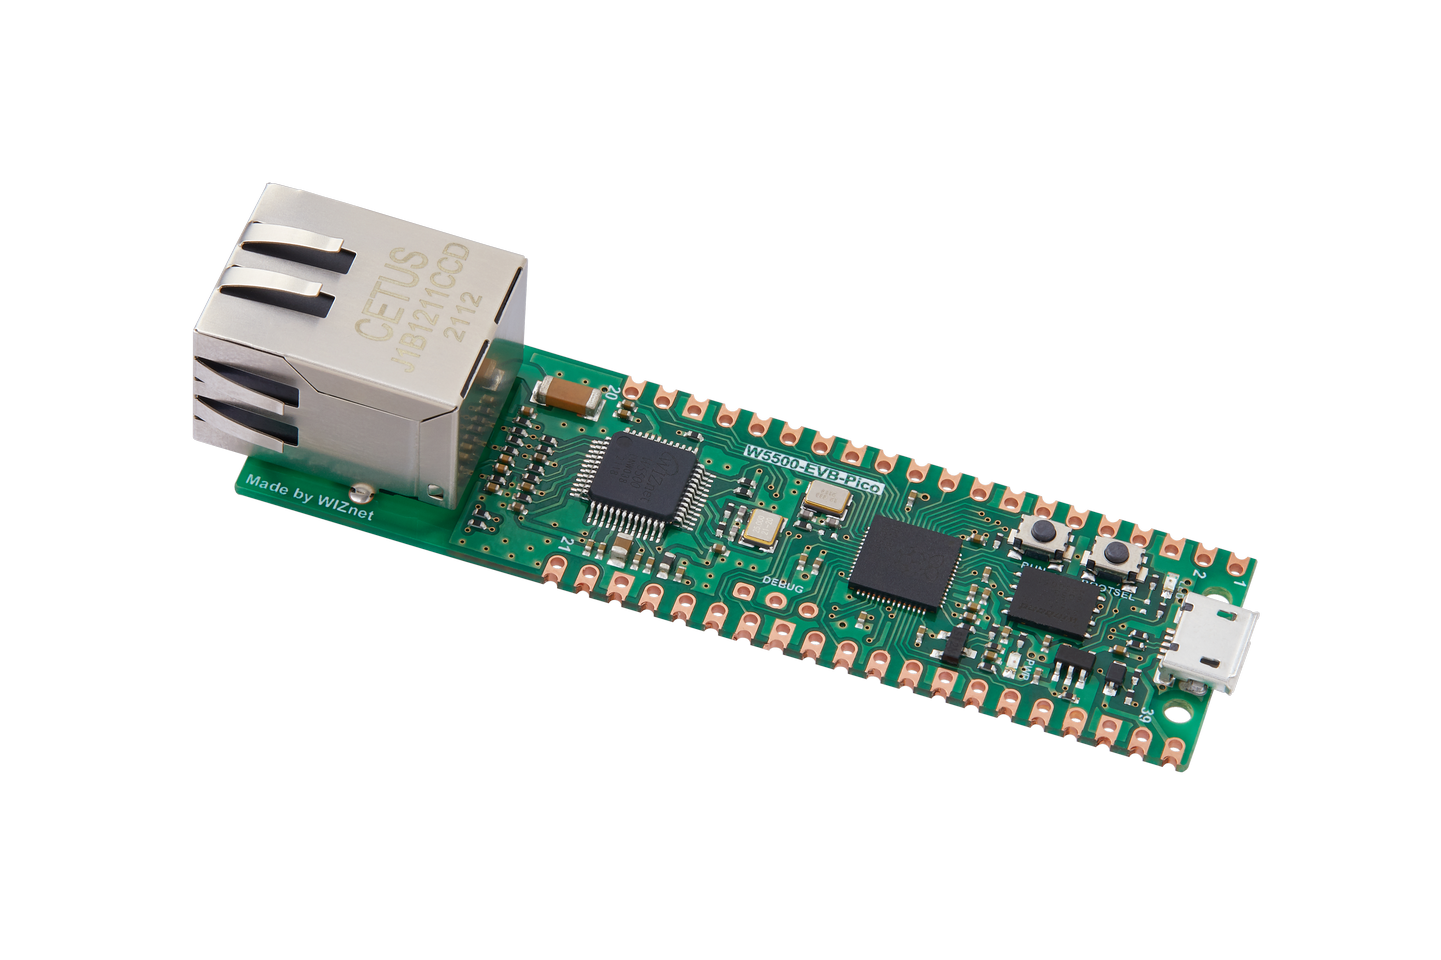
If we want to use WIZnet's W5500 to implement the example in this chapter, we only need to modify two places:
Find the wizchip_conf.h header file under library/ioLibrary_Driver/Ethernet/ and modify the WIZCHIP macro definition to W5500.
Find the CMakeLists.txt file under the library and set COMPILE_SEL to ON. OFF is W5100S and ON is W5500.


