18. W5100S/W5500+RP2040 Raspberry Pi Pico<SNMP Management Example>
18. W5100S/W5500+RP2040 Raspberry Pi Pico<SNMP Management Example>

1 Introduction
SNMP (Simple Network Management Protocol) is a standardized protocol for network management. Its emergence has greatly simplified the management of network devices by network administrators. SNMP has a wide range of applications and can be used to monitor the operating status, performance, faults, etc. of network equipment, helping administrators discover and solve problems in a timely manner. At the same time, SNMP can also realize remote management and control of network equipment, improving the efficiency and convenience of network management.
W5100S/W5500 is an embedded Ethernet controller integrating a full hardware TCP/IP protocol stack. It is also an industrial-grade Ethernet control chip. This tutorial will introduce the basic principles, usage steps, application examples and precautions of W5100S/W5500 Ethernet DHCP application to help readers better master this technology.
2 Brief introduction
2.1 What is SNMP?
SNMP (Simple Network Management Protocol) is an application layer protocol used for network device management. It allows network administrators to monitor, configure and control devices in the network to ensure proper network operation and performance optimization. The SNMP protocol is based on the client-server model, in which network devices are regarded as agents and the network management system acts as managers. The manager sends SNMP messages to the agent to obtain device status information and perform operations.
2.2 Advantages of SNMP
The advantages of SNMP include:
Simple and easy to use: The SNMP protocol is simple in design, easy to understand and implement, does not require complicated implementation processes, and does not occupy too many network resources, making it very easy to use.
Widely supported: SNMP protocol is widely used in network device management, and almost all network managers prefer to use simple SNMP to complete work operations. Major network hardware product manufacturers have added support for the SNMP protocol when designing and producing network equipment such as bridges and routers.
Scalability: The SNMP protocol has good scalability. Because the protocol itself is very simple, any upgrade or expansion of the protocol is also very convenient to meet future network development needs.
Standardization: The SNMP protocol is one of the Internet standard protocols, ensuring its compatibility and interoperability, allowing devices from different manufacturers and different models to communicate and collaborate with each other.
Versatility: The SNMP protocol provides a wealth of management information and control functions. It can monitor the status, configuration parameters, performance indicators, etc. of the device, and can also remotely configure and control the device.
Security: The SNMP protocol provides encryption and authentication functions to ensure data security and integrity. At the same time, SNMP also supports user role-based access control to ensure that only authorized users can access network devices.
2.3 How SNMP works
The working steps of SNMP are as follows:
The NMS sends an SNMP request message to the Agent, requesting to obtain certain management variables of the device.
After receiving the request message, the Agent performs a Read or Write operation according to the message type, generates a response message, and returns the message to the NMS.
When an abnormal situation occurs or the status of the device changes (such as the device restarts), the Agent will also actively send Trap messages to the NMS to report the events to the NMS.
A message actively sent by the Agent to notify the NMS process that something has happened.
Agent reports the notification message to NMS.
2.4 SNMP application scenarios
The following are some common SNMP application scenarios:
Network monitoring: SNMP can be used to monitor the status and performance of network devices, including CPU utilization, memory usage, disk space, port status, etc. By monitoring these indicators in real time, abnormalities in network equipment can be discovered in a timely manner and corresponding measures can be taken for maintenance and troubleshooting.
Troubleshooting: SNMP can be used for troubleshooting. By obtaining detailed information about network devices, network faults can be quickly located and resolved. For example, when there is a problem with the network connection, you can use SNMP to check the device's interface status, error counters and other information to determine the cause of the failure.
Network configuration: SNMP can be used to remotely configure network devices, including IP address, device name, routing configuration, etc. Through the SNMP protocol, network administrators can configure and manage devices remotely, improving management efficiency and management scope.
Security management: SNMP can be used for network security management to protect the security and integrity of data through encryption and authentication mechanisms. At the same time, SNMP can also be used for access control. Only authorized users can access network devices to ensure that network devices will not be accessed and attacked by unauthorized users.
Flow control: SNMP can be used for flow control. By obtaining the traffic data of network devices, network traffic can be controlled and optimized. For example, you can use the SNMP protocol to perform traffic shaping and traffic control on network devices to ensure the stable operation of network devices and the performance of network applications.
3 WIZnet Ethernet chip
WIZnet mainstream hardware protocol stack Ethernet chip parameter comparison
| Model | Embedded Core | Host I/F | TX/RX Buffer | HW Socket | Network Performance |
|---|---|---|---|---|---|
| W5100S | TCP/IPv4, MAC & PHY | 8bit BUS, SPI | 16KB | 4 | Max.25Mbps |
| W6100 | TCP/IPv4/IPv6, MAC & PHY | 8bit BUS, Fast SPI | 32KB | 8 | Max.25Mbps |
| W5500 | TCP/IPv4, MAC & PHY | Fast SPI | 32KB | 8 | Max 15Mbps |
W5100S/W6100 supports 8-bit data bus interface, and the network transmission speed will be better than W5500.
W6100 supports IPV6 and is compatible with W5100S hardware. If users who already use W5100S need to support IPv6, they can be Pin to Pin compatible.
W5500 has more Sockets and send and receive buffers than W5100S.
4 SNMP network setting example overview and usage
4.1 Flowchart
The running block diagram of the program is as follows:
4.2 Core preparation work
Software
Visual Studio Code
WIZnet UartTool
Net-SNMP
Hardware
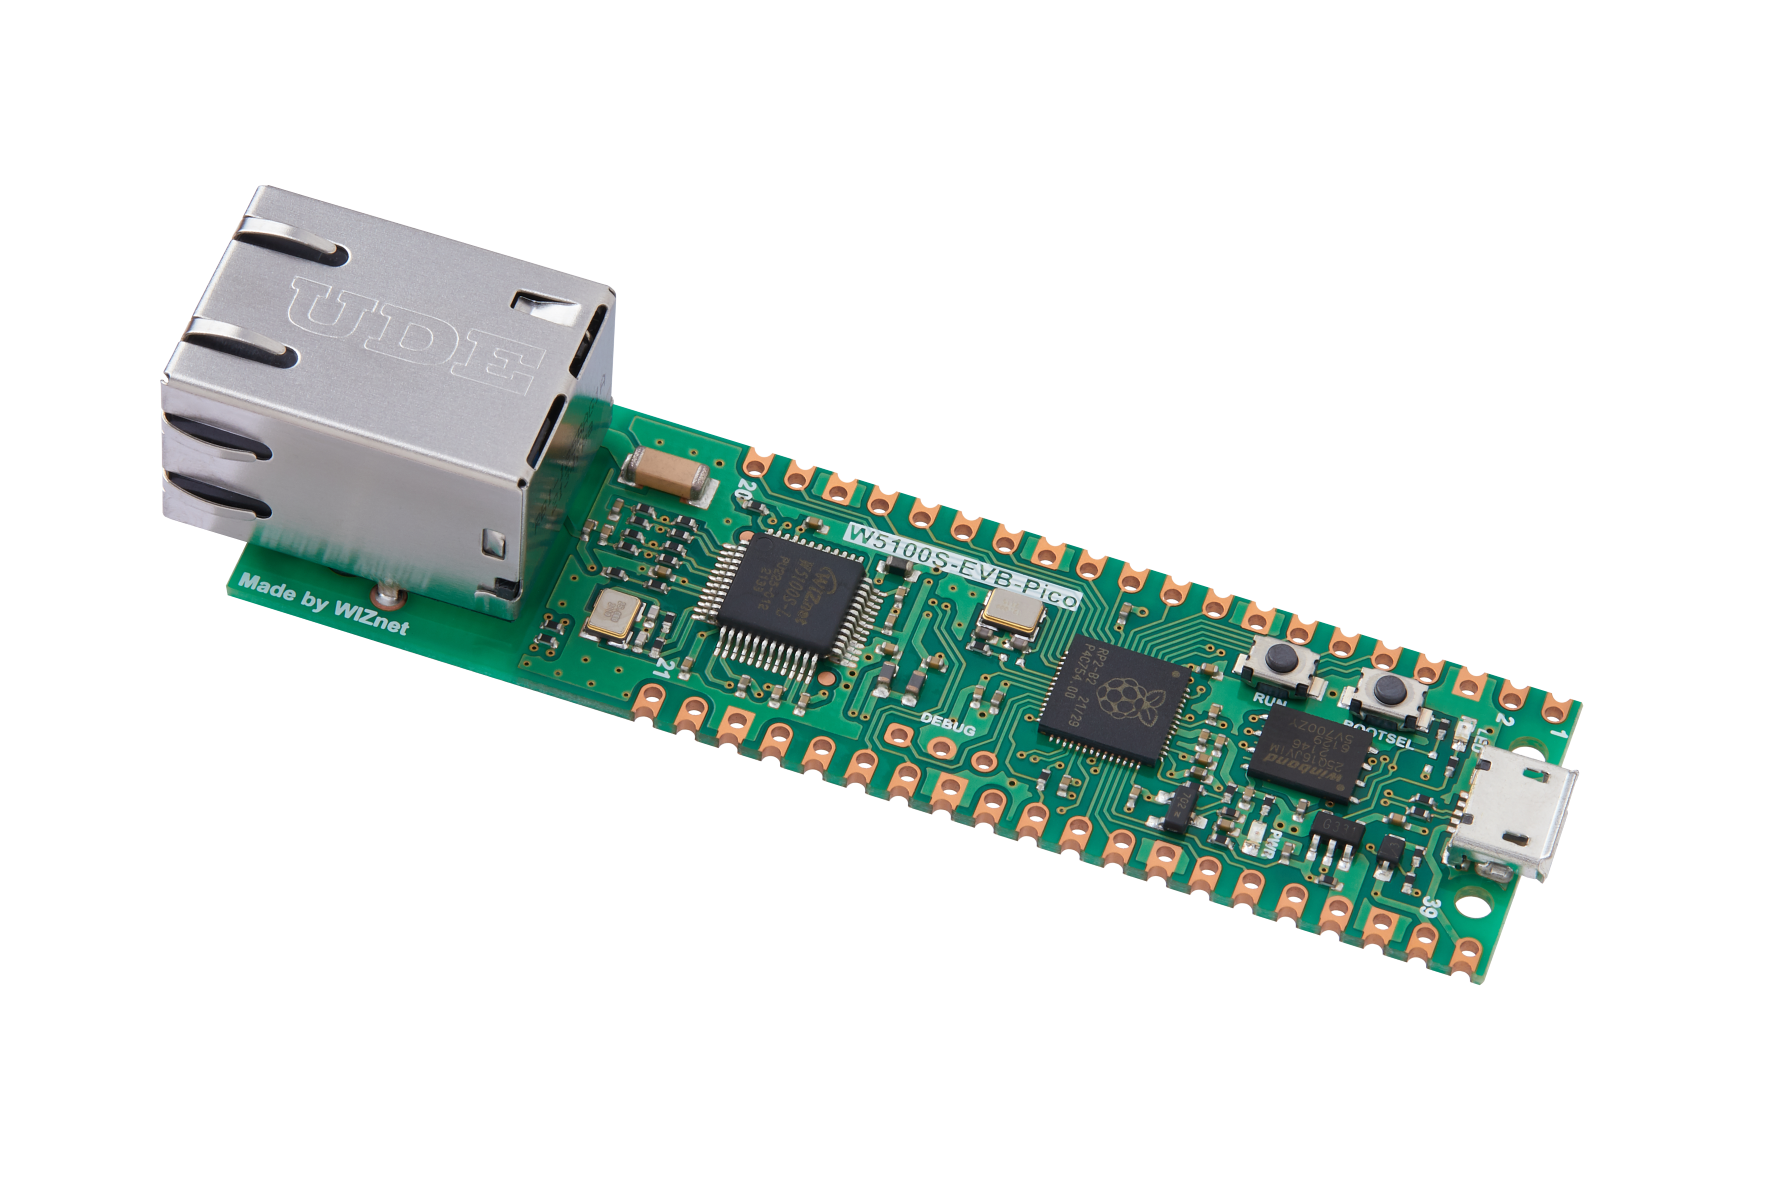
W5100SIO module + RP2040 Raspberry Pi Pico development board or WIZnet W5100S-EVB-Pico development board
Micro USB interface data cable
TTL to USB
cable
4.3 Connection method
Connect the USB port of the PC through the data cable (mainly used for burning programs, but can also be used as a virtual serial port)
Convert TTL serial port to USB and connect the default pin of UART0:
RP2040 GPIO0 (UART0 TX) <----> USB_TTL_RX
RP2040 GPIO1 (UART0 RX) <----> USB_TTL_TX
When wiring using module connection RP2040
RP2040 GPIO16 <----> W5100S MISO
RP2040 GPIO17 <----> W5100S CS
RP2040 GPIO18 <----> W5100S SCK
RP2040 GPIO19 <----> W5100S MOSI
RP2040 GPIO20 <----> W5100S RST
Connect the PC and device to the router LAN port through network cables
4.4 Main code overview
We are using the official ioLibrary_Driver library of WIZnet. The library supports rich protocols and is easy to operate. The chip integrates the TCP/IP protocol stack on the hardware. The library also encapsulates the protocols above the TCP/IP layer. We only need to simply call the corresponding function to complete the application of the protocol. .
Step 1: Add the corresponding .h file to the snmp_run.c file.
Step 2: Define the macros required for DHCP configuration and the macros that define the GPIO port.
Step 3: Configure network information, turn on DHCP mode, define and initialize the HTTP server IP and port number.
Step 4: Write a timer callback processing function for DHCP 1s tick timer processing function as well as lamp initialization, lamp status acquisition and modification status functions for display effects.
Step 5: The main function first defines a timer structure parameter to trigger the timer callback function, initializes the serial port and SPI, then writes the network configuration parameters of W5100S, initializes DHCP and starts DHCP to obtain the IP. Print the obtained IP. When the number of acquisitions exceeds the maximum number of acquisitions, use the static IP. Then initialize the lamp and set the status of the lamp. Then initialize the SNMP function. You need to pass in the IP of the PC side, its own IP and the socket number. The main loop begins. Execute snmp execution function.
// Use dhcp
// Use socket
// Use snmp
// Socket number
// Send and receive cache size
// DHCP retry times
// Onboard led pin
/**
* @brief Timer callback processing function, used for snmp timing processing
* @param t: Timer structure
* @return bool
*/
bool precess_snmp_time_handle(struct repeating_timer *t);
/**
* @brief Timer callback processing function, used for dhcp timing processing
* @param t :Timer structure
* @return bool
*/
bool repeating_timer_callback(struct repeating_timer *t);
/**
* @brief Initialization of chip network information
* @param conf_info :Static configuration information
* @return none
*/
void network_init(wiz_NetInfo *conf_info);
/**
* @brief Initiallization led and Registration function
* @param none
* @return none
*/
void UserLED_Init(void);
/**
* @brief get led status, in order to adapt data format, see details the file: snmp_custom.c 's snmpData[]
* @param ptr: use to build string
* @param len: length of build string
* @return none
*/
void getUserLEDStatus(void *ptr, uint8_t *len);
/**
* @brief set led status, in order to adapt data format, see details the file: snmp_custom.c 's snmpData[]
* @param val: 0 -> led off, 1 -> led on
* @return none
*/
void setUserLEDStatus(int32_t val);
/* Network information to be configured. */
wiz_NetInfo net_info = {
.mac = {0x00, 0x08, 0xdc, 0x1e, 0xed, 0x2e}, // Configured MAC address
.ip = {192, 168, 1, 10}, // Configured IP address
.sn = {255, 255, 255, 0}, // Configured subnet mask
.gw = {192, 168, 1, 1}, // Configured gateway
.dns = {8, 8, 8, 8}, // Configured domain address
.dhcp = NETINFO_DHCP}; // Configured dhcp model,NETINFO_DHCP:use dhcp; NETINFO_STATIC: use static ip.
static uint8_t ethernet_buf[ETHERNET_BUF_MAX_SIZE] = {
0,
}; // Send and receive cachestatic
uint8_t manager[4] = {192, 168, 1, 2}; // manager ip, (is your pc ip or others managers)
static uint8_t breakout_flag = 0; // Define the DHCP acquisition flag
int main()
{
struct repeating_timer timer; // Define the timer structure
struct repeating_timer timer1;
wiz_NetInfo get_info; // Stores the read configuration information
/* MCU init */
stdio_init_all(); // Initialize the main control peripheral
wizchip_initialize(); // Initialize the chip interface
/*dhcp init*/
DHCP_init(SOCKET_ID, ethernet_buf); // DHCP initialization
add_repeating_timer_ms(1000, repeating_timer_callback, NULL, &timer); // Add DHCP 1s Tick Timer handler
add_repeating_timer_ms(10, precess_snmp_time_handle, NULL, &timer1); // Add SNMP 10ms Tick Timer handler
printf("wiznet chip snmp example.\r\n");
network_init(&net_info); // Configuring Network Information
print_network_information(&get_info); // Read back the configuration information and print it
UserLED_Init();
setUserLEDStatus(0);
snmpd_init(manager, get_info.ip, SOCKET_ID, SOCKET_ID + 1); // Initialize snmp
while (true)
{
snmpd_run(); // Run snmp
}
}
void network_init(wiz_NetInfo *conf_info)
{
int count = 0;
uint8_t dhcp_retry = 0;
if (conf_info->dhcp == NETINFO_DHCP)
{
while (true)
{
switch (DHCP_run()) // Do the DHCP client
{
case DHCP_IP_LEASED: // DHCP resolves the domain name successfully
{
if (breakout_flag == 0)
{
printf("DHCP success\r\n");
getIPfromDHCP((*conf_info).ip);
getGWfromDHCP((*conf_info).gw);
getSNfromDHCP((*conf_info).sn);
getDNSfromDHCP((*conf_info).dns);
wizchip_setnetinfo(conf_info); // Configuring Network Information
close(SOCKET_ID); // After dhcp close the socket, avoid errors in later use
breakout_flag = 1;
}
break;
}
case DHCP_FAILED:
{
printf(" DHCP failed \r\n");
count++;
if (count <= DHCP_RETRY_COUNT) // If the number of times is less than or equal to the maximum number of times, try again
{
printf("DHCP timeout occurred and retry %d \r\n", count);
}
else if (count > DHCP_RETRY_COUNT) // If the number of times is greater than DHCP fails
{
breakout_flag = 1; // if DHCP fail, use the static
DHCP_stop(); // Stop processing DHCP protocol
conf_info->dhcp = NETINFO_STATIC;
wizchip_setnetinfo(conf_info); // Configuring Network Information
break;
}
break;
}
}
if (breakout_flag)
{
printf("config succ\r\n");
break;
}
}
}
else
{
wizchip_setnetinfo(conf_info); // Configuring Network Information
}
}
bool repeating_timer_callback(struct repeating_timer *t)
{
DHCP_time_handler(); // DHCP 1s Tick Timer handler
return true;
}
bool precess_snmp_time_handle(struct repeating_timer *t)
{
SNMP_time_handler(); // SNMP 10ms Tick Timer handler
}
void UserLED_Init()
{
gpio_init(USER_LED_PIN); // Initialize LED
gpio_set_dir(USER_LED_PIN, GPIO_OUT); // Output mode
UserLED_Control_init(getUserLEDStatus, setUserLEDStatus); // Pass control control function
}
void getUserLEDStatus(void *ptr, uint8_t *len)
{
uint8_t led_status = 0;
led_status = gpio_get(USER_LED_PIN);
*len = sprintf((char *)ptr, "USER LED(green) [%s]. ", led_status ? "On" : "Off");
}
void setUserLEDStatus(int32_t val)
{
if (val == 0)
gpio_put(USER_LED_PIN, 0);
else
gpio_put(USER_LED_PIN, 1);
}
4.5 Results demonstration
After the burning is successful, configure the parameters of the serial port and open the terminal with "Windows+R".
Press the reset button, and after the serial port prints out the network information, enter a command at the terminal to control the light on and off.
If there is an error in sending the command, it is likely that Net-SNMP is not installed or the command is wrong. If the serial port can receive the message, it means successful control, etc.
5 Precautions
Note that Net-SNMP software needs to be installed on the computer, and it can be installed according to the default selection.
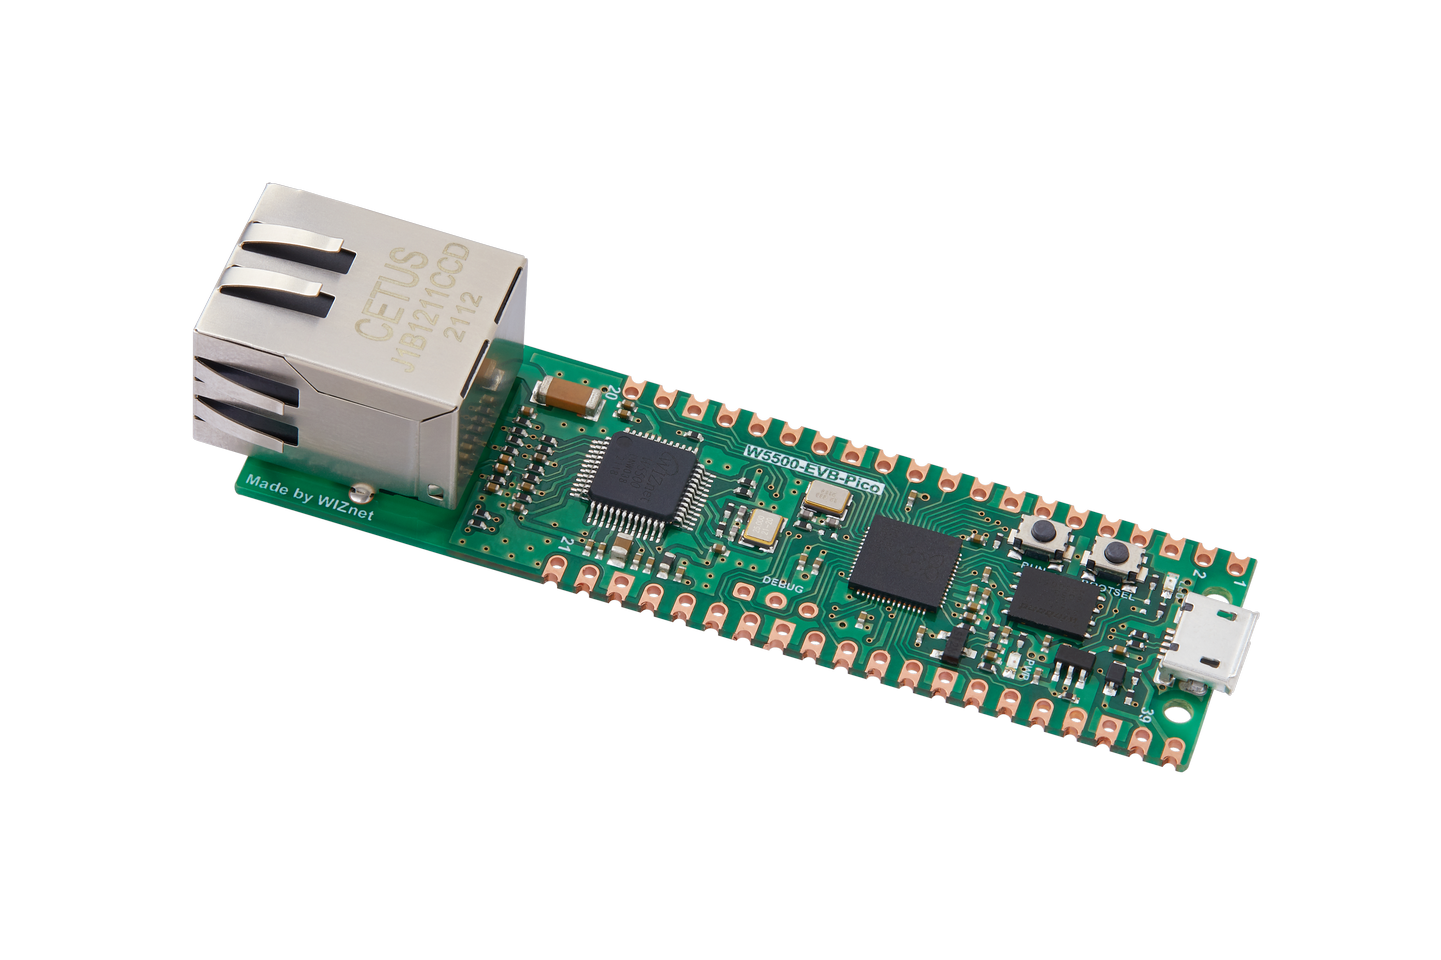
If we want to use WIZnet's W5500 to implement the example in this chapter, we only need to modify two places:
(1) Find the wizchip_conf.h header file under library/ioLibrary_Driver/Ethernet/ and modify the WIZCHIP macro definition to W5500.
(2) Find the CMakeLists.txt file under library and set COMPILE_SEL to ON. OFF is W5100S and ON is W5500.


