
Simple two-way serial between Raspberry Pi Pico and Pi (or PC)
Simple two-way serial between Raspberry Pi Pico and Pi (or PC)
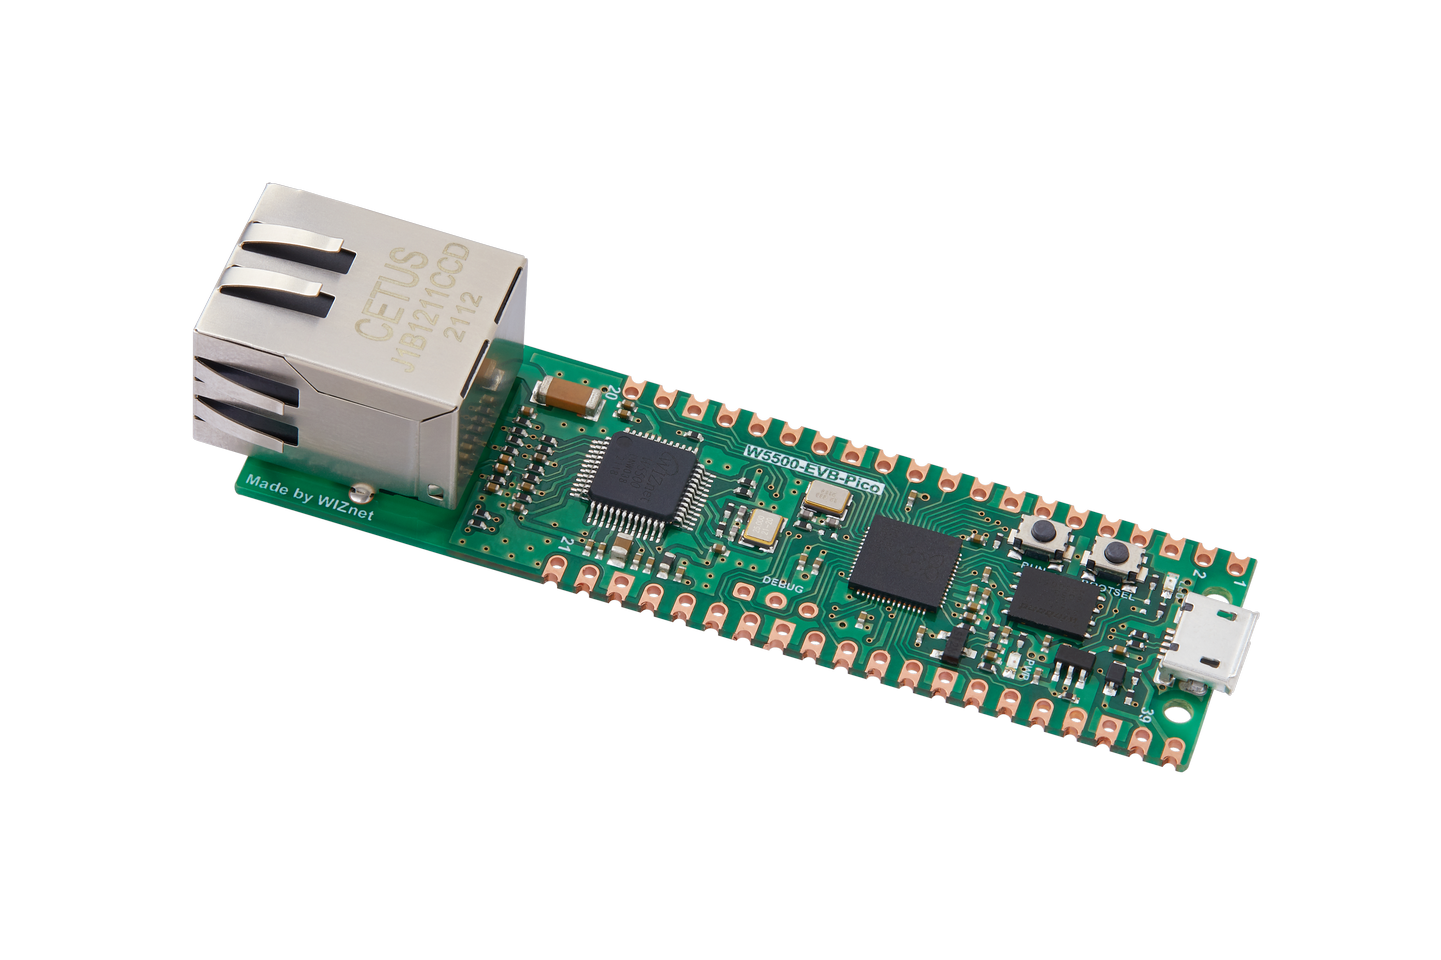
WIZnet - W5500-EVB-Pico
x 1
core
Source Github: iryek-rpi/pico-encoder: Simple Raspberry Pi Pico data encoder (github.com)
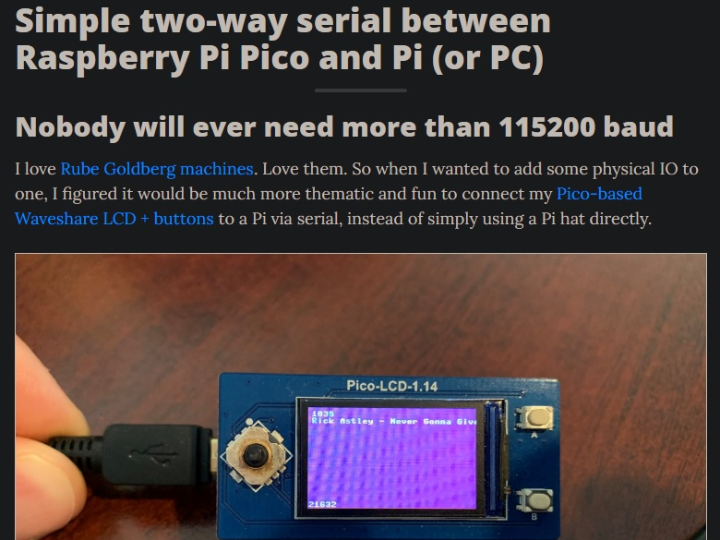
Simple two-way serial between Raspberry Pi Pico and Pi (or PC)
Pico is a microcontroller board from Raspberry Pi, which allows users to implement projects using the beginner-friendly programming language, MicroPython. Pico-compatible boards, such as the W5500-EVB-Pico, can also be used in these projects. This article explains how to implement two-way serial communication using Pico and compatible boards. Serial communication can be applied to a variety of electronic projects, making this article valuable for developers looking to start projects using Pico.
The main points covered in the article are as follows:
- Required hardware: Pico or compatible boards (e.g., W5500-EVB-Pico), breadboard, jumper wires, USB cable, LED, resistor, button
- Software preparation: Installing Thonny IDE and installing MicroPython firmware on Pico or compatible boards
- Implementing serial communication: Introducing how to implement serial communication using UART (Universal Asynchronous Receiver/Transmitter) on Pico or compatible boards
- Example project: Providing a simple serial communication example using LED and button between two devices with Pico or compatible boards
By reading this article, you can learn how to implement two-way serial communication using Pico and compatible boards, and acquire skills that can be applied to various electronic projects. This article provides interesting information for developers interested in electronic projects and serves as a helpful guide for developers looking to start projects using Pico and compatible boards, such as the W5500-EVB-Pico.
-
Github Source
