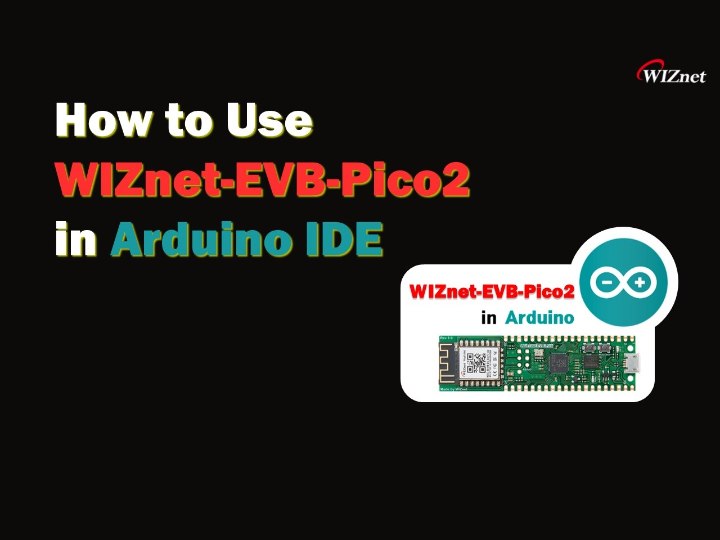
How to Use WIZnet-EVB-Pico2 in Arduino IDE
How to Use WIZnet-EVB-Pico2 in Arduino IDE

Introduction
Since the W5500-EVB-Pico2 is a Raspberry Pi PICO2 board with a WIZnet Ethernet Chip, you can use several development environments supported by the Raspberry Pi PICO2.
The Raspberry Pi PICO2 supports the Arduino IDE development environment, and the W5500-EVB-Pico2 can be used in the same way.
In this post, I will show you how to develop with the Arduino IDE environment using the very simple W5500-EVB-Pico2.
Step 1.
Open up the Arduino IDE and go to File->Preferences.
In the dialog that pops up, enter the following URL in the "Additional Boards Manager URLs" field:
https://github.com/earlephilhower/arduino-pico/releases/download/global/package_rp2040_index.json
Step 2.
Board -> Board Manager -> "pico" Search -> Earle F. Philhower, III install
Step 3.
Select the board
Board -> Raspberry Pi RP2040(4.x.x) -> Select: Raspberry Pi Pico 2
Step 4.
Blink Example
File -> Examples -> 01.Basics -> Select: Blink
Step 5.
Upload
Set the Port, and upload.
If you don't see a Port, you don't need to specify one. It may be uploaded automatically.
Otherwise, you can connect in Boot mode (press the Reset Button and Power ON), set the Port, and upload.
