
WizFi360-EVB-Pico TCP Server running
WizFi360-EVB-Pico is WizFi360 Wi-Fi Module + RP2040 board. This project will demonstrate how to operate by TCP Server and transmit data.
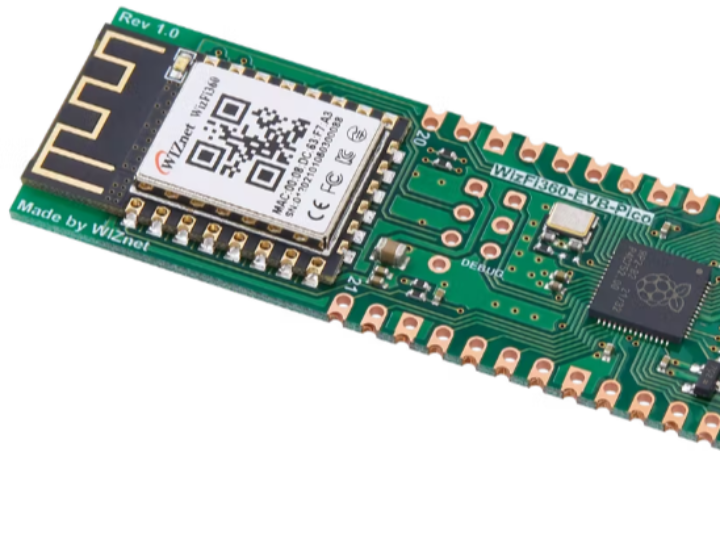

WIZnet - WizFi360-EVB-Pico
x 1
WIZnet - WIZnet WizFi360-EVB-Pico-C
x 1
I’m going to introduce how to operate WizFi360-EVB-Pico by TCP Server and transmit data to TCP Client.
For your reference, WIZnet has a separate docs website,
https://docs.wiznet.io/Product/Open-Source-Hardware/wizfi360-evb-pico
First and foremost, you need the TCP Client tool. We use Open Source Hercules.https://www.hw-group.com/software/hercules-setup-utility
A sample firmware can be downloaded or cloned from the following Github link: https://github.com/Wiznet/WizFi360-EVB-Pico-C
Please clone, update submodule and patch.
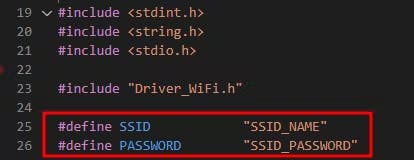
Input the your Wi-Fi AP SSID & Password into the path WizFi360-EVB-Pico-C\examples\TCP_Client_Demo\socket_startup.c
After the build, download tcp_server_demo.uf2 file to WizFi360-EVB-Pico.
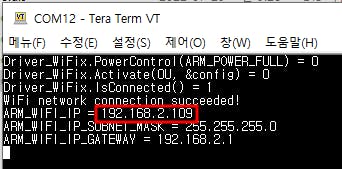
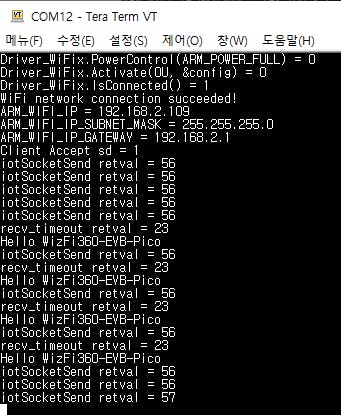
You can see the logs from usb port via serial terminal. and check IP address
This example is set default port number 5000. You can change this number in WizFi360-EVB-Pico-C\examples\TCP_Server_Demo\iot_demo.c #define TARGET_PORT 5000
Open the Hercules tool and go to TCP Client Tab, input the IP and Port.Click Connect and Send Data.
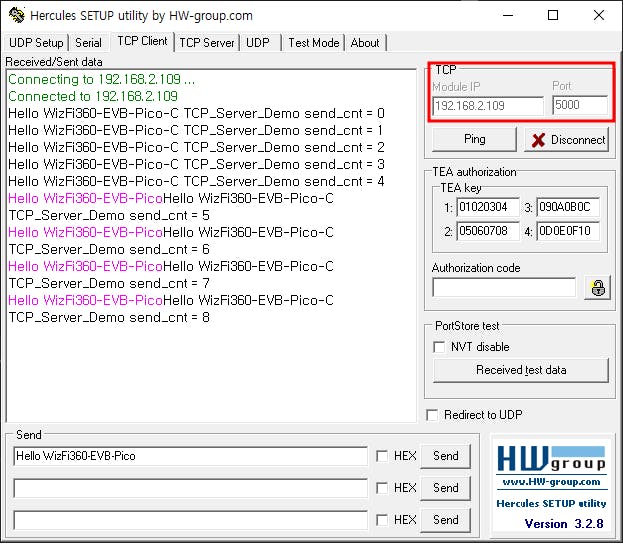
Congratulations!Now, your device is successfully operated by TCP Server :)
-
code

-
Schematics
https://github.com/Wiznet/Hardware-Files-of-WIZnet/tree/master/08_OSHW/WizFi360-EVB-Pico/WizFi360-EVB-Pico_V100/Schematic