
How to Build W6300-EVB-Pico or W6300-EVB-Pico2 on Arduino
How to Build W6300-EVB-Pico or W6300-EVB-Pico2 on Arduino
COMPONENTS
Hardware components
 Software Apps and online services

WIZnet - W6300-EVB-Pico
x 1
Arduino - Arduino IDE
x 1
PROJECT DESCRIPTION
PROJECT DESCRIPTION
This guide provides instructions on how to build the W6300-EVB-Pico or W6300-EVB-Pico2 on Arduino. The Arduino version used is 1.8.19, which can be downloaded from the link below.
https://www.arduino.cc/en/software
Additionally, this post is based on and works with earlephilhower's arduino-pico.
https://github.com/earlephilhower/arduino-pico
- Installing Raspberry Pi Pico/RP2040/RP2350 Boards
Open Arduino, go to File -> Preferences -> Additional Boards Manager URLs:
Input https://github.com/earlephilhower/arduino-pico/releases/download/global/package_rp2040_index.json
And go to Tools -> Board -> Boards Manager, search for 'RP2040', and install Raspberry Pi Pico/RP2040/RP2350 (version 4.6.0 or later).
- Build example and check
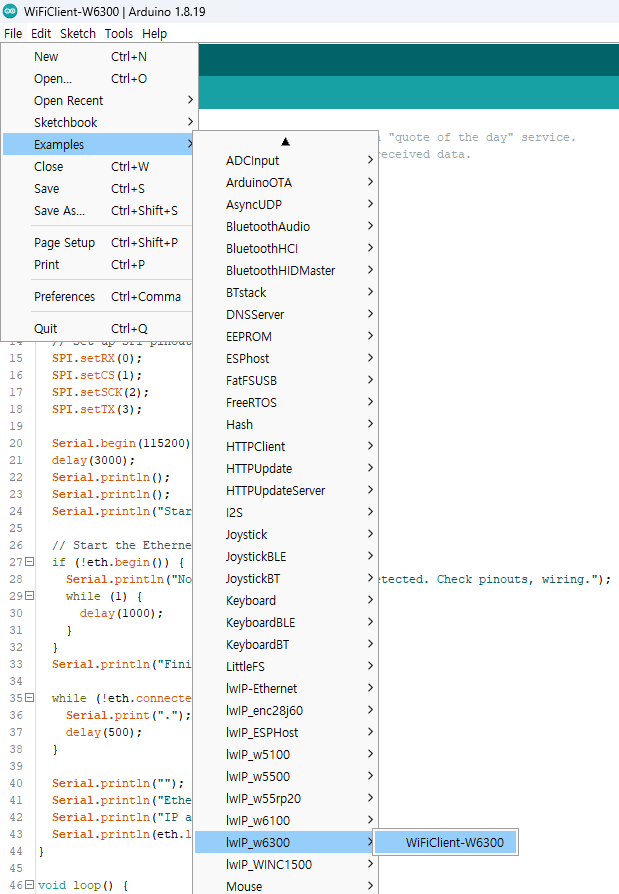
Go to File -> Examples -> lwIP_w6300 -> WiFiClient-W6300
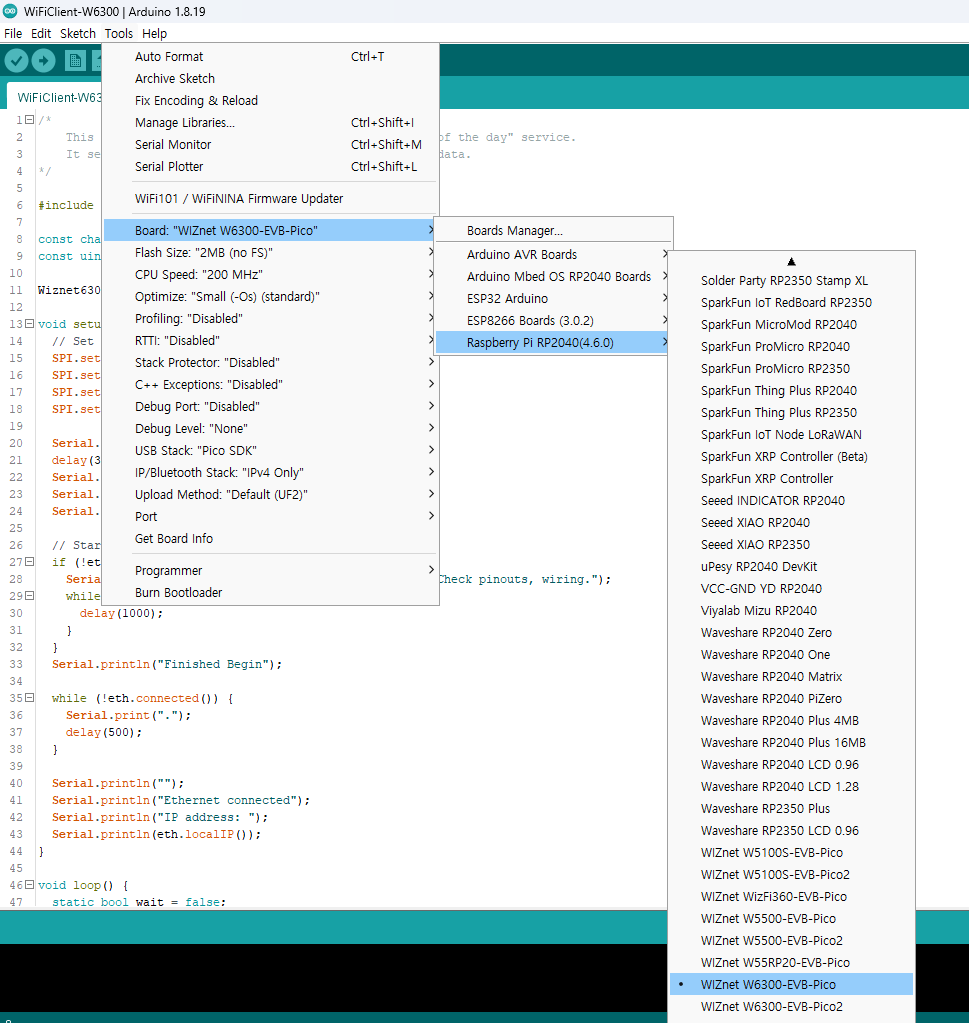
And Go to Tools -> Board -> Raspberry Pi RP2040 -> WIZnet W6300-EVB-Pico or WIZnet W6300-EVB-Pico2
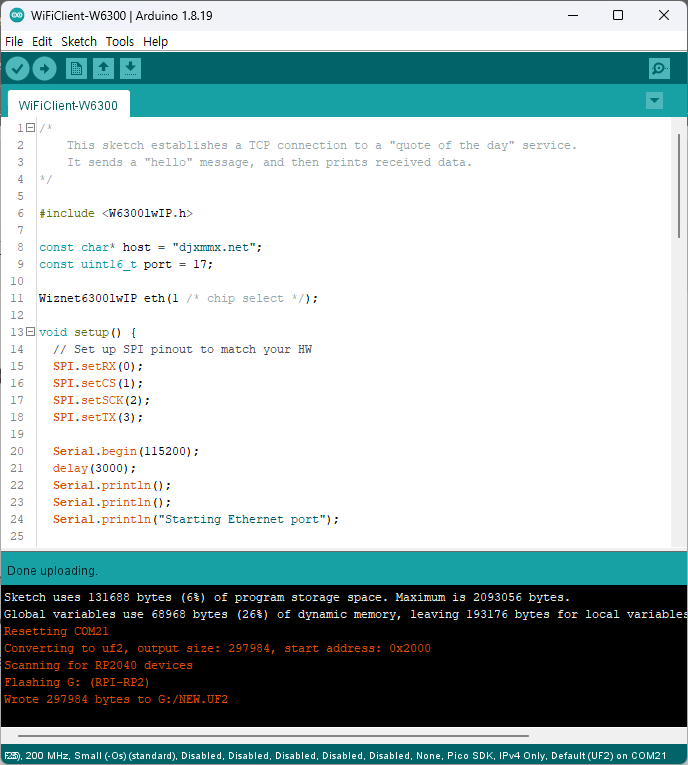
- Click Upload
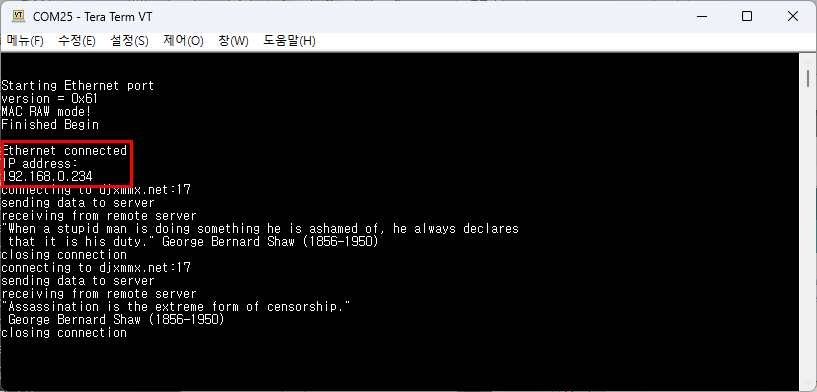
Check serial terminal
Since the WiFi module is not currently connected, an error will occur, but you can check that an IP address is assigned to the Ethernet through DHCP.
In this library, the W6300 operates via QSPI.
The QSPI pins are defined by default in the following path:C:\...\AppData\Local\Arduino15\packages\rp2040\hardware\rp2040\4.6.0\libraries\lwIP_w6300\src\utility\w6300.h
#define WIZNET_PIO_QSPI_DATA_IO0_PIN 18#define WIZNET_PIO_QSPI_DATA_IO1_PIN 19#define WIZNET_PIO_QSPI_DATA_IO2_PIN 20#define WIZNET_PIO_QSPI_DATA_IO3_PIN 21#define WIZNET_PIO_QSPI_SCK_PIN 17#define WIZNET_PIO_QSPI_CS_PIN 16
Documents
-
arduino-pico

Comments
Write