Connect WizFi360-EVB-Pico to AWS IoT Core
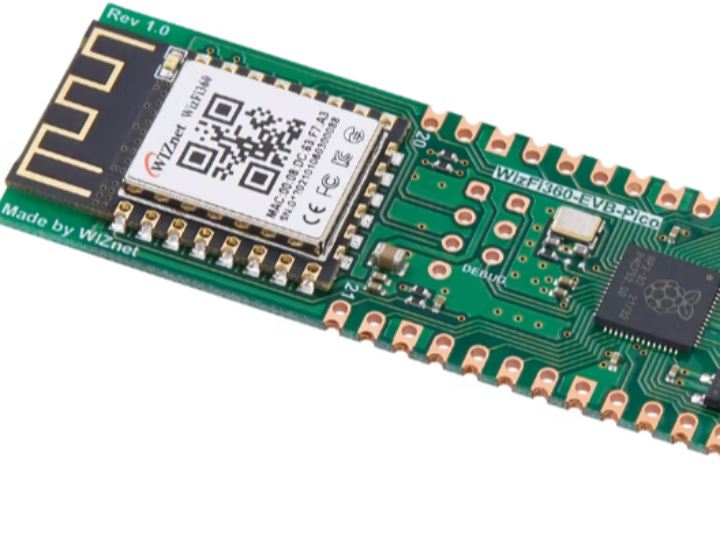
WizFi360-EVB-Pico is WizFi360 Wi-Fi Module + RP2040 board. This project will demonstrate how to connect to AWS IoT Core and transmit data.
30
Components
Hardware components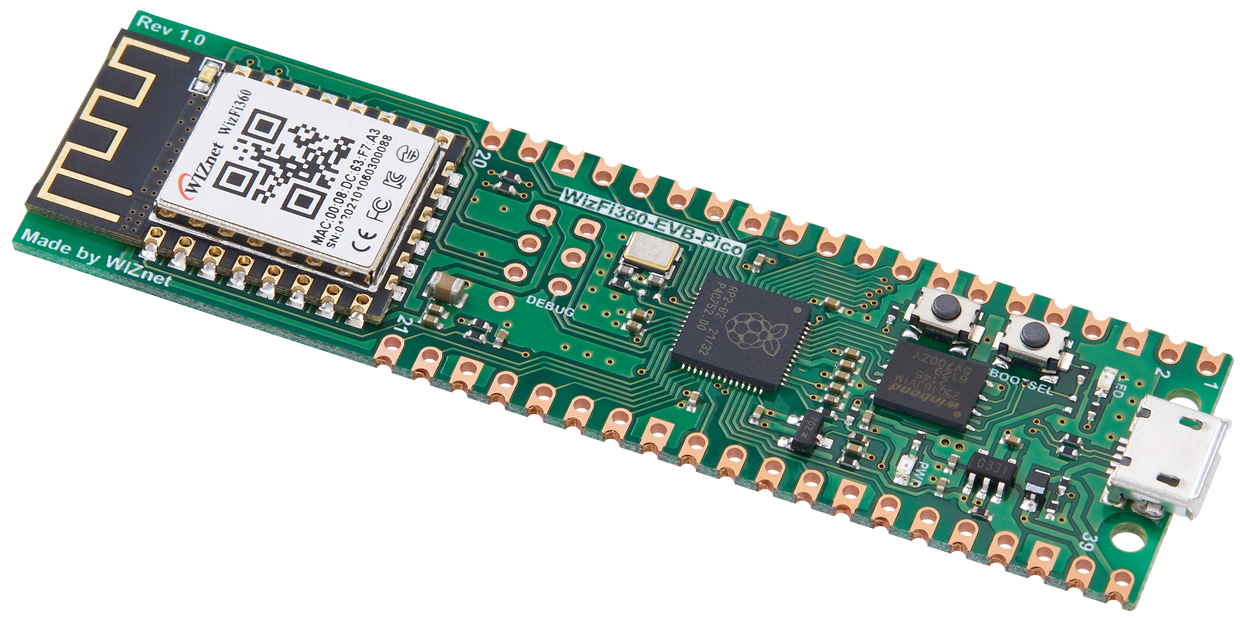
WIZnet - WizFi360-EVB-Pico
x 1

AmazonWebServices - AWS IoT
x 1

Project description
Story
I’m going to introduce how to connect WizFi360-EVB-Pico to AWS IoT Core and transmit data to cloud.
For your reference, WIZnet has a separate docs website,
https://docs.wiznet.io/Product/Open-Source-Hardware/wizfi360-evb-pico
First and foremost, you need an AWS account (sign up if you do not have one).
Once logged in, go to IoT Core Service and create a thing.
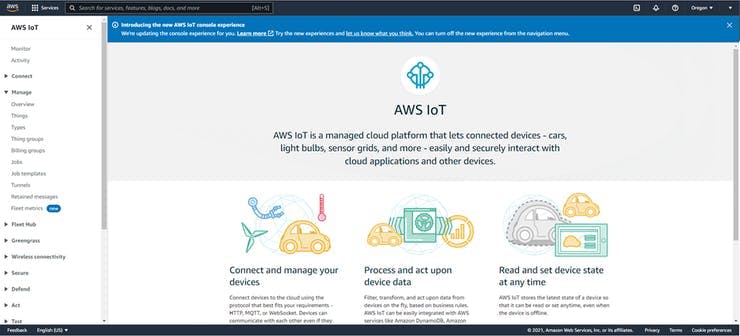
AWS IoT Core Home
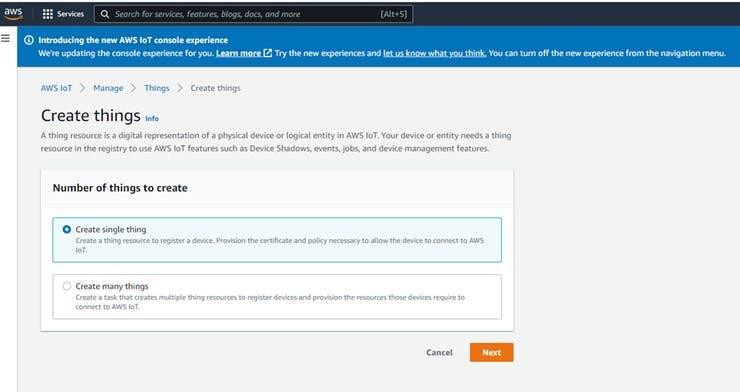
Create a single thing
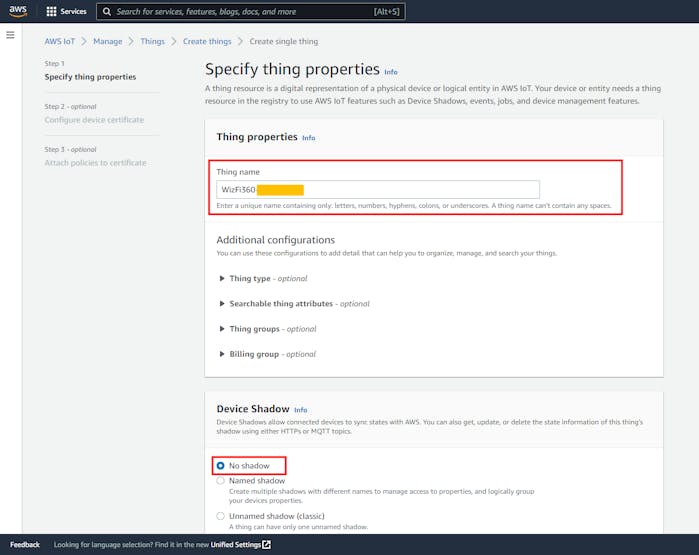
Enter thing name and DO NOT create shadow
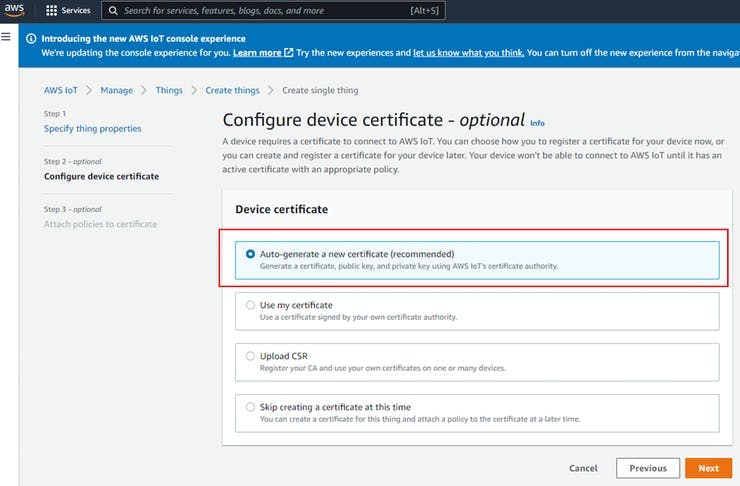
Auto-generate new certificates
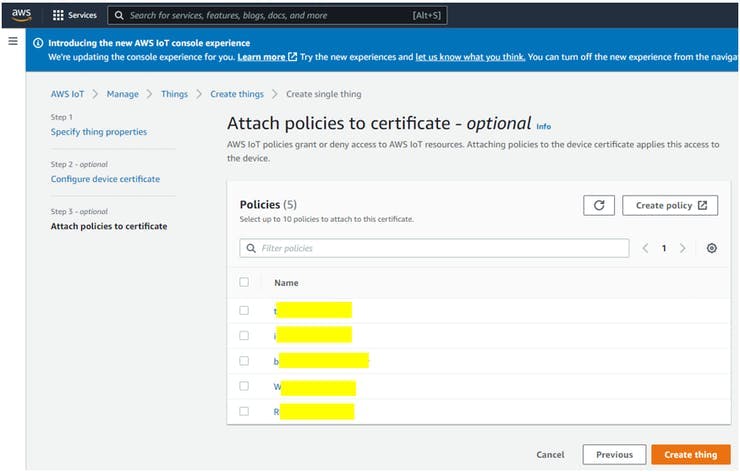
Attach a policy (you must create one if you haven’t created one). In my case, I allowed all for testing purposes; please create your policy corresponding to your needs. For more information about policies please refer to: https://docs.aws.amazon.com/iot/latest/developerguide/iot-policies.html
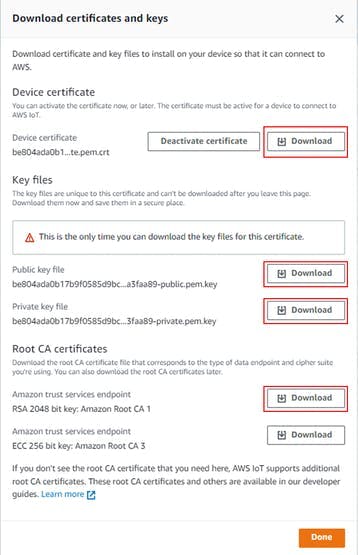
Download 4 certificates from the pop-up window. FYI, public key won’t be used. Please keep in mind that you won’t be able to download these keys later, so copy them to a safe place. Also, for security reasons it is recommended to delete these keys after adding them to the firmware.
One a ‘thing’ is created in AWS IoT Core, let’s move on to the next step – Firmware.
A sample firmware can be downloaded or cloned from the following Github link: https://github.com/Wiznet/WizFi360-EVB-Pico-AWS-C
Please clone, update submodule and patch.
Input the your Wi-Fi AP SSID & Password into..WizFi360-EVB-Pico-AWS-C\examples\AWS_MQTT_Demo\socket_startup.c
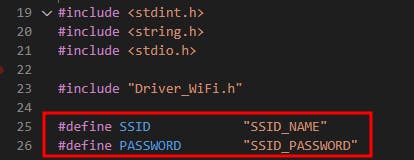
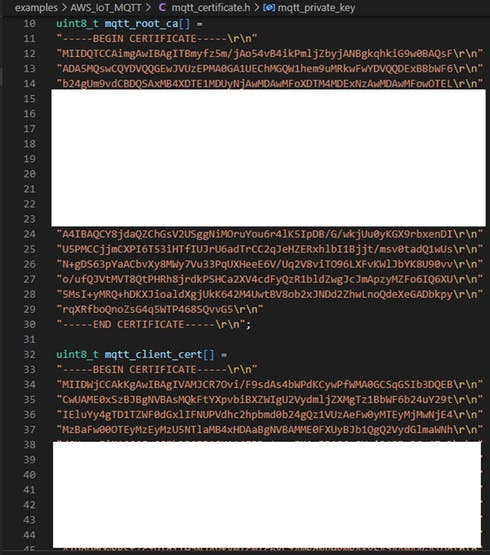
Copy the downloaded keys into..\WizFi360-EVB-Pico-AWS-C\examples\AWS_MQTT_Demo\mqtt_certificate.h.
RSA 2048bit key: Amazone Root CA 1 -> mqtt_root_ca
Device certificate -> mqtt_client_cert
Private keyfile -> mqtt_private_key
Next, it is necessary to input domain, publish & subscribe topic, Client ID. This information shall be added to define variables in..\WizFi360-EVB-Pico-AWS-C\examples\AWS_MQTT_Demo\iot_demo.c
Thing name shall be used as Client ID.
For testing purposes I used shadow/update, shadow/update/accepted as Topics.
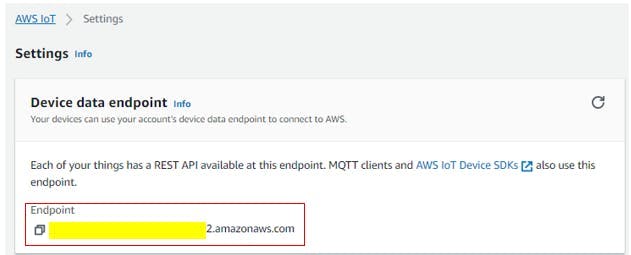
You should be able to see the following log in the serial terminal.
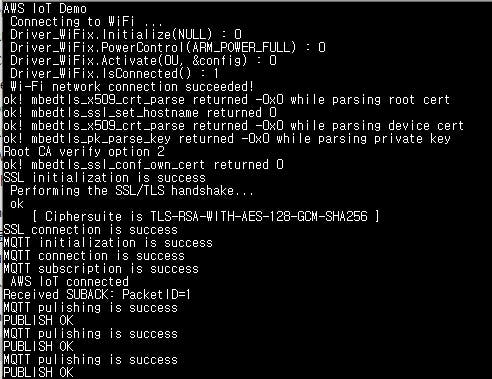
After obtaining IP address from DHCP, the device will connect to the domain through DNS and publish data.
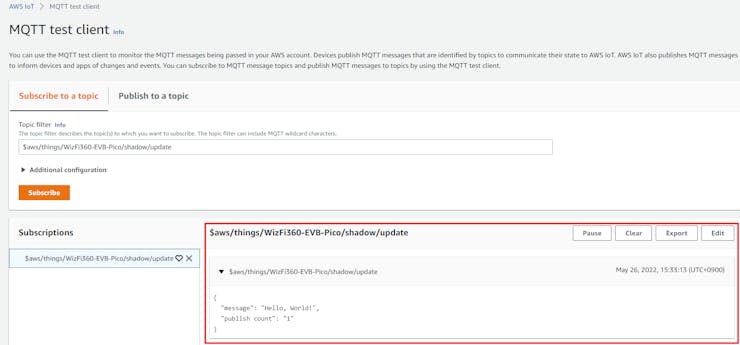
You can check the Transmitted data via MQTT Test client.
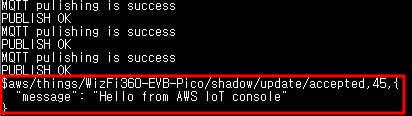
Vice versa, you can also check the published data from the ‘MQTT test client to subscribed topic.
Congratulations!
Now, your device is successfully connected to AWS IoT Core :)
Documents
-
code
-
WizFi360-EVB-Pico
https://github.com/Wiznet/Hardware-Files-of-WIZnet/tree/master/08_OSHW/WizFi360-EVB-Pico/WizFi360-EVB-Pico_V100
-
WizFi360-EVB-Pico-AWS-C


