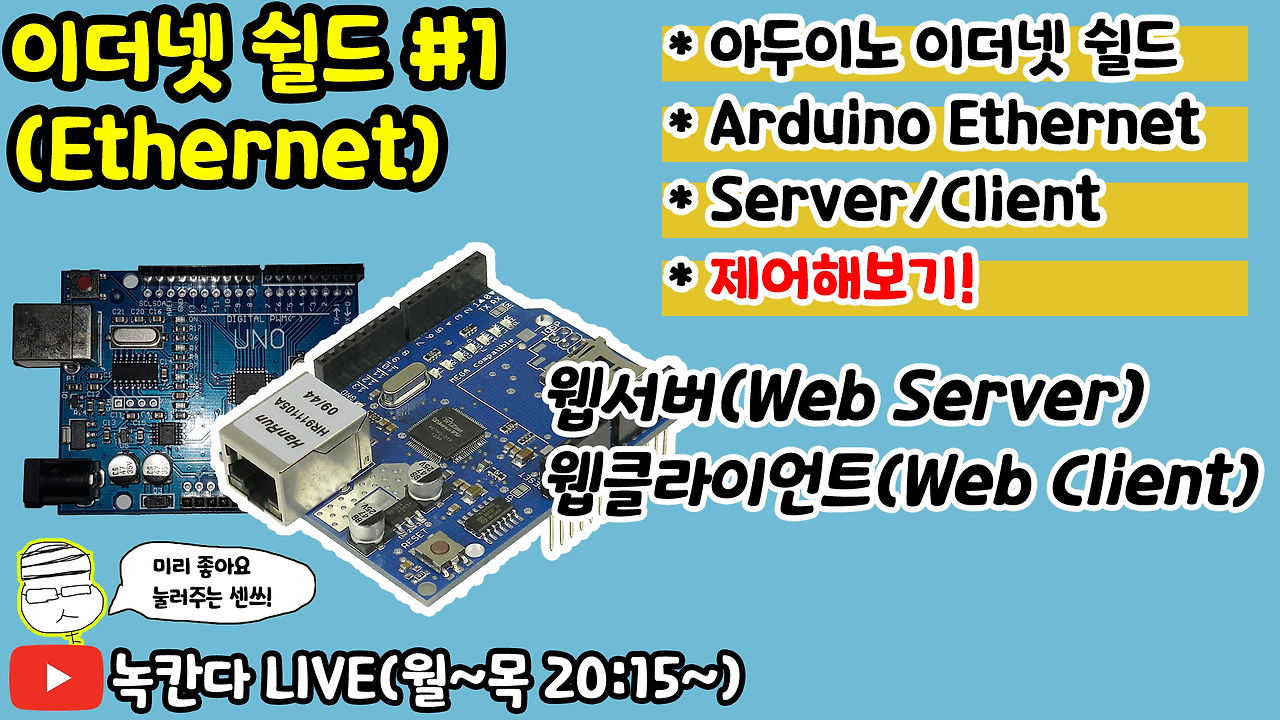
Implementing Web Server and Web Client with Arduino Ethernet Shield (Part 1)
This guide covers connecting an Arduino Uno to a W5100 Ethernet Shield for internet access. It focuses on using the Arduino as a web server and client.

Implementing Web Server and Web Client with Arduino Ethernet Shield (Part 1)
Introduction
This is the first part of NOCKANDA’s Arduino Ethernet series, which explores the use of the W5100 Ethernet Shield with an Arduino. This guide will cover connecting the Ethernet Shield to the Arduino, setting it up as a web server and a web client, and demonstrating various applications.
Overview
By connecting an Ethernet Shield to an Arduino, the device can access the internet, allowing for more robust and stable wired internet connections compared to WiFi, which is prone to disconnections and slower speeds. This is ideal for environments where stability is crucial.
Main Themes of Part 1
- Combining Arduino and Shield: How to physically connect the Arduino Uno with the Ethernet Shield.
- Setting Up Development Environment: Necessary libraries and tools.
- IP Address Allocation: Methods to obtain IP addresses automatically or assign them manually.
- Web Server Functionality: Sending and receiving messages via the web server.
- LED Control via Web: Connecting and controlling an LED through a web interface.
- Reading Sensor Values: Simulating a sensor and reading its values from the web.
- C# WinForms Application: Controlling the Arduino web server using a simple C# application.
- Node-RED Integration: Controlling the Arduino web server through Node-RED.
- Web Client Functionality: Fetching weather information from the Korean Meteorological Administration.
Code Examples
#include <SPI.h>
#include <Ethernet.h>
#include "DHT.h"
#define DHTPIN 3
#define DHTTYPE DHT11
DHT dht(DHTPIN, DHTTYPE);
#define myled 4
byte mac[] = {0xDE, 0xAD, 0xBE, 0xEF, 0xFE, 0xED};
IPAddress ip(192,168,0,123);
EthernetServer server(60000);//TCP서버를 60000번포트로 열겠다!
unsigned long t = 0;
void setup() {
Serial.begin(9600); //결과를 PC에 보내서 시리얼모니터에 출력하겠다!
pinMode(myled,OUTPUT);
dht.begin();
Ethernet.begin(mac); //동적IP주소 할당
//Ethernet.begin(mac, ip); //수동IP주소 할당
server.begin();
Serial.print("인터넷 공유기로 부터 받은 IP주소=");
Serial.println(Ethernet.localIP());
}
void loop() {
//서버가 클라이언트의 접속을 기다린다!
EthernetClient client = server.available();
if(!client){
return;
}
Serial.println("새로운 클라이언트 출현");
while(client.connected()){
if(client.available()){
//TCP로 1byte를 읽어서 PC로 전송해서 시리얼모니터에 출력하시오!
char c = client.read();
if(c == '0'){
digitalWrite(myled,LOW);
}else if(c == '1'){
digitalWrite(myled,HIGH);
}
}
if(millis() - t > 2000){
t = millis();
float h = dht.readHumidity();
float t = dht.readTemperature();
String mydata = String(t) + "," + String(h) + "," + String(digitalRead(myled));
client.write(mydata.c_str());
}
}
Serial.println("클라이언트와 연결이 해제되었습니다!");
client.stop();
}
original ppt in Korean: https://docs.google.com/presentation/d/1k0GSwWCNV0vsBIu_GSfS5GzkW__tWUTiNfNtFKFJHXE/edit?pli=1#slide=id.g207ffd3a09c_0_5
youtube link in Korean:
