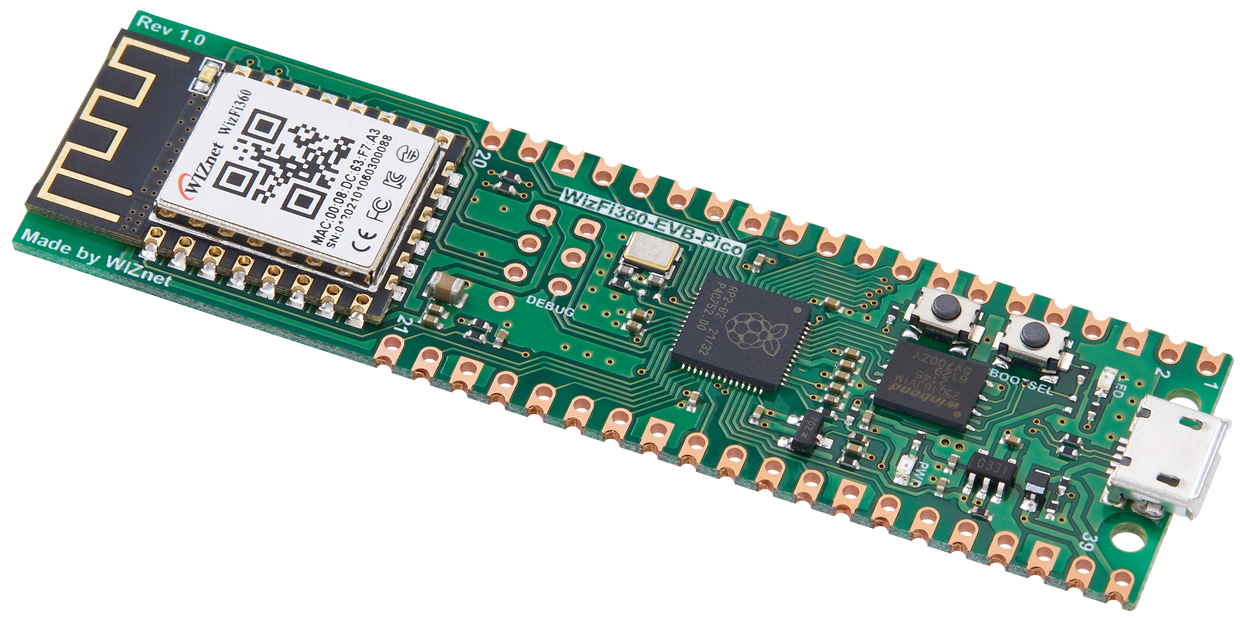
MedicBox for WizFi360-EVB-Pico
Smart Medication Management System with Alarm Reminder.

Software Apps and online services
Purpose
Sometimes, I can't remember if I took the medicine, or I forget to take it at the desired time.
Vitamins and blood pressure pills, have to take every day, but sometimes you forget and don't take them.
Based on C language, It is a system that allows you to set the desired time and check whether you are taking the medicine.
Design
I was thinking about how to manage my morning, lunch, and dinner medications.
We needed at least three containers, and we needed a way for each container to be identified by an alarm or indicator light.
Especially, I planned to implement the function by controlling GPIO using wizfi360-pico.
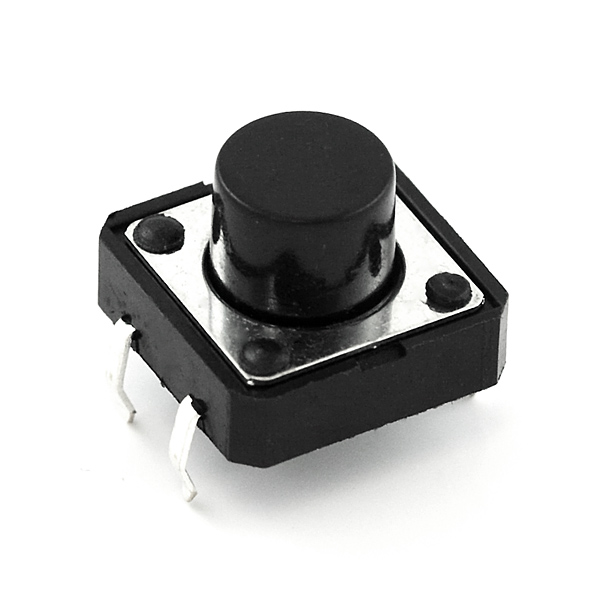
LED & Push Button
By using the LED and button, you can store various medications and check whether they are taken or not.
It is a simple operation process:
If the LED is on, take your medicine.
When you have taken your medicine, press the button to turn off the LED.
For people who take various medications, 3 pairs of LEDs and buttons are configured as a controller.
First, configure a pair of LEDs and Buttons.
Azure IoT Hub
Using Azure IoT Hub, LED status can be checked remotely.
Using Azure IoT Hub service, I connected my flask-based personal server. You can check the status of the WizFi360-Pico device anytime, anywhere by connecting to a smartphone through this server.
Guides and References for connecting to Azure IoT Hub can be found in the repository below:
https://github.com/Wiznet/WizFi360-EVB-Pico-AZURE-C
Debugging using picoprobe
Debugging is possible using picoprobe in Wizfi360-pico !
Also, I was able to debug using picoprobe in vscode, which I personally use.
Without Azure
I used another option for the Azure credit issue, refer to the link below:
https://github.com/Wiznet/WizFi360-EVB-Pico-C
This option can connect the server using TCP Socket communication without Azure.
In macOS or Linux, you could check the sending/receiving of messages on the server simply by using netcat(nc).
WizFi360-EVB-Pico-C
You can refer to the following commit link for code changes:
https://github.com/jeesang7/WizFi360-EVB-Pico-C/commit/411d89ad0e4ea9b86c05b7a5bd133dbe203c9221
examples/TCP_Client_Demo/app_main.c
extern int32_t gpio_handler (void);
...

static void app_medicbox (void *argument) {
  int32_t status;

  printf("GPIO control for MedicBox\r\n");
  gpio_handler();
}
...

void app_initialize (void) {
  ...
  osThreadNew(app_medicbox, NULL, &app_main_attr);
}
I've added one more FreeRTOS task, that task allows you to control LEDs and buttons.
examples/TCP_Client_Demo/iot_demo.c
...
#include "pico/stdlib.h"
...

const uint BTN_PIN_1 = 13;
const uint LED_PIN_1 = 14;
const uint BTN_PIN_2 = 12;
const uint LED_PIN_2 = 15;
const uint BTN_PIN_3 = 9;
const uint LED_PIN_3 = 10;
...

int demo( void )
{
    ...
    while(1)
    {
        ...
        if(retval > 0){
            ...

            if (strncmp(g_tcp_recv_buf, "ledon1", 6) == 0) {
                printf("receive ledon1 then gpio led1 on!\n");
                gpio_put(LED_PIN_1, 1);
            }

            if (strncmp(g_tcp_recv_buf, "ledon2", 6) == 0) {
                printf("receive ledon2 then gpio led2 on!\n");
                gpio_put(LED_PIN_2, 1);
            }

            if (strncmp(g_tcp_recv_buf, "ledon3", 6) == 0) {
                printf("receive ledon3 then gpio led3 on!\n");
                gpio_put(LED_PIN_3, 1);
            }
        }
    }
}

int gpio_handler(void)
{
    // #1
    gpio_init(BTN_PIN_1);
    gpio_set_dir(BTN_PIN_1, GPIO_IN);
    // We are using the button to pull down to 0v when pressed, so ensure that when
    // unpressed, it uses internal pull ups. Otherwise when unpressed, the input will
    // be floating.
    gpio_pull_up(BTN_PIN_1);

    gpio_init(LED_PIN_1);
    gpio_set_dir(LED_PIN_1, GPIO_OUT);
    gpio_put(LED_PIN_1, 0);
    sleep_ms(1000);
    gpio_put(LED_PIN_1, 1);

    // #2
    gpio_init(BTN_PIN_2);
    gpio_set_dir(BTN_PIN_2, GPIO_IN);
    gpio_pull_up(BTN_PIN_2);

    gpio_init(LED_PIN_2);
    gpio_set_dir(LED_PIN_2, GPIO_OUT);
    gpio_put(LED_PIN_2, 0);
    sleep_ms(1000);
    gpio_put(LED_PIN_2, 1);

    // #3
    gpio_init(BTN_PIN_3);
    gpio_set_dir(BTN_PIN_3, GPIO_IN);
    gpio_pull_up(BTN_PIN_3);

    gpio_init(LED_PIN_3);
    gpio_set_dir(LED_PIN_3, GPIO_OUT);
    gpio_put(LED_PIN_3, 0);
    sleep_ms(1000);
    gpio_put(LED_PIN_3, 1);


    while (1)
    {
        if (gpio_get(BTN_PIN_1)) {
            printf("button1 pushed\n");
            gpio_put(LED_PIN_1, 0);
        }

        if (gpio_get(BTN_PIN_2)) {
            printf("button2 pushed\n");
            gpio_put(LED_PIN_2, 0);
        }

        if (gpio_get(BTN_PIN_3)) {
            printf("button3 pushed\n");
            gpio_put(LED_PIN_3, 0);
        }

        sleep_ms(250);
    }
}
When the 'ledon1' string is input in the demo function, the first led is turned on. The other two LEDs were processed in the same way.
gpio_handler function initializes and sets gpio, I put it in a while loop to handle the button.
If you have any questions about the above code, please leave your inquiry in the comments.
Upcycling
Medicbox is made using product packaging or plastic.
It's not very beautiful to look at, but it's meaningful to be able to make new products using discarded things.
And, because I made a product that is unique in the world, it is precious to me.
Application
In the app, you can simply check whether you are taking your medicine and set a reminder.
Links


