
W5100S-POE-EVB-PICO With SSL/TLS ( New ChatGPT API )
SSL communication encryption is achieved on W5100S-POE-EVB-PICO.I will introduce how to use W5100S access ChatGPT directly as an example.
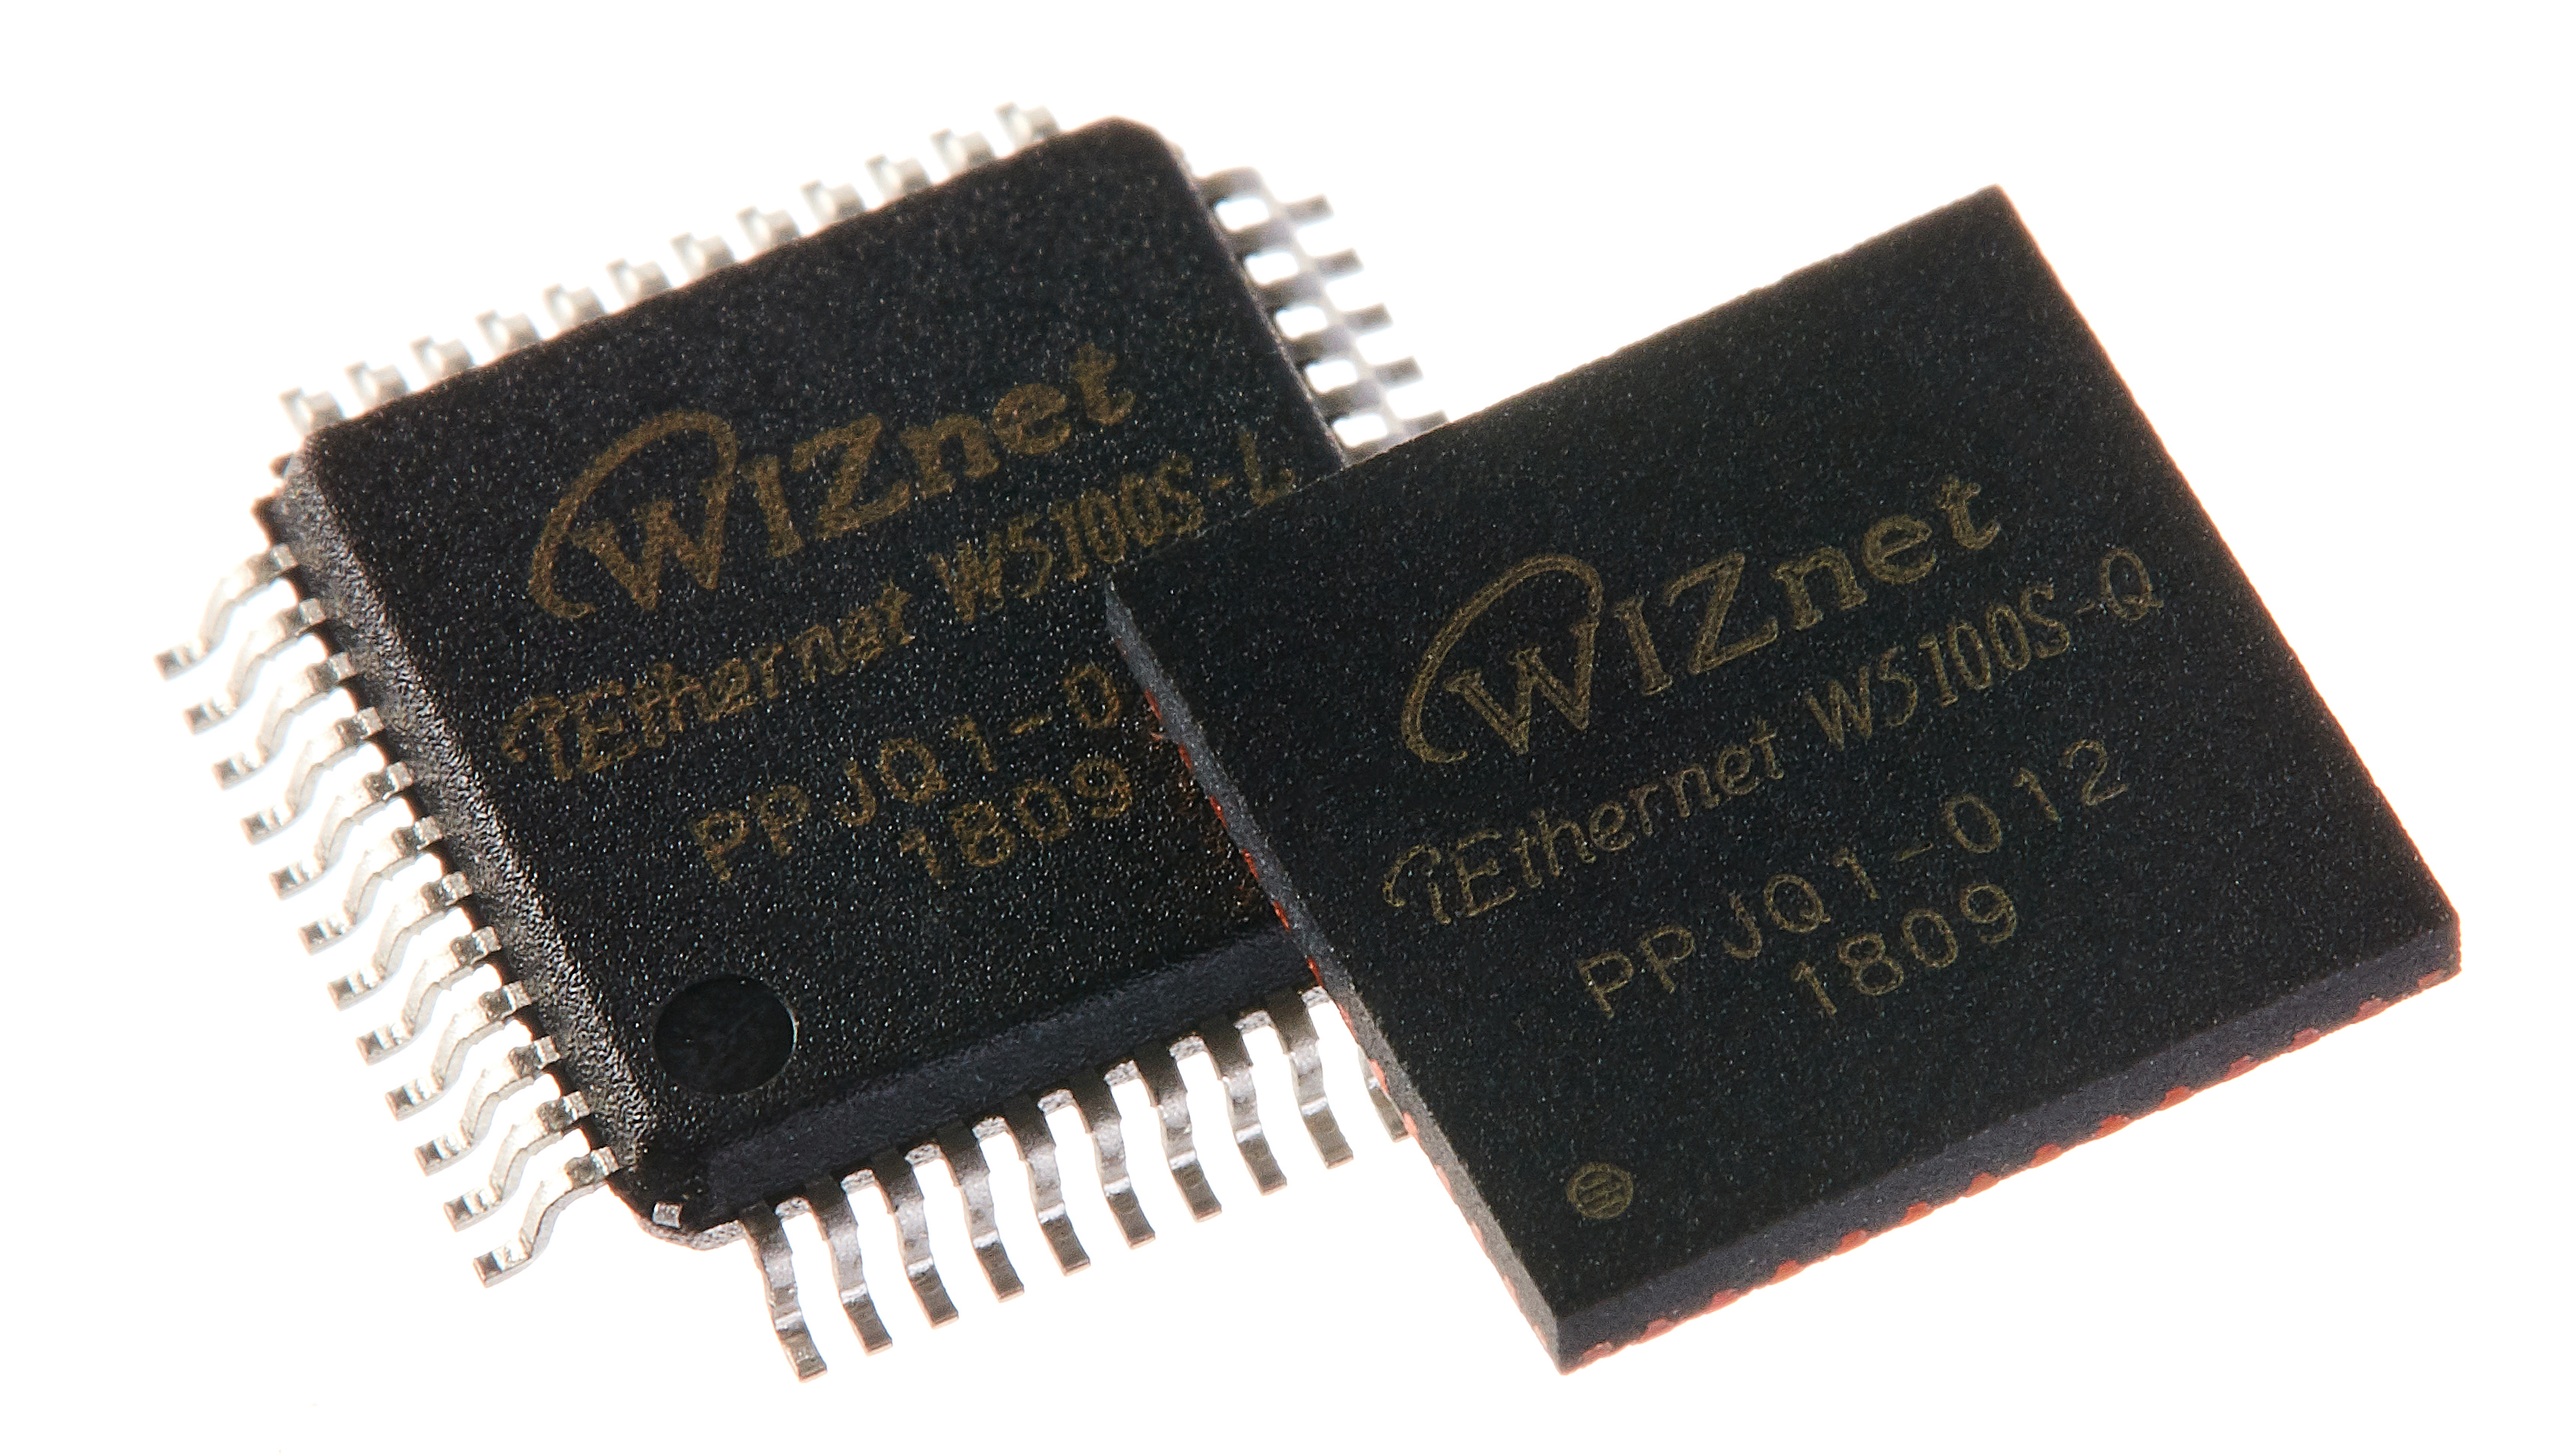
WIZnet - W5100S
x 1

WIZnet - W5100S-EVB-Pico
x 1

Arduino - Arduino IDE
x 1
I want to use SSL to encrypt communication on W5100S-POE-EVB-PICO / W5100S-EVB-PICO. After searching for information, I found an open source library that supports SSL called "SSLclient". I will share the process of using SSLclient for HTTPS communication on W5100S-POE-EVB-PICO/W5100S-EVB-PICO.
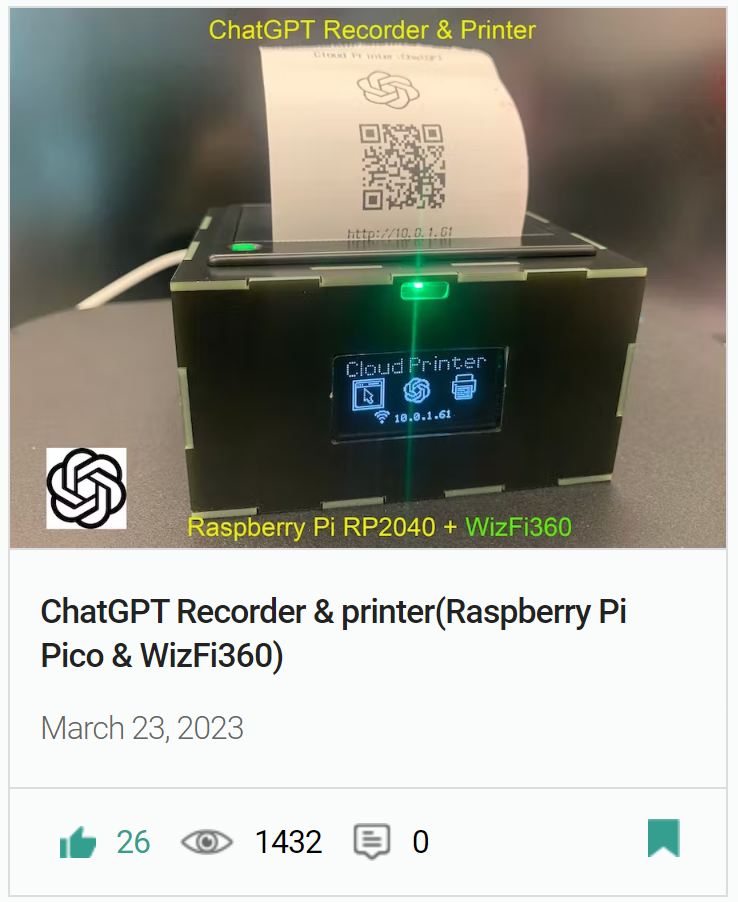
Communication with ChatGPT's OpenAI API requires SSL encrypted communication, so several previously developed projects with ChatGPT all used the WizFi360 module, because this module has SSL communication, and this time it uses W5100S-EVB-PICO. This is my first time trying to use SSL encrypted communication on W5100S.
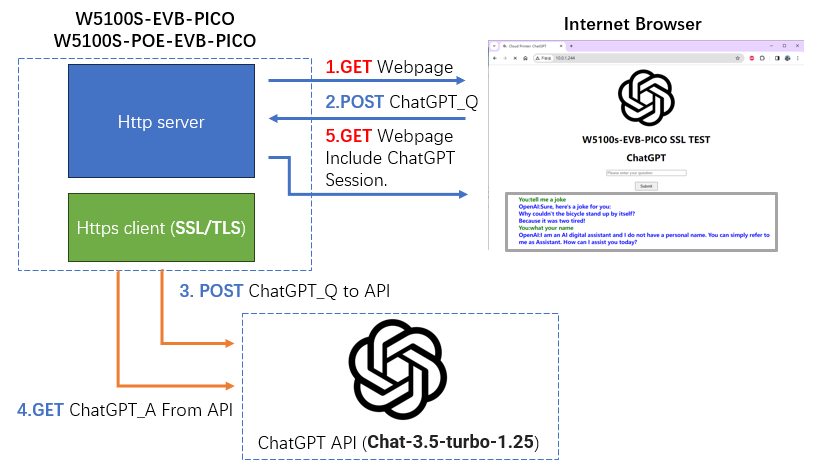
Communication steps:
Step 1. Install SSLclient library on Arduino.
Install the SSLclient library in Arduino according to the following path:
Tools >> Manage libraries >> Search“SSLclient” >> Install.
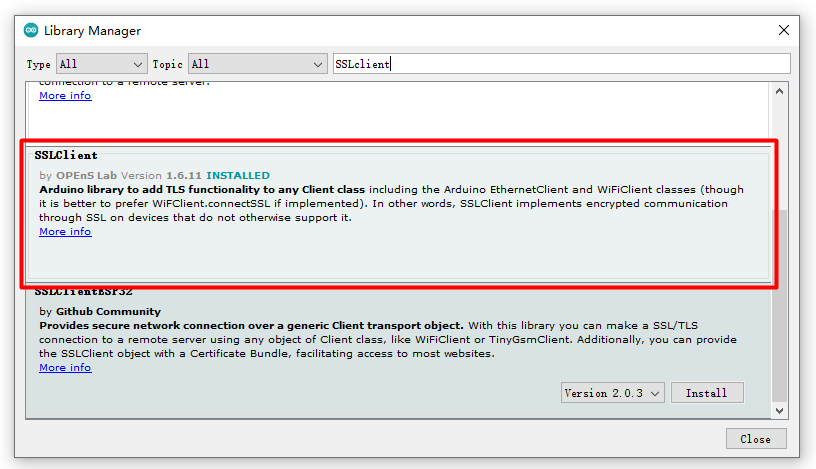
Github:https://github.com/OPEnSLab-OSU/SSLClient
“SSLClient adds TLS 1.2 functionality to any network library implementing the Arduino Client interface, including the Arduino EthernetClient and WiFiClient classes. SSLClient was created to integrate TLS seamlessly with the Arduino infrastructure using BearSSL as an underlying TLS engine. Unlike ArduinoBearSSL, SSLClient is completly self-contained, and does not require any additional hardware (other than a network connection).
SSLClient officially supports SAMD21, SAM3X, ESP32, TIVA C, STM32F7, and Teensy >= 3.0; but it should work on any board with at least 110kB flash and 7kB RAM. SSClient does not currently support ESP8266 (see this issue) or AVR due to memory constraints on both platforms.”
I don't see support for Raspberry Pi RP2040 in the description of this library, but this library should work on any board with at least 110kB flash and 7kB RAM.
After testing, it was found that this library supports Raspberry Pi RP2040, but only needs to make some modifications to the “Ethernet.h” library.
And in the description of the library, there is a simple WEB Client “http://www.arduino.cc”example.
// connect to ardiuino.cc over ssl (port 443 for websites)
client.connect("www.arduino.cc", 443);
// Make a HTTP request
client.println("GET /asciilogo.txt HTTP/1.1");
client.println("User-Agent: AdafruitFeatherM0WiFi");
client.print("Host: ");
client.println(server);
client.println("Connection: close");
client.println();
client.flush();
// read and print the data
...
Step 2. Expand the w5100s RX_BUFFER size.
Modify “Ethernet.h” in order to increase the RX_BUFFER size.
"**\Arduino\libraries\Ethernet\src\Ethernet.h"

I changed the MAX_SOCK_NUM parameter to 2, which will set the Socket number to 2, and then the corresponding socket receive Buffer will increase.
Step 3. Get trusted anchor from domain.
SSLClient library use BearSSL's minimal x509 verification engine to verify the certificate of an SSL connection. This engine requires the developer create a trust anchor array using values stored in trusted root certificates. In short, these trust anchor arrays allow BearSSL to verify that the server being connected to is who they say they are, and not someone malicious.
Take “api.openai.com” as an example:
“Generate code”We will get the trusted anchor of api.openai.com.
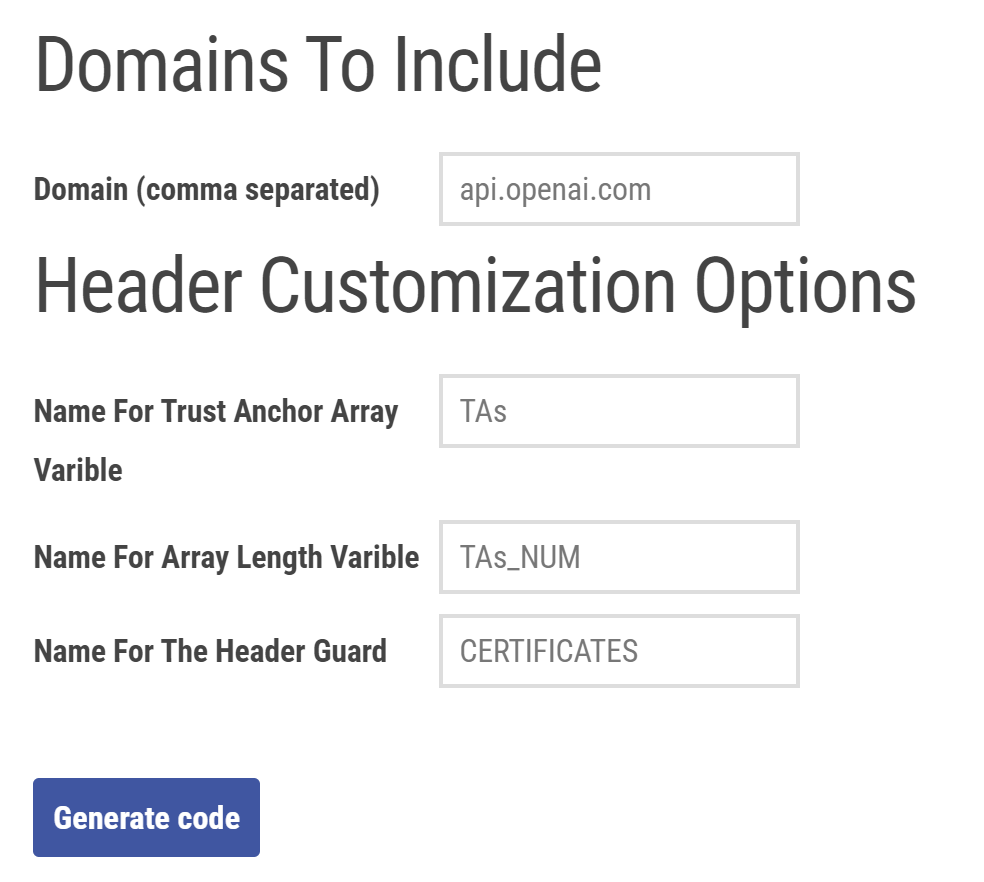

Save the generated content in the "trusted_anchor.h" file.
Step 4. Initialize the network and act as an HTTP server to start a ChatGPT session.
// Initialize the Ethernet server library
// with the IP address and port you want to use
// (port 80 is default for HTTP):
EthernetServer server(80);
EthernetClient http_client;
void setup() {
Serial.begin(115200);
while (!Serial) {
; // wait for serial port to connect. Needed for native USB port only
}
delay(500);
Serial.println("W5100S_EVB_PICO ChatGPT API SSL Communication Test");
// You can use Ethernet.init(pin) to configure the CS pin
Ethernet.init(17); // WIZnet W5100S-EVB-Pico
if (Ethernet.begin(mac)) {
Serial.print("W5100S_EVB_PICO IP : ");
Serial.println(Ethernet.localIP());
}
delay(5000);
// start the web server on port 80
server.begin();
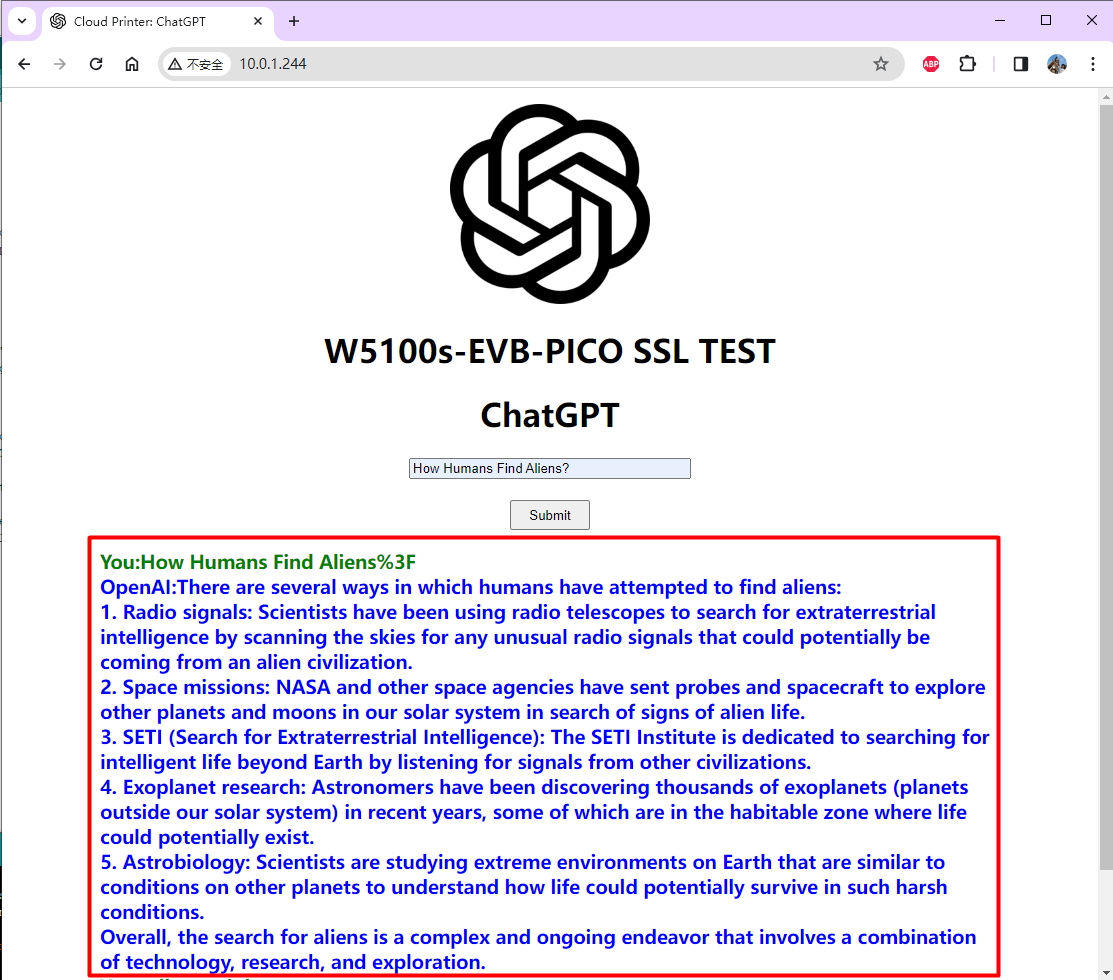
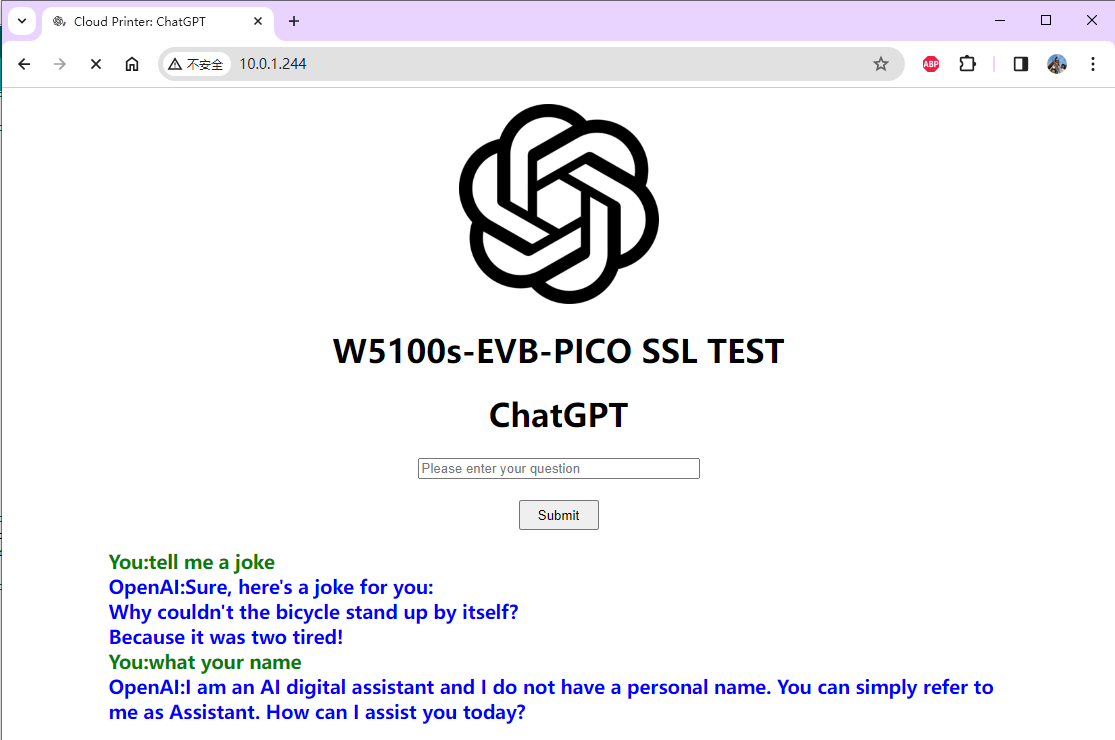
}I used almost the same HTML page design in Cloud pixel and Cloud printer, this time adding code to display the ChatGPT session history in the previous HTML page.
const char html_page_start[] PROGMEM = {
    "HTTP/1.1 200 OK\r\n"
    "Content-Type: text/html\r\n"
    "Connection: close\r\n"  // the connection will be closed after completion of the response
    "Refresh: 5\r\n"         // refresh the page automatically every n sec
    "\r\n"
    "<!DOCTYPE HTML>"
    "<html>"
    "<head>"
      "<meta charset='UTF-8'>"
      "<title>Cloud Printer: ChatGPT</title>"
      "<link rel='icon' href='https://seeklogo.com/images/C/chatgpt-logo-02AFA704B5-seeklogo.com.png' type='image/x-icon'>"
    "</head>"
    "<body>"
    "<p style='text-align:center;'>"
    "<img alt='ChatGPT' src='https://seeklogo.com/images/C/chatgpt-logo-02AFA704B5-seeklogo.com.png' height='200' width='200'>"
    "<h1 align='center'>W5100s-EVB-PICO SSL TEST</h1>"
    "<h1 align='center'>ChatGPT</h1>"
    "<div style='width:900px;margin: 0 auto;text-align: center'>"
    "<form action='/' method='post'>"
    "<input type='text' placeholder='Please enter your question' size='35' name='chatgpttext' required='required'/><br><br>"
    "<input type='submit' value='Submit' style='height:30px; width:80px;'/>"
    "</form>"
    "<div style='text-align: left;'>"
    "<h5>"
};

const char html_page_end[] PROGMEM = {
    "</h5>\r\n"
    "</div>"
    "</div>"
    "</body>\r\n"
    "<html>\r\n"
};
I divided the original HTML web page file into two parts: html_page_start and html_page_end, and then inserted the ChatGPT conversation history History_String into the middle of html_page_start and html_page_end.
          History_String += String("<span style=\"color: green;\">You:");
          History_String += chatgpt_Q;
          History_String += String("</span><br>");
          History_String += String("<span style=\"color: blue;\">OpenAI:");
          History_String += chatgpt_A;
History_String += String("</span><br>"); 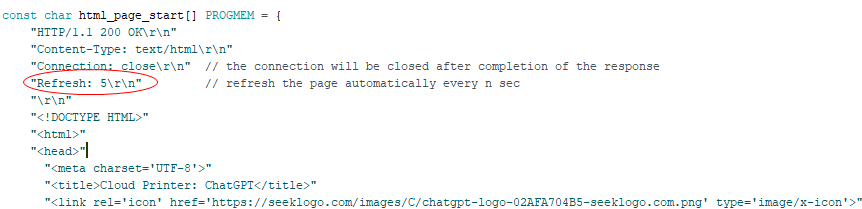
case do_webserver_index:
       {
          http_client = server.available();
          if (http_client)
          {
             // an http request ends with a blank line
             boolean currentLineIsBlank = true;
             while (http_client.connected())
             {
                if (http_client.available()) {
                char c = http_client.read();
                json_String += c;
                if (c == '\n' && currentLineIsBlank) {
                  dataStr = json_String.substring(0, 4);
                  if(dataStr == "GET ")
                  {
//                    Serial.println(html_page_start + History_String + html_page_end);
                    http_client.print(html_page_start + History_String + html_page_end);
                  }
                  else if(dataStr == "POST")
                  {
                    json_String = "";
                    while(http_client.available())
                    {
                      json_String += (char)http_client.read();
                    }
                    dataStart = json_String.indexOf("chatgpttext=") + strlen("chatgpttext=");
                    chatgpt_Q = json_String.substring(dataStart, json_String.length());
                    http_client.print(html_page_start + History_String + html_page_end);
                    // close the connection:
                    delay(10);
                    http_client.stop();
                    currentState = send_chatgpt_request;
                  }
                  json_String = "";
                  break;
                }
                if (c == '\n') {
                  // you're starting a new line
                  currentLineIsBlank = true;
                }
                else if (c != '\r') {
                  // you've gotten a character on the current line
                  currentLineIsBlank = false;
                }
              }
            }
          }
       }
      break;
When the browser requests an HTML page, it sends a GET request, and then when the text box enters a ChatGPT question and clicks "Submit" on the HTML page, our W5100S will receive a POST request. By processing the POST data, we obtain the page input content and saved in "chatgpt_Q".
Step 5. Take ChatGPT as an example to do SSL communication of W5100S-EVB-PICO
Communication with ChatGPT's OpenAI API requires SSL encrypted communication, so several previously developed projects with ChatGPT all used the WizFi360 module, because this module has SSL communication, and this time it uses W5100S-EVB-PICO. This is my first time trying to use SSL encrypted communication on W5100S.
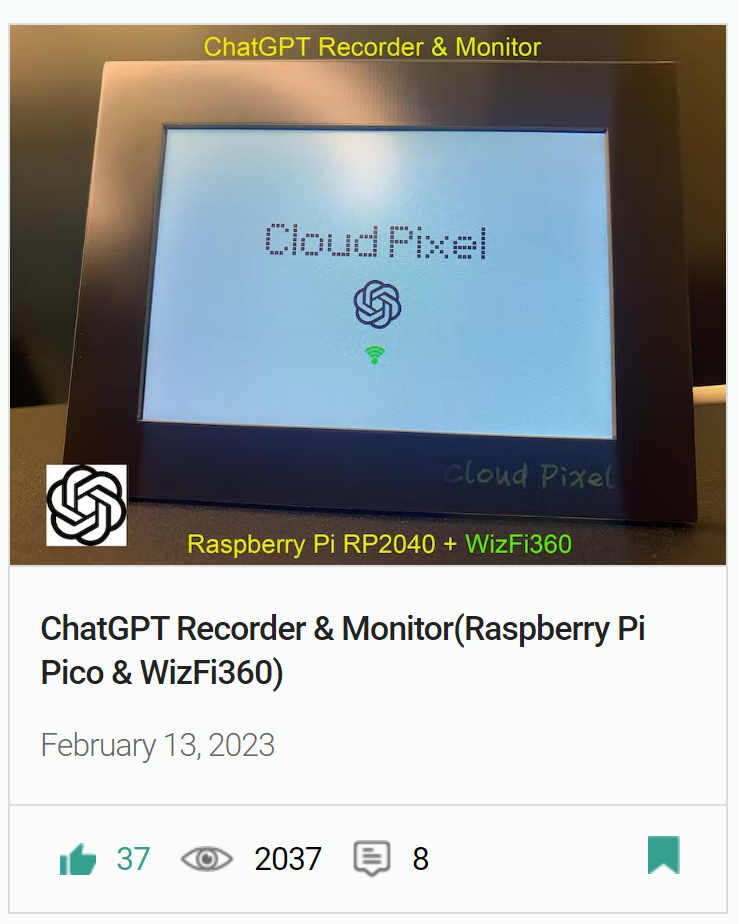
https://maker.wiznet.io/gavinchang/projects/chatgpt-recorder-monitor-raspberry-pi-pico-wizfi360/
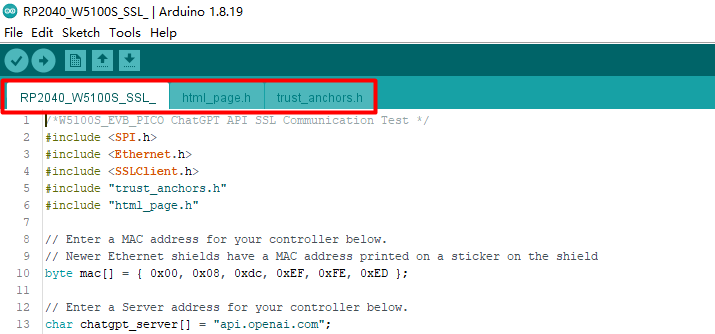
First add library and “trusted_anchor.h” inclusion and support.
#include <SPI.h>
#include <Ethernet.h>
#include <SSLClient.h>
#include "trust_anchors.h"
Choose the analog pin to get random data from a randomish voltage source for SSL.
// Choose the analog pin to get random data from a randomish voltage source for SSL
const int rand_pin = 28;
Init "SSLclient" and Input Ethernet_Client, trust_anchors and the random.
// Init "SSLclient" and Input Ethernet_Client, trust_anchors and the random
EthernetClient Ethernet_client;
SSLClient client(Ethernet_client, TAs, (size_t)TAs_NUM, rand_pin);
Establish an SSL communication socket with chatgpt_server through client.connect(chatgpt_server,443)).
case send_chatgpt_request:
{
// if you get a connection, report back via serial
if (client.connect(chatgpt_server,443)){
// Make a HTTPS request
client.println(String("POST /v1/chat/completions HTTP/1.1"));
client.println(String("Host: ")+ chatgpt_server);
client.println(String("Content-Type: application/json"));
client.println(String("Content-Length: ")+(95+chatgpt_Q.length()));
client.println(String("Authorization: Bearer ")+ chatgpt_token);
client.println("Connection: close");
client.println();
client.println(String("{\"model\": \"gpt-3.5-turbo-0125\",\"messages\": [{\"role\": \"user\", \"content\": \"")+ chatgpt_Q + String("\"}],\"temperature\": 0}"));
chatgpt_Q.replace("+", " ");
History_String += String("<span style=\"color: green;\">You:");
History_String += chatgpt_Q;
History_String += String("</span><br>");
json_String= "";
delay(300);
currentState = get_chatgpt_answer;
}
else
{
client.stop();
delay(1000);
}
}
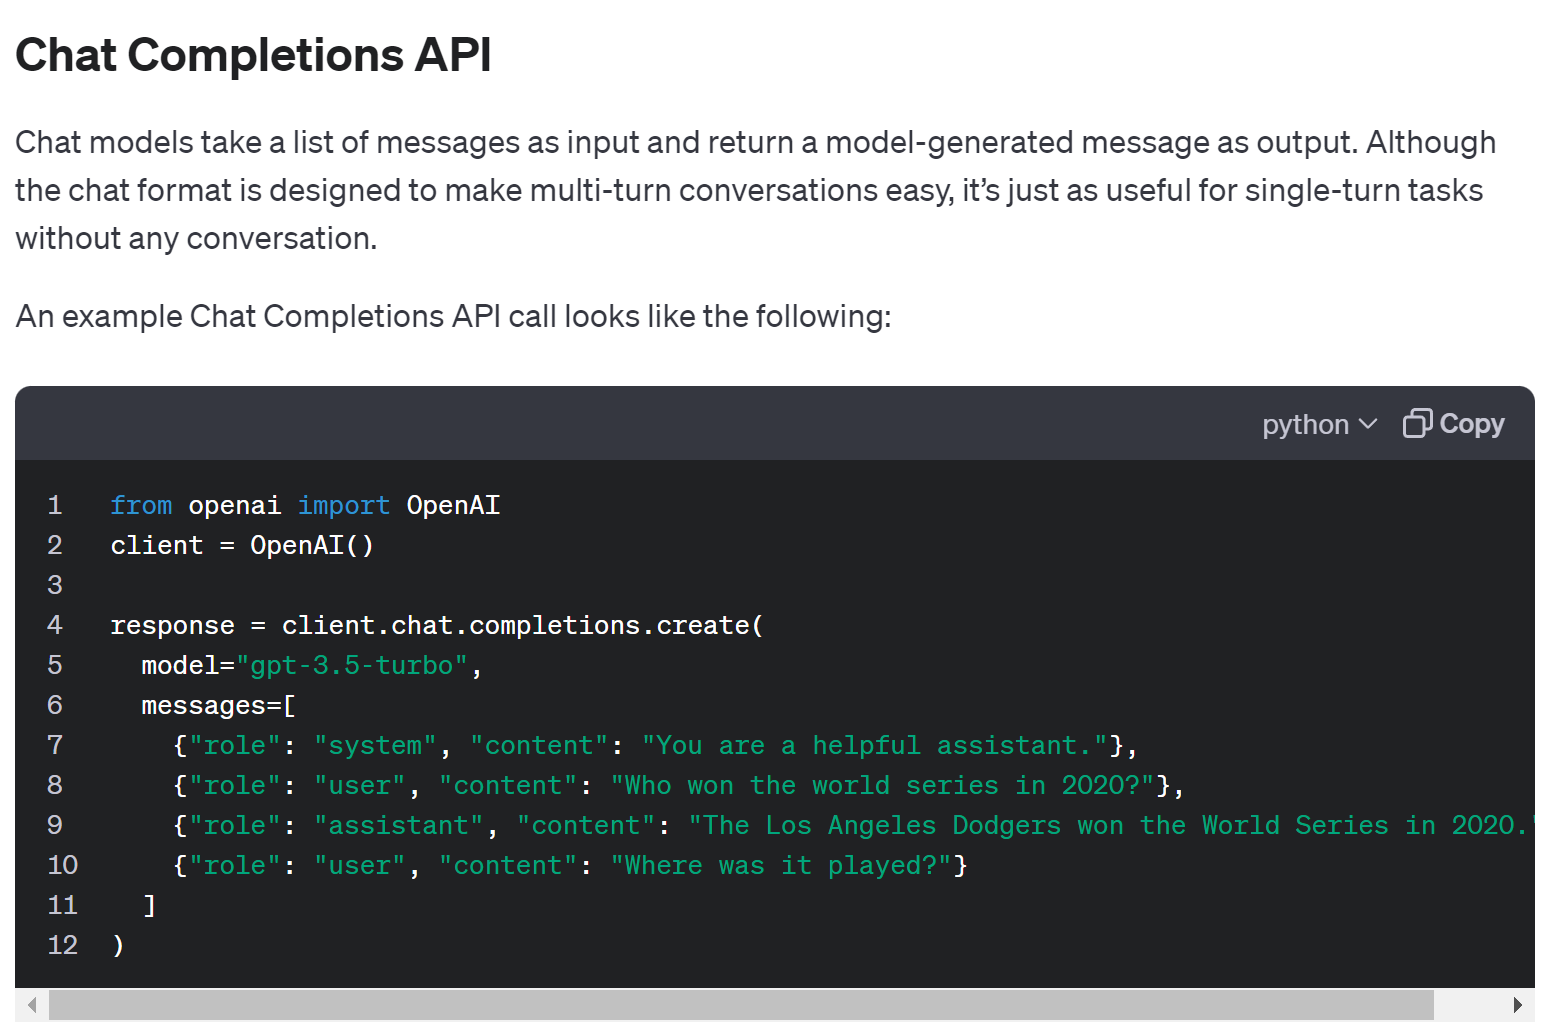
break;Now that OpenAI uses a new version of the API, the original API process is no longer valid, so I rewrote this part of the code based on the "gpt-3.5-turbo-0125" model.
OpenAI's API will respond to our questions after receiving our request. This is the processing code of the response part.
    case get_chatgpt_answer:
       {
          while (client.available()) {
            json_String += (char)client.read();
            data_now =1;
          }
          if(data_now)
          {
            dataStart = json_String.indexOf("\"content\": \"") + strlen("\"content\": \"");
            dataEnd = json_String.indexOf("\"", dataStart);
            chatgpt_A = json_String.substring(dataStart, dataEnd);
            chatgpt_A.replace("\\n\\n", "<br>");
            History_String += String("<span style=\"color: blue;\">OpenAI:");
            History_String += chatgpt_A;
            History_String += String("</span><br>");
            Serial.println(History_String);
            json_String = "";
            data_now =0;
            client.stop();
            currentState = do_webserver_index;
          }
       }
      break;
By processing the string, we find the content we need in the response of OpenAI's API, which is usually included after "content:" and saved in chatgpt_A, as well as in the ChatGPT session history History_String.
Special thanks to Viktor for kindly providing his ChatGPT Token which was very nice.
DONE!