
14 - Basic Introduction to Webpages, Websites, and WeChat Official Accounts
14 - Basic Introduction to Webpages, Websites, and WeChat Official Accounts (Web-based MQTT, a First Try)
Sorry... I've fallen behind on the tutorial progress lately because I've been working on the PCB...
I've made a total of several boards these past few days.
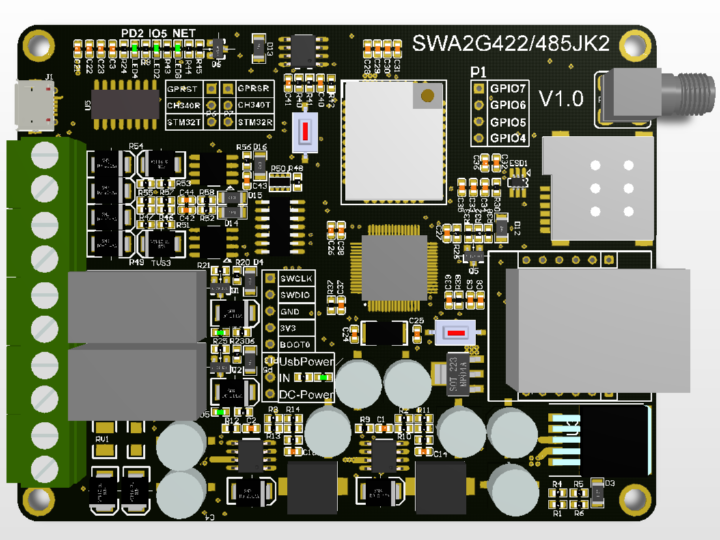
First, the board used in this tutorial has been revised, the layout adjusted, the previously used Micro USB interface replaced, and the switching buck converter changed to MP4462.
STM32 + Air720H (Full Network Compatibility GPRS) + Ethernet + 422/485 + 4-20mA Data Acquisition https://www.cnblogs.com/yangfengwu/category/1472273.html
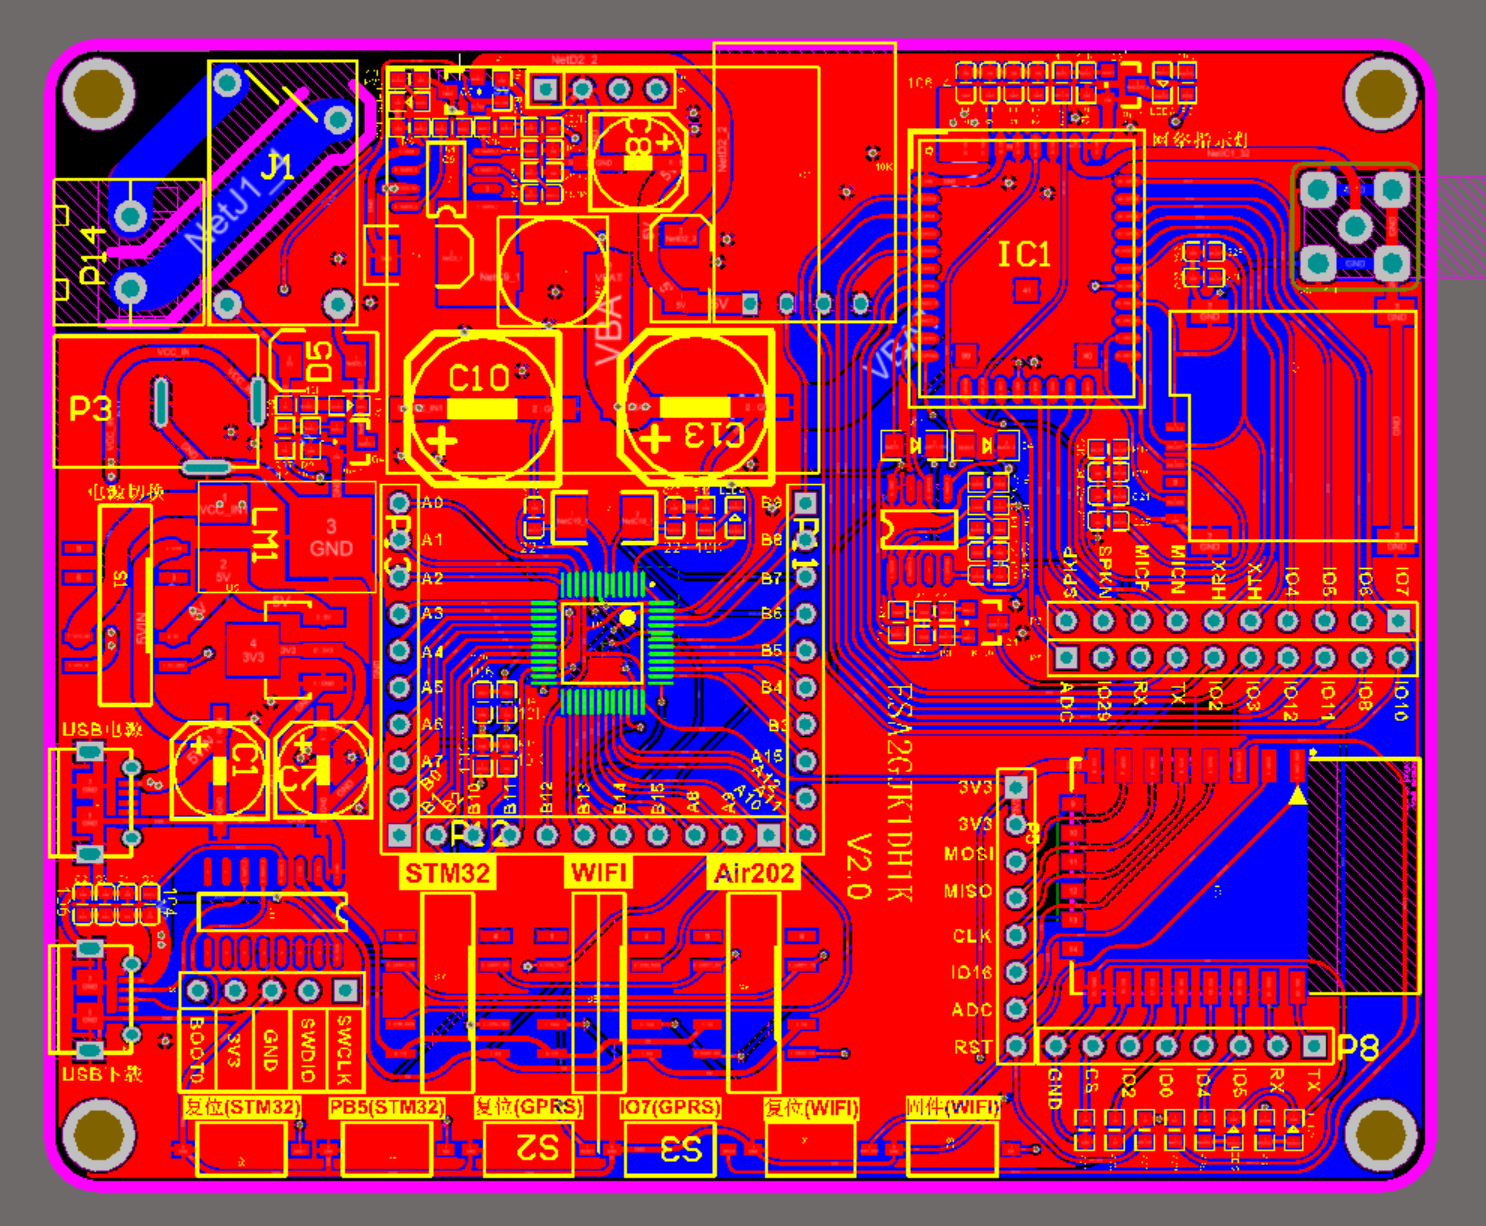
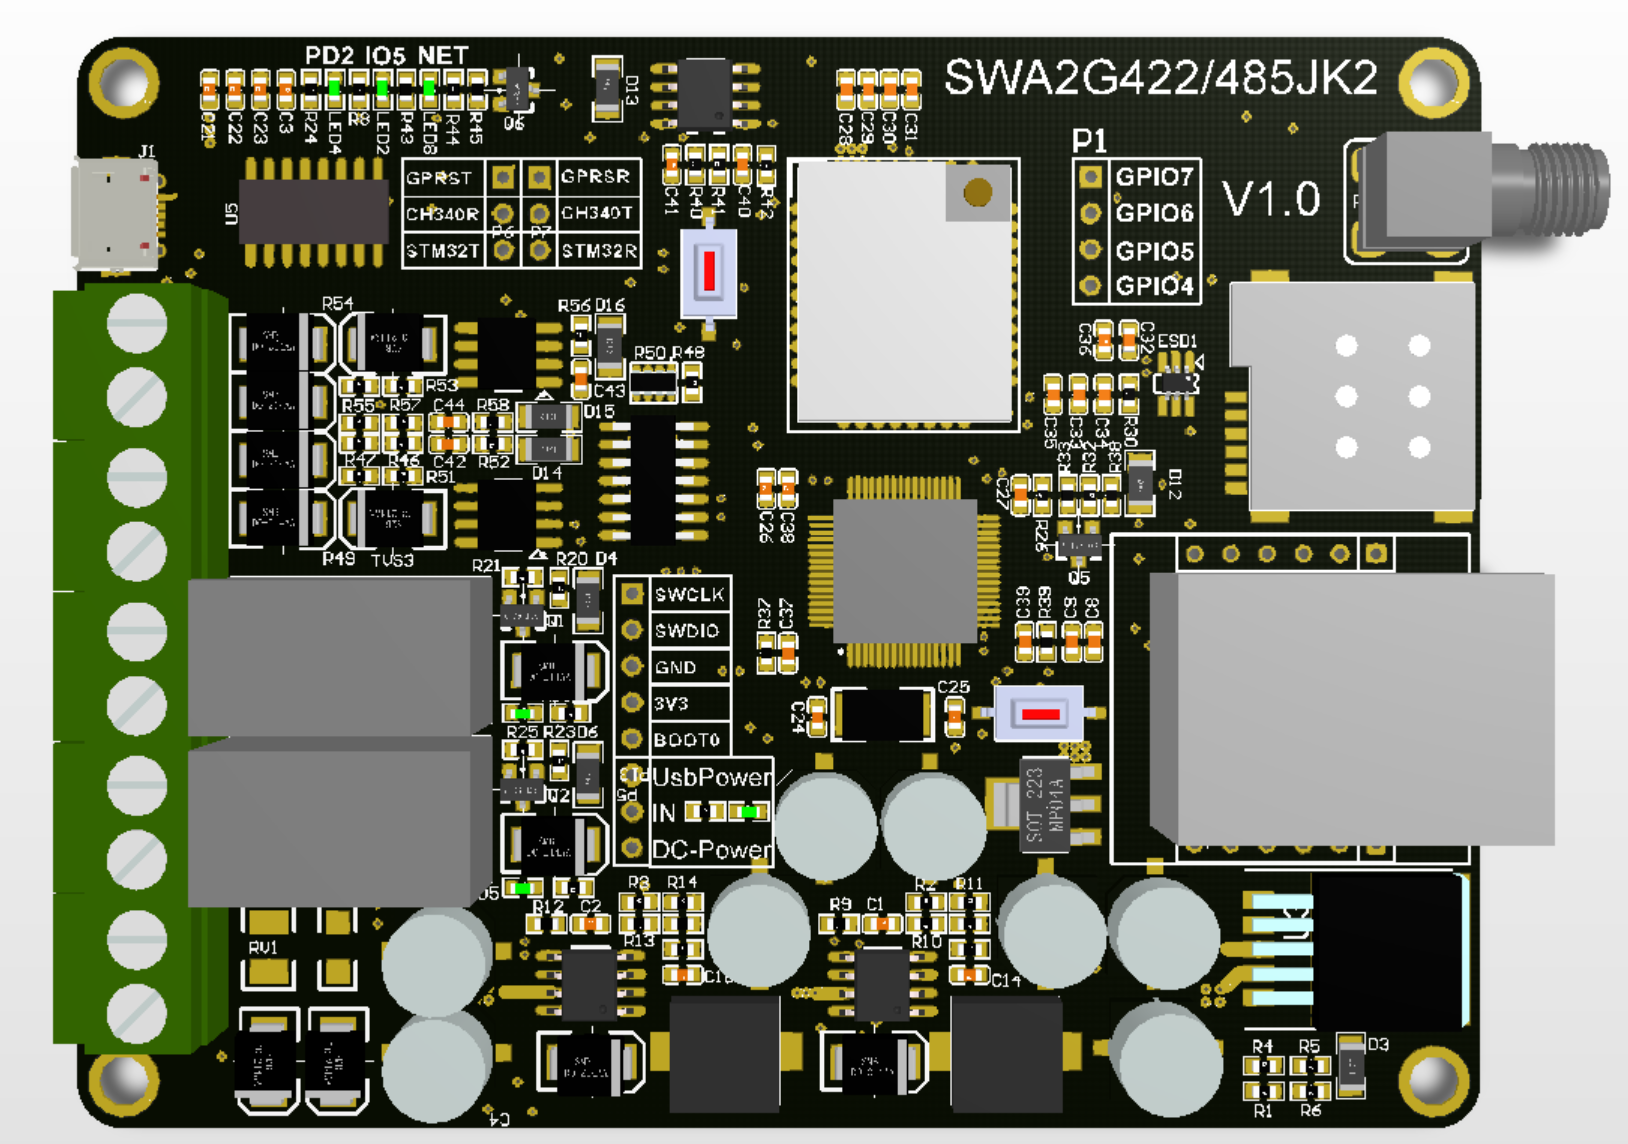
Later, I felt the price was still a bit high, so I made another board.
This setup uses an STM32 microcontroller, Air202 (2G) processor, Ethernet, 422/485 microcontroller, and two relays to achieve the same functionality as the previous setup. The main focus is on learning about the W5500 microcontroller and remote communication control with a PLC.
The PLC I ordered has arrived.

For safety reasons, I chose a 24V powered PLC.
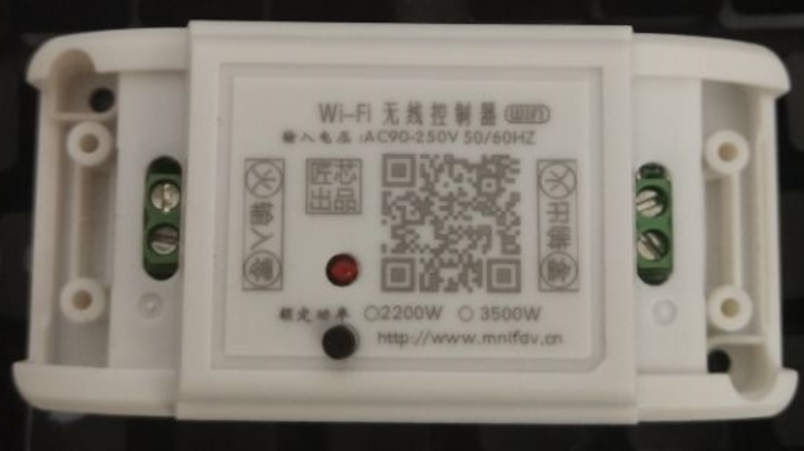
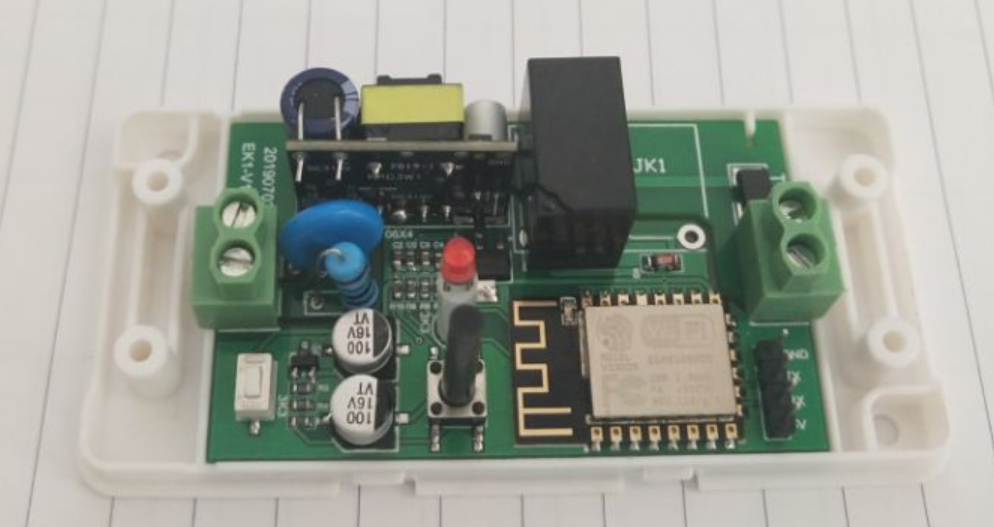
Then there's a WiFi single-channel relay, 10A and 16A.
I did everything myself... The image on the outer casing was created using Photoshop, and then laser-printed by a manufacturer.
Finally, I made a Quectel M26 Mini board.
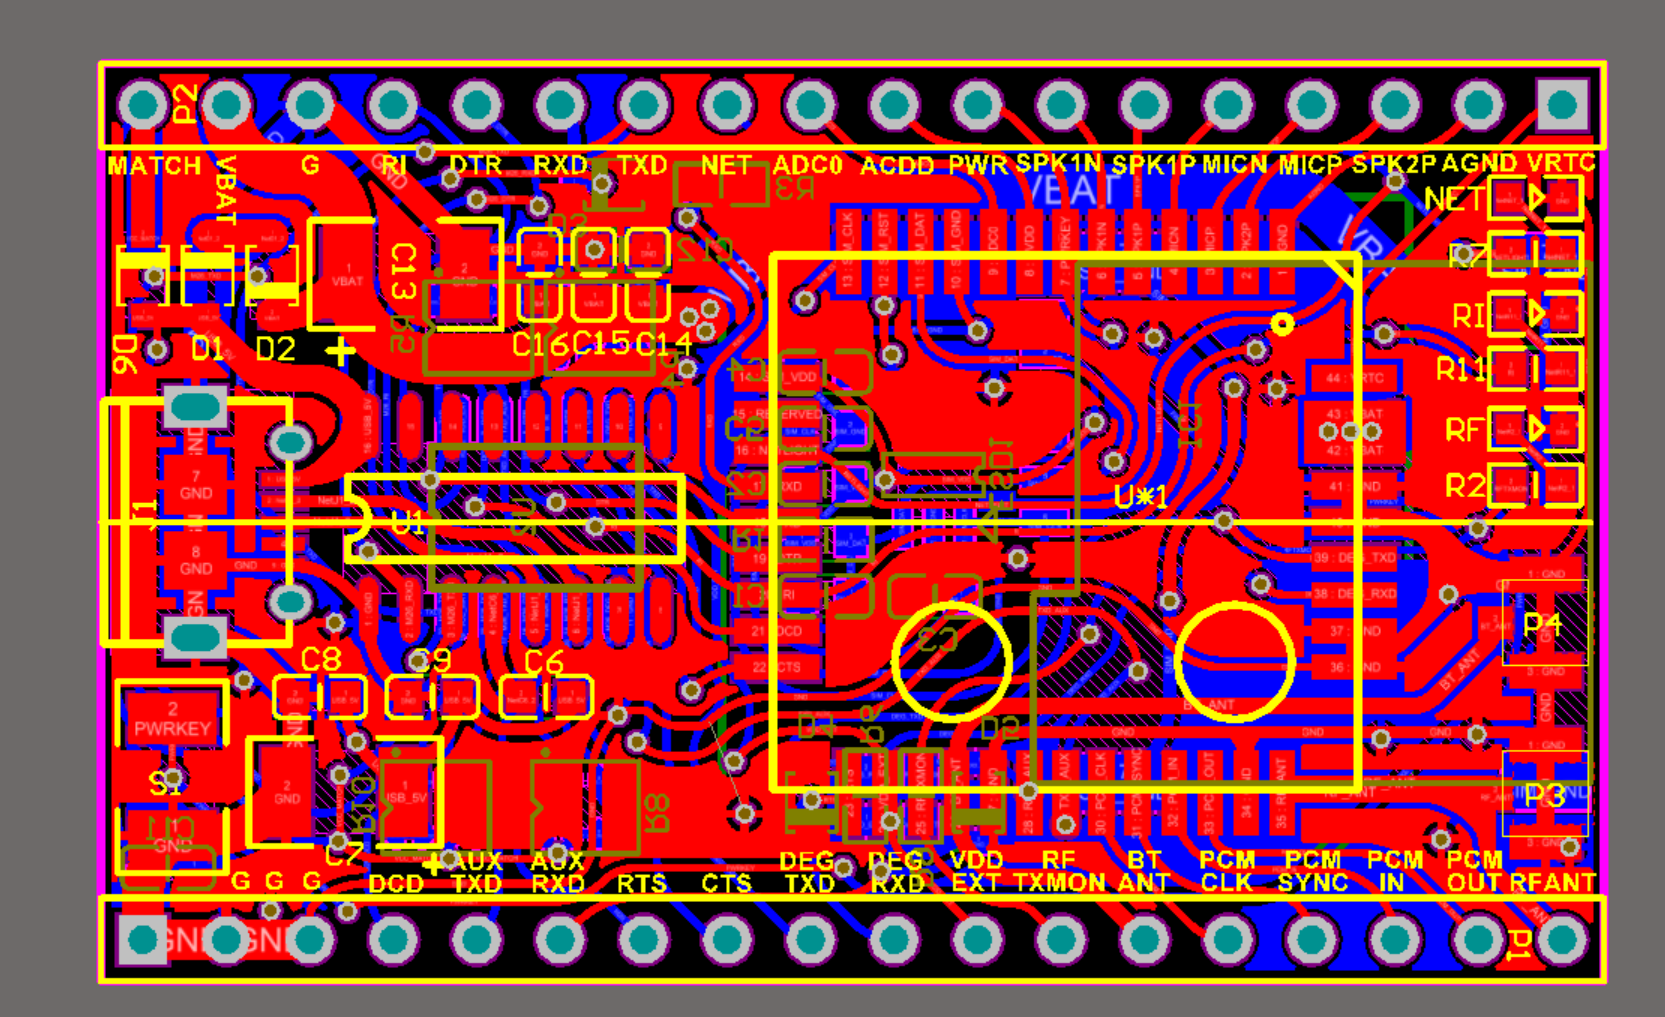
But it's definitely enough...
The boards I'm making are gradually becoming more ready to use... mainly because the tutorials I provide are all application-oriented, aside from the publicly available basic tutorials.
If it's still made into a learning board, I feel it won't be able to fulfill its practical purpose...
Oh right, I haven't mentioned yet what specific functions my WeChat mini-program will implement.
1. SmartConfig handles network configuration, while the mini-program is responsible for binding.
2. Clicking the button on the WeChat official account redirects to a webpage, where the device can be controlled.
3. One of the mini-programs is to directly open a webpage, just like the one above.
4. Implement MQTT communication control directly using the mini-program's API.
That's all I wanted to say.
But before we get to that, we need to lay out all the basics for everyone... to prevent any misunderstandings...
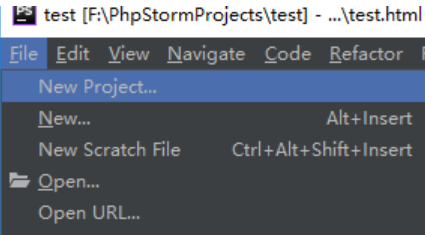
Open this
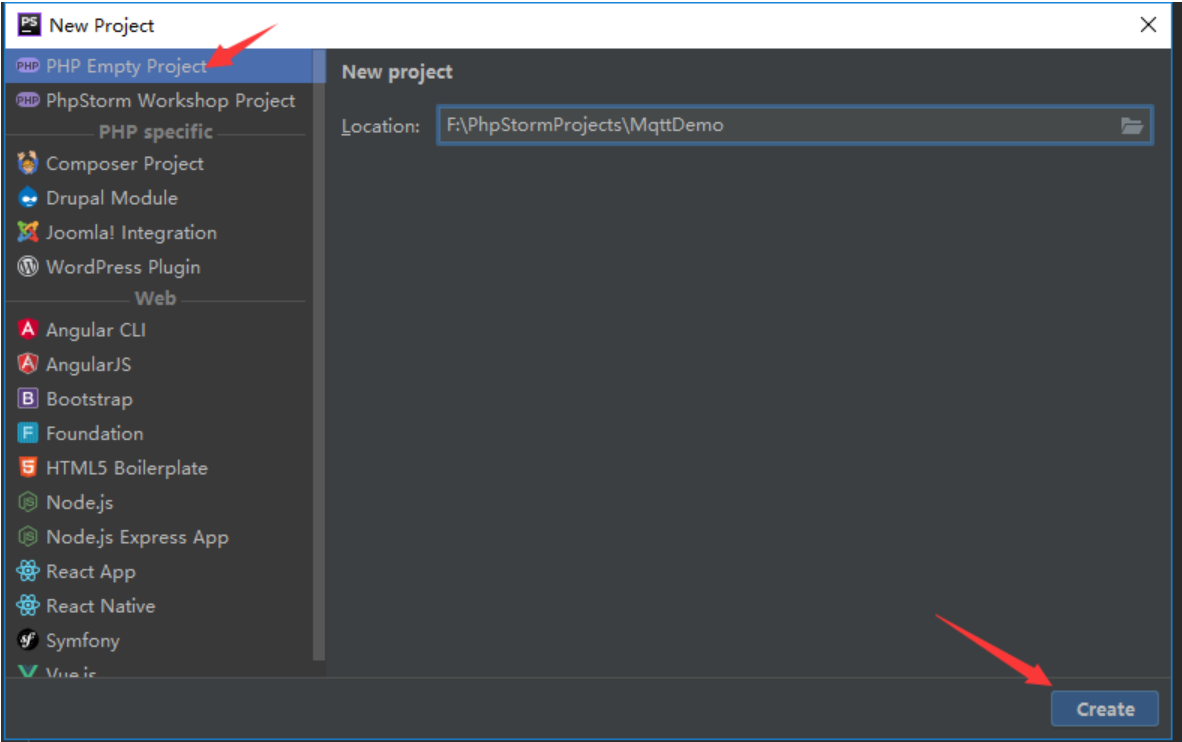
Just to clarify, both HTML and PHP provide functions for implementing MQTT. Let's start with the HTML implementation.
Remember when we implemented MQTT using a microcontroller and AT commands in the upgrade section? We downloaded the package from the official website.
This time we're also going to download that package.
https://developer.emqx.io/sdk_tools?category=MQTT_Clients
Use this first
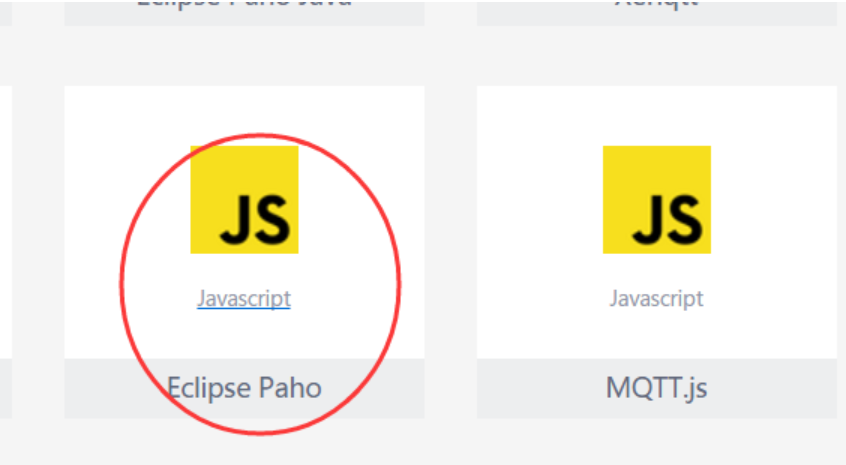
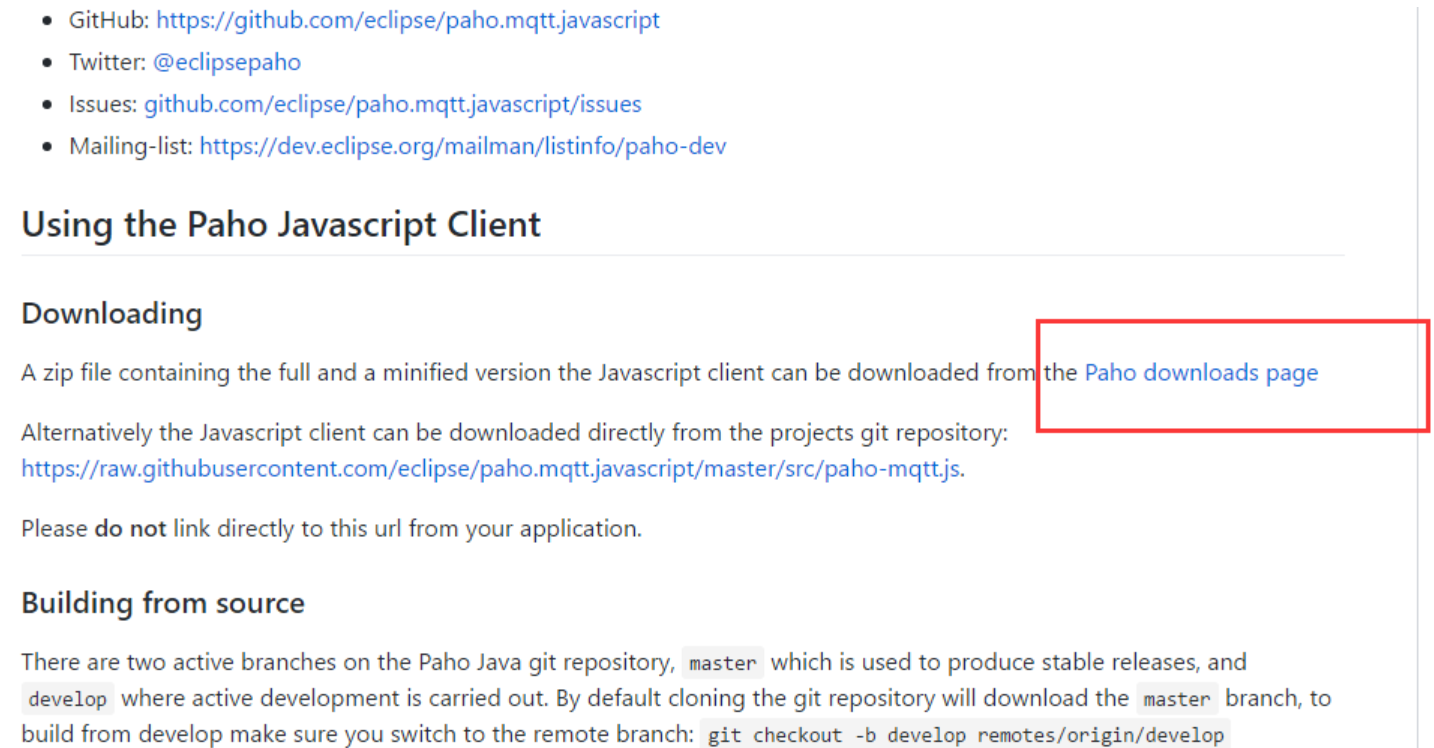
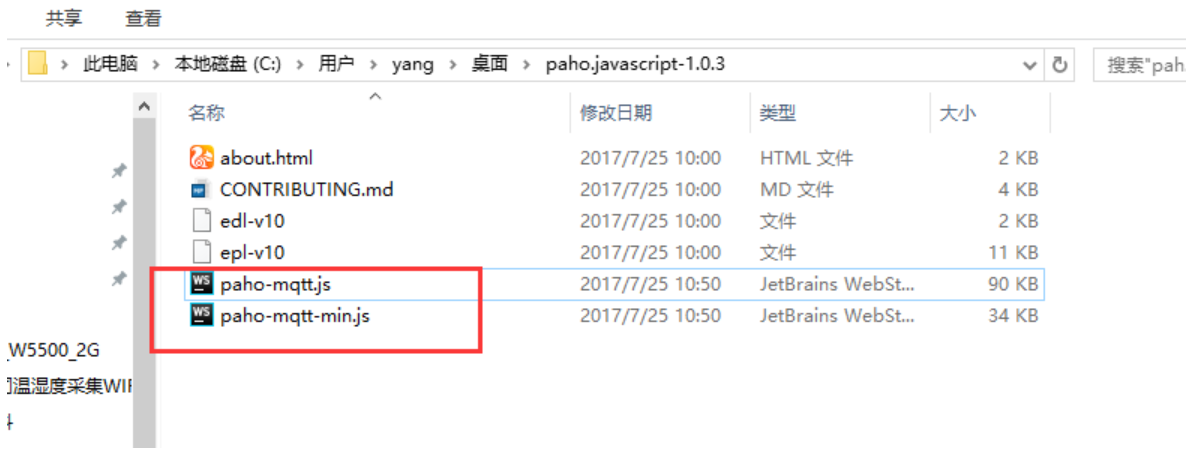
A full version and a simplified version are provided.
The full version supports SSL.
Let's use the full version.
Copy to the project directory
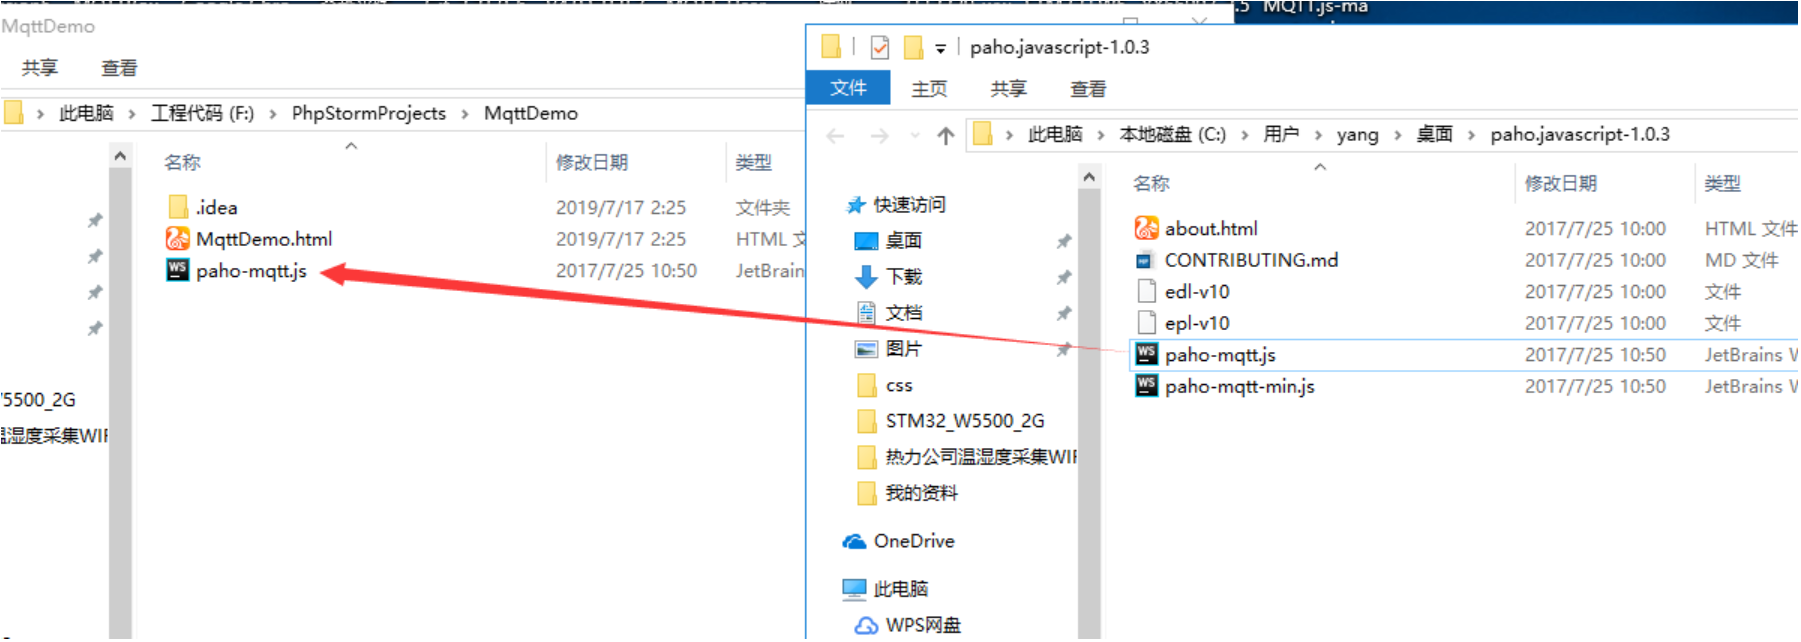
In fact, the official example was provided.
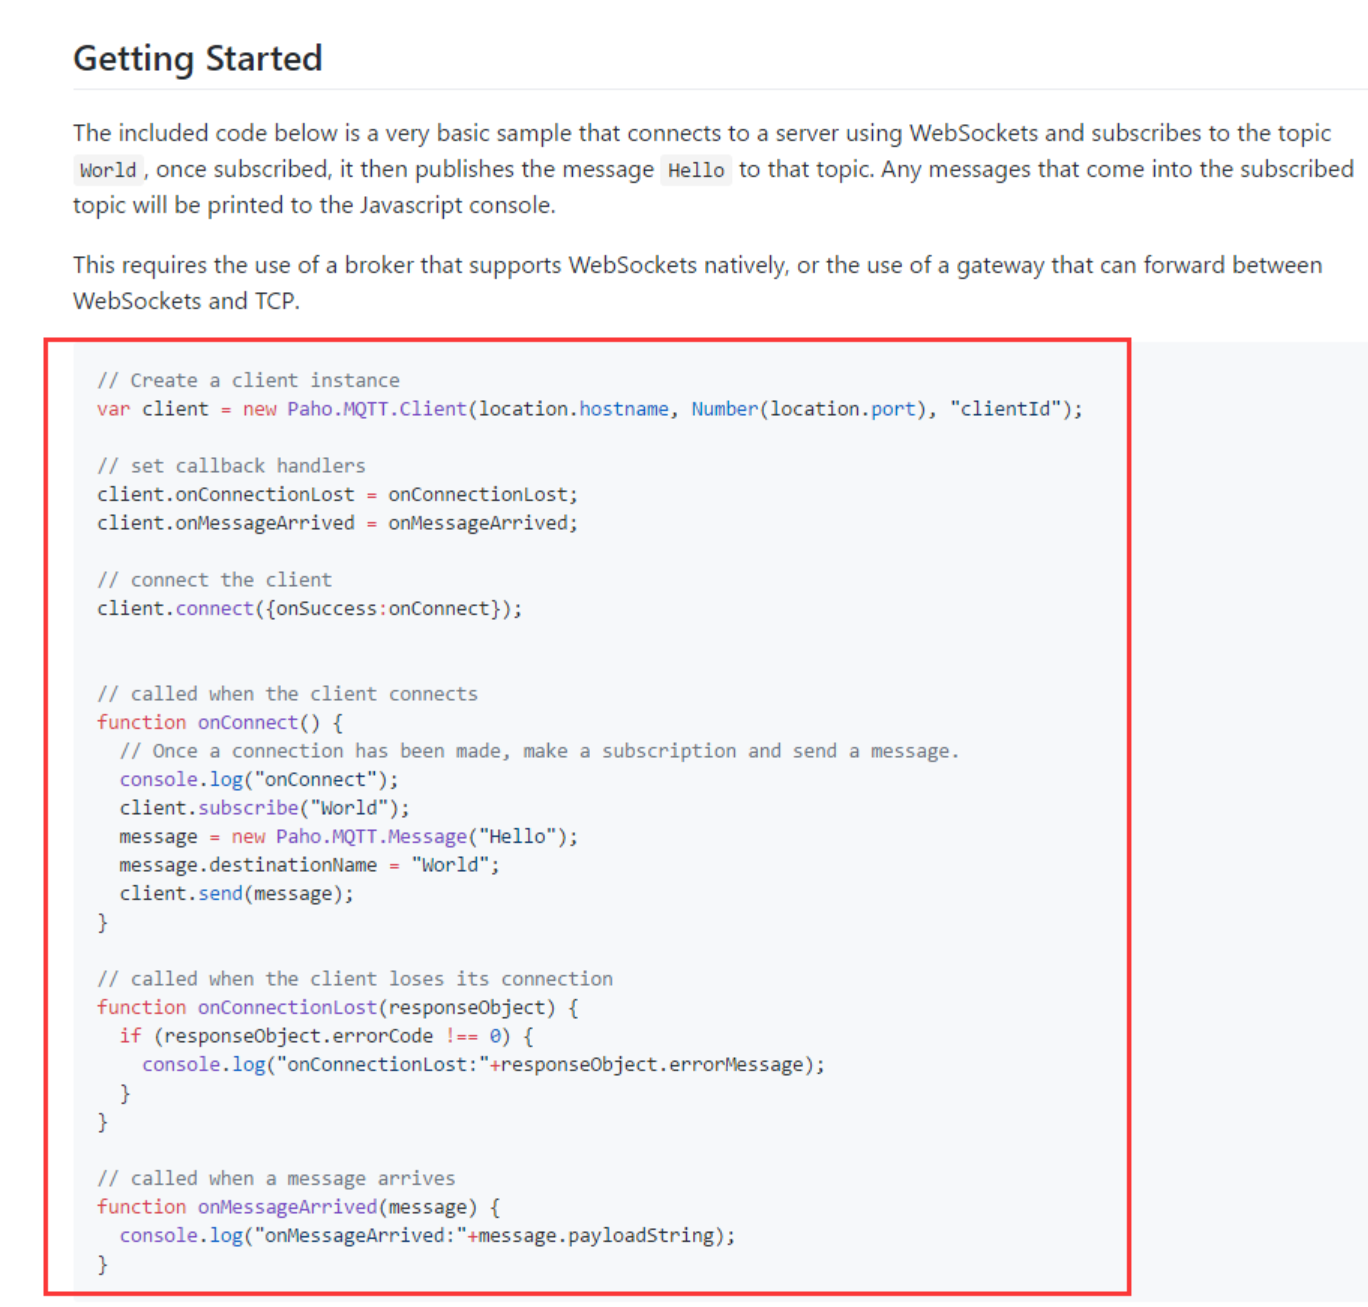
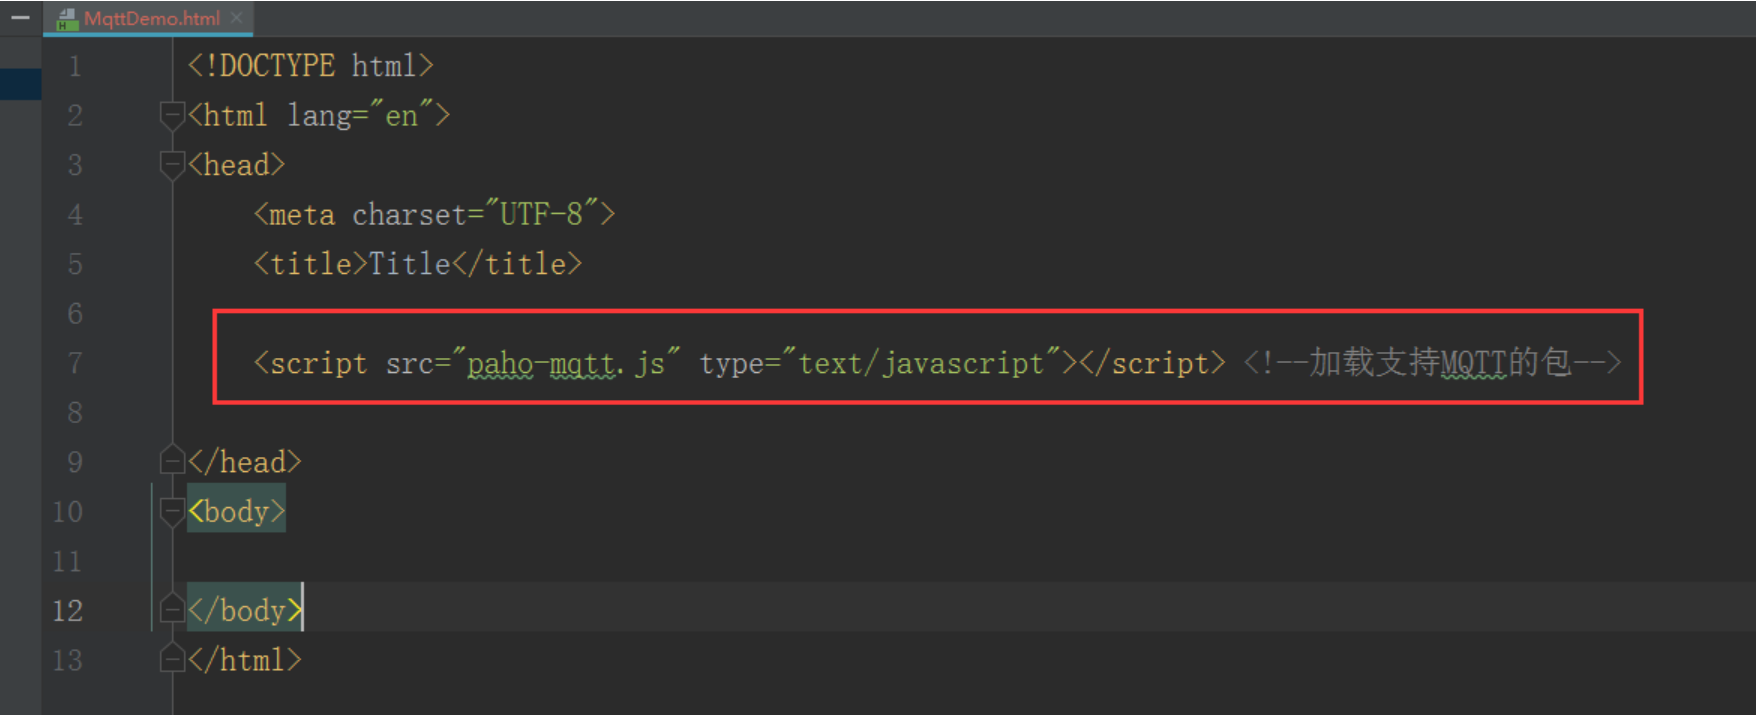
Since we're writing the JavaScript implementation, we need to include what's actually the most commonly used (almost essential) JavaScript in web pages.
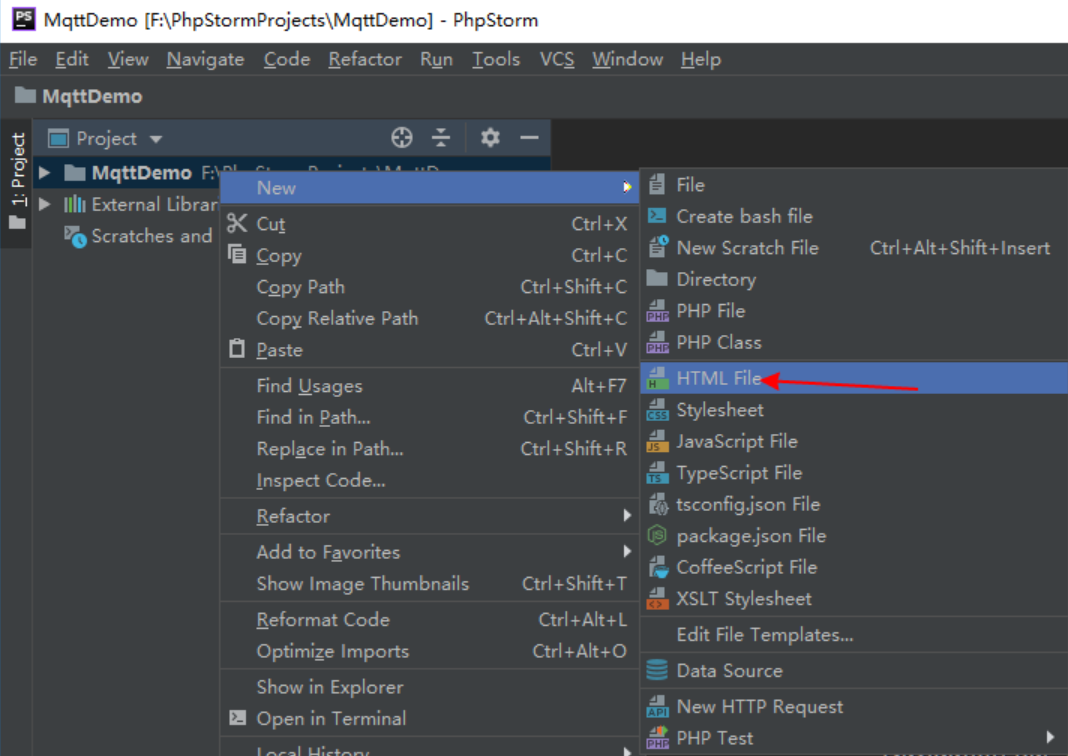
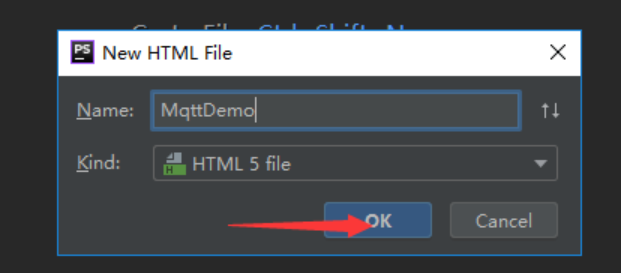
This is an HTML file (the project we're building is an HTML file). It mainly contains controls to display to users. [https://www.cnblogs.com/yangfengwu/p/10947388.html](https://www.cnblogs.com/yangfengwu/p/10947388.html )
CSS (responsible for the layout and properties of HTML controls, such as colors) [https://www.cnblogs.com/yangfengwu/p/10979101.html](https://www.cnblogs.com/yangfengwu/p/10979101.html )
JavaScript for programming webpage behavior: http://www.w3school.com.cn/js/js_shiyong.asp
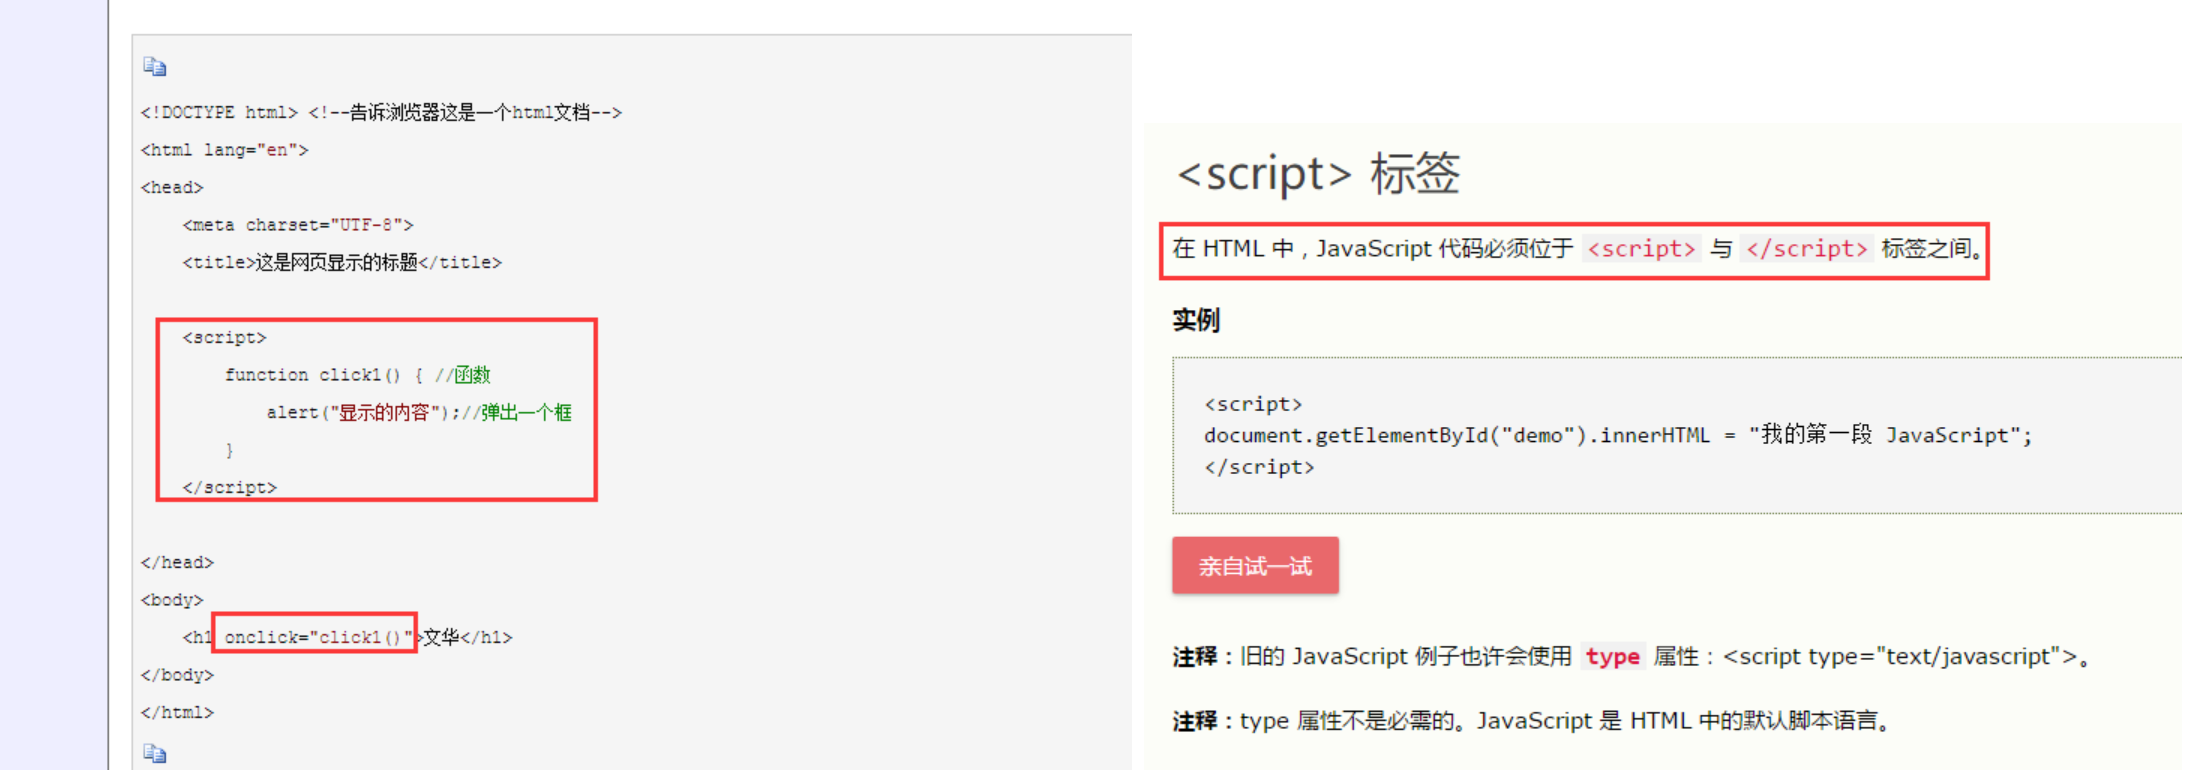
These three files can be placed directly into one HTML file. This is a good approach for learning and testing. Normally, each file is created separately and then loaded into the HTML file.
Loading CSS

Loading JS

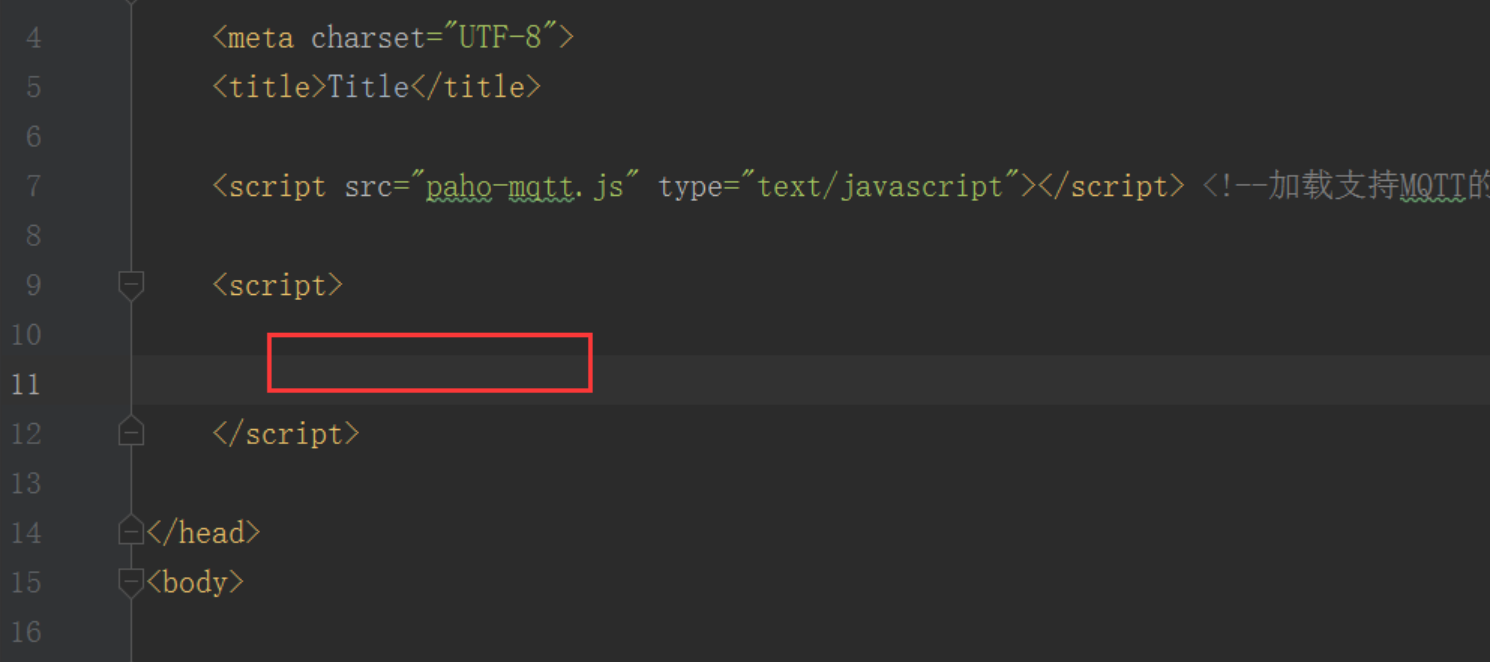
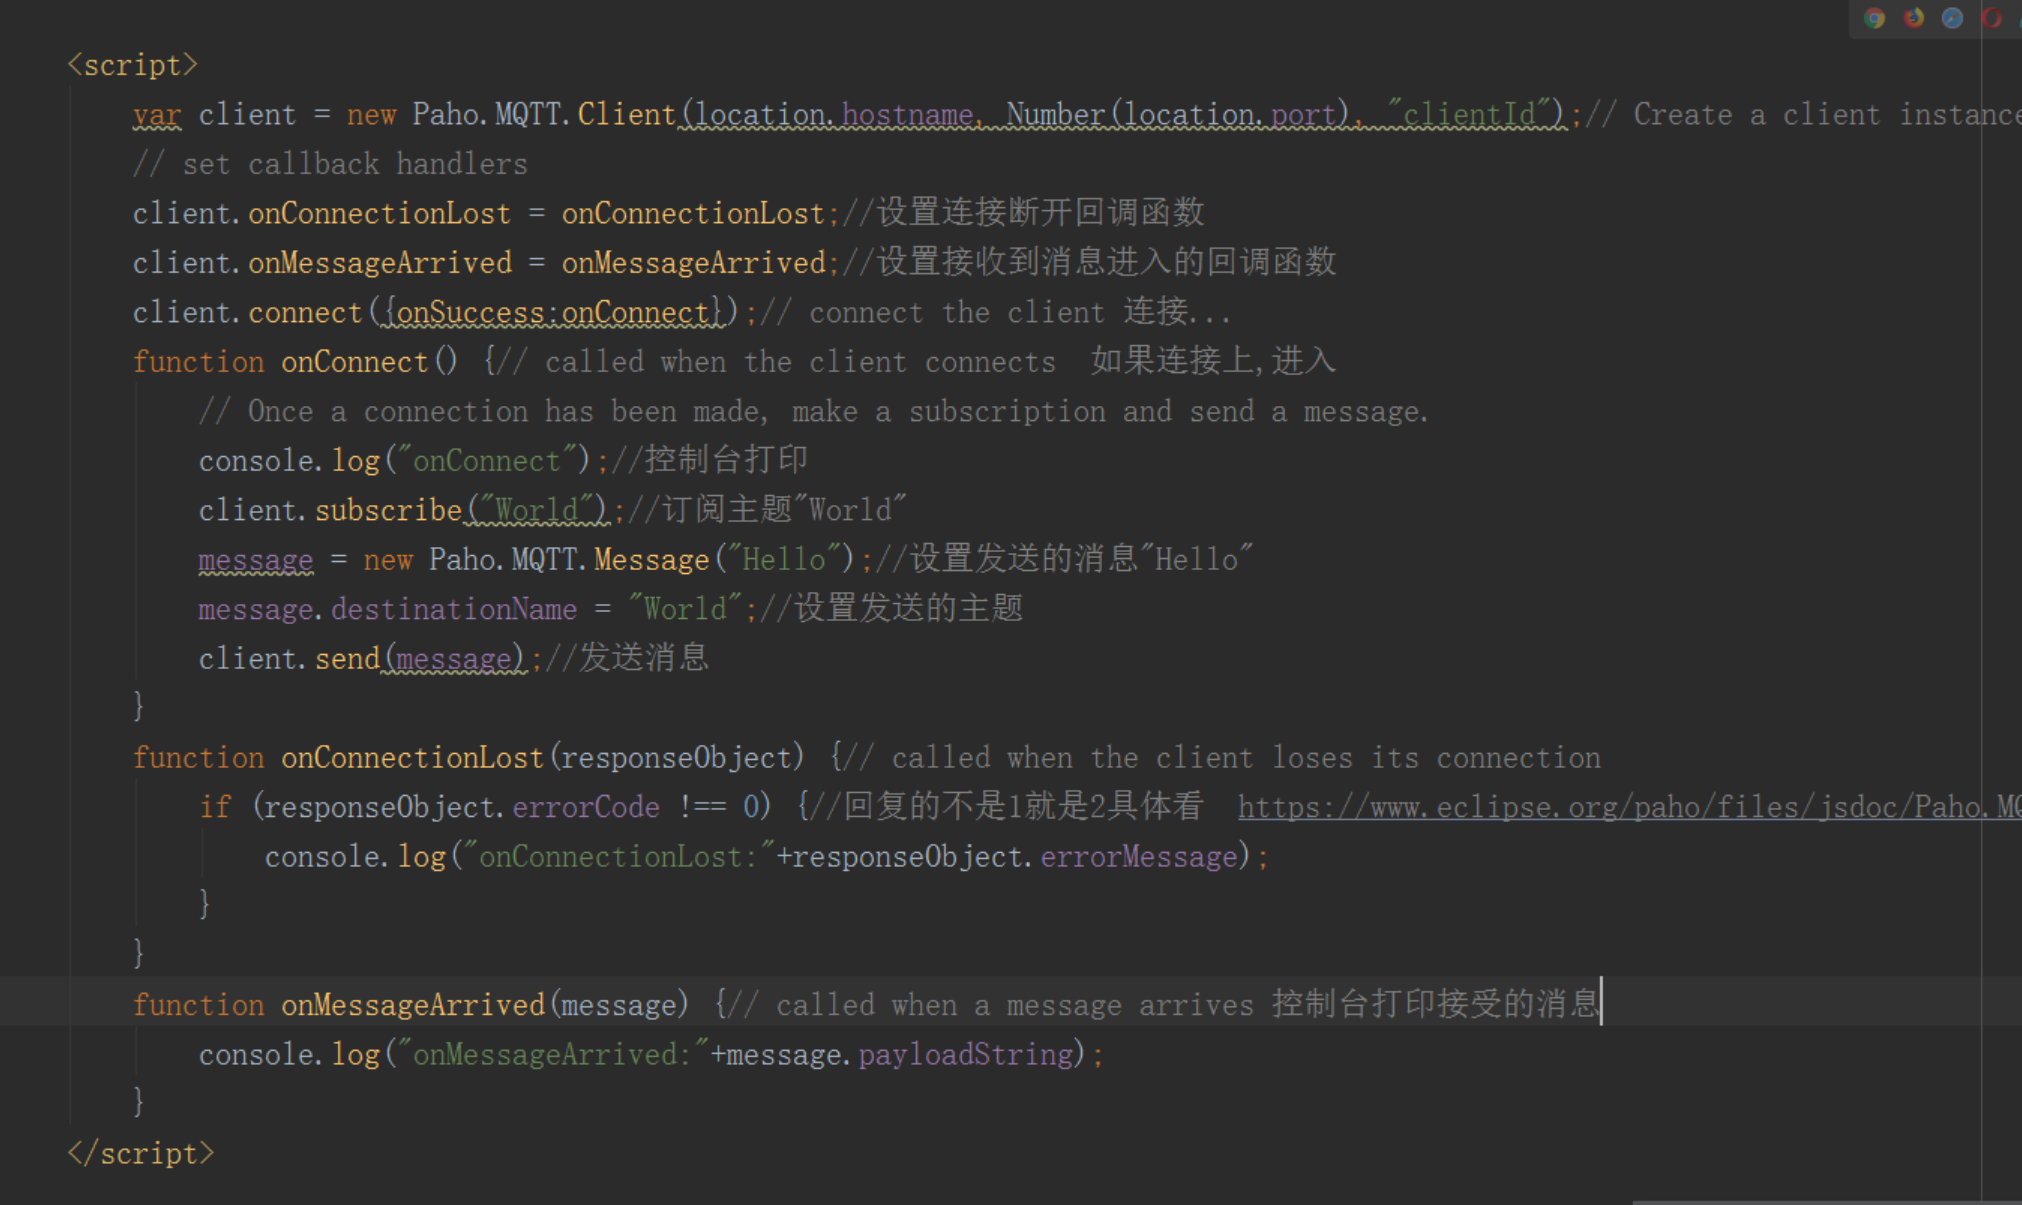
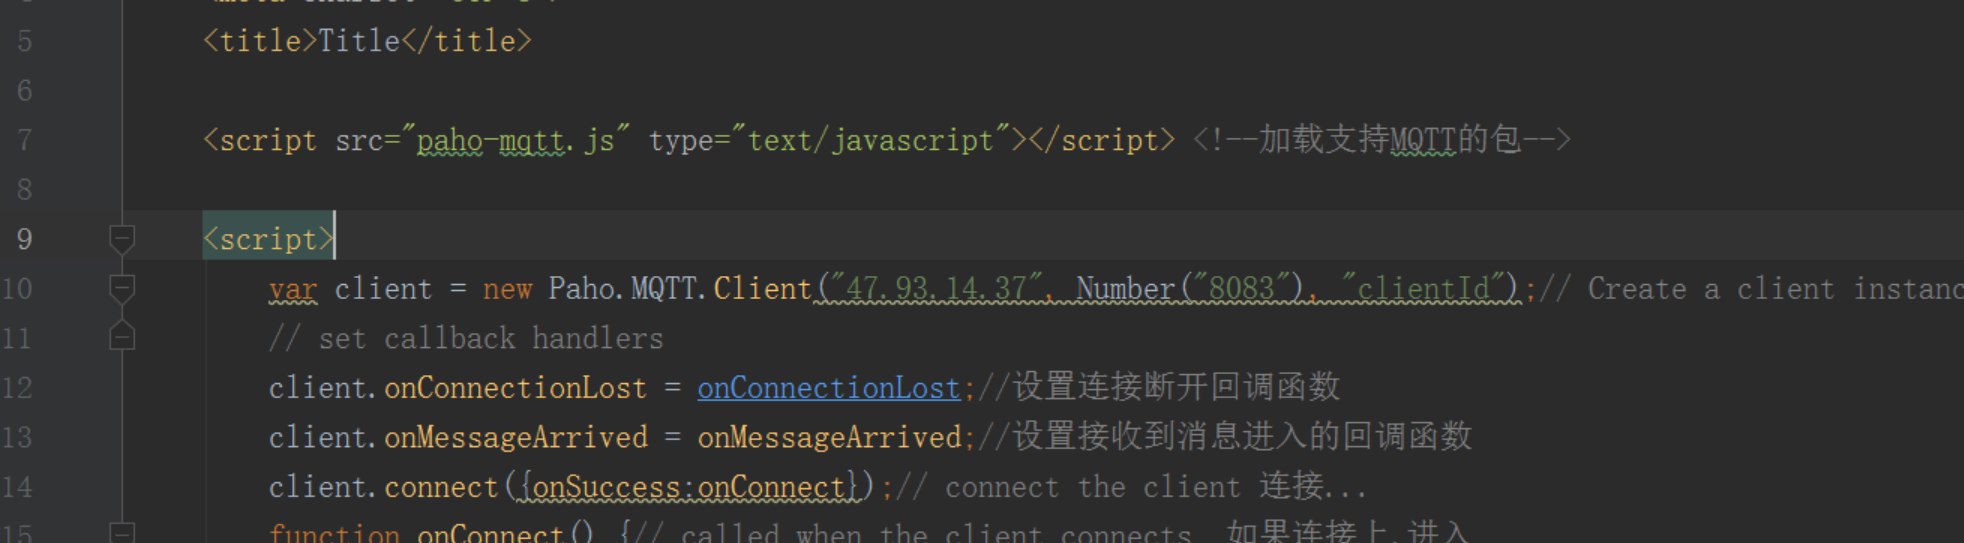
<script>
var client = new Paho.MQTT.Client(location.hostname, Number(location.port), "clientId");// Create a client instance
// set callback handlers
client.onConnectionLost = onConnectionLost; // Set the callback function for connection disconnection
client.onMessageArrived = onMessageArrived; // Set the callback function to be executed when a message is received.
client.connect({onSuccess:onConnect});// connect the client 连接...
function onConnect() { // Called when the client connects If a connection is established, proceeds to...
// Once a connection has been made, make a subscription and send a message.
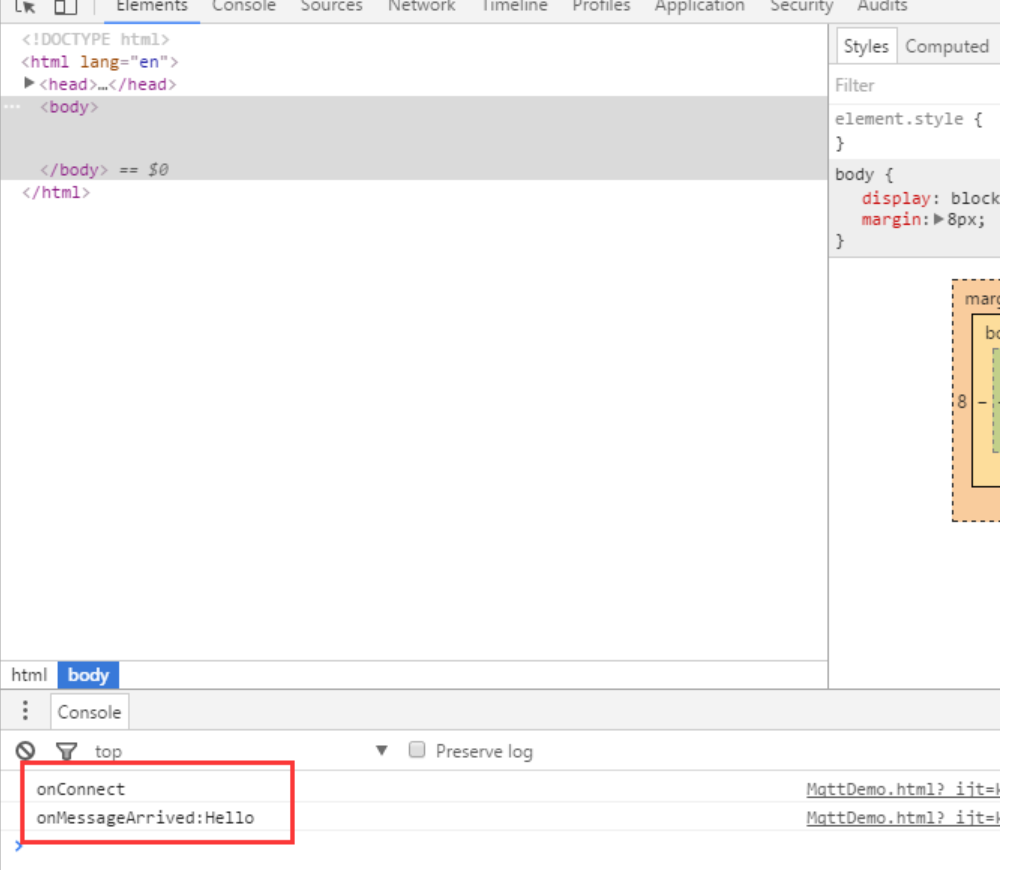
console.log("onConnect"); // Prints a log to the console
client.subscribe("World"); // Subscribe to the topic "World"
message = new Paho.MQTT.Message("Hello"); // Set the message to be sent as "Hello"
message.destinationName = "World"; // Set the subject of the message.
client.send(message); // Send message
}
function onConnectionLost(responseObject) {// called when the client loses its connection
if (responseObject.errorCode !== 0) { // The reply is either 1 or 2, see https://www.eclipse.org/paho/files/jsdoc/Paho.MQTT.Client.html for details.
console.log("onConnectionLost:"+responseObject.errorMessage);
}
}
function onMessageArrived(message) { // Called when a message arrives. Prints the received message to the console.
console.log("onMessageArrived:"+message.payloadString);
}
</script>API introduction is here.
https://www.eclipse.org/paho/files/jsdoc/Paho.MQTT.Client.html
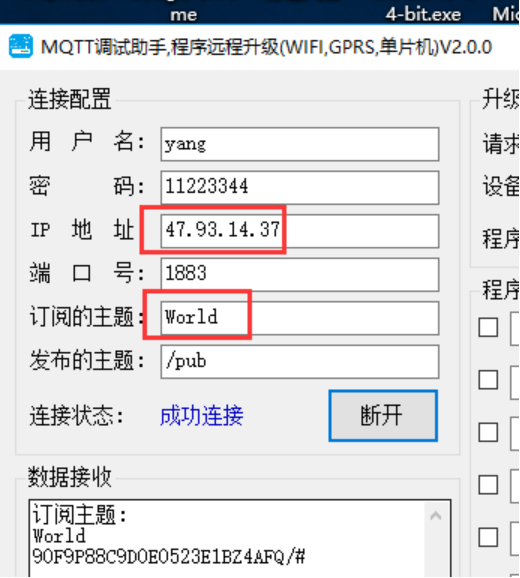
Now change the IP address and port number.
Note that it uses the MQTT WebSocket port.
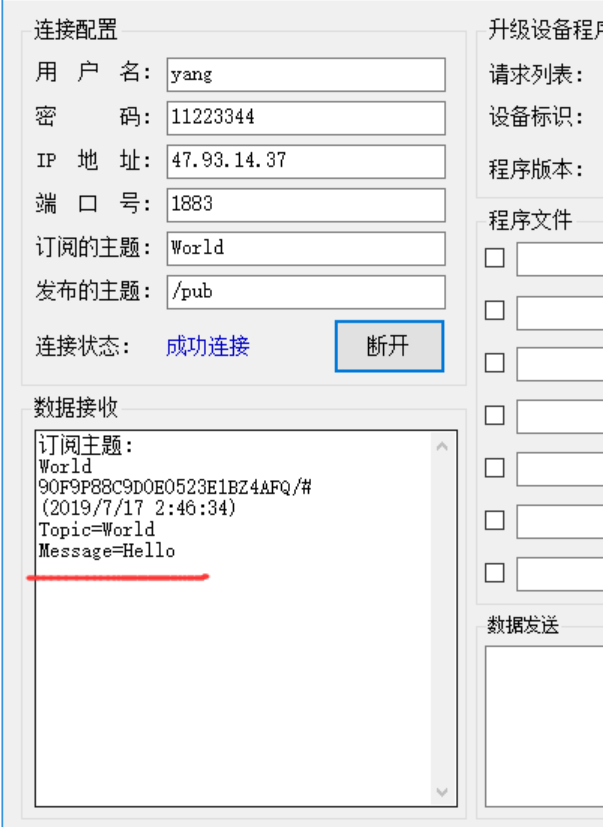
It's also worth mentioning that regardless of the MQTT port used, as long as the subscription and publication topics on the two devices correspond, the two devices can communicate.
The explanation is correct.
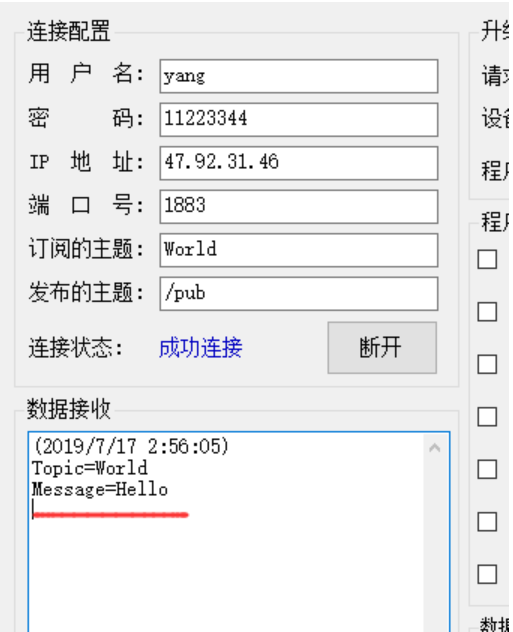
We'll now use a debugging assistant to test.
Restart the webpage.
No username or password was entered when connecting...
The provided API allows you to configure usernames and passwords.

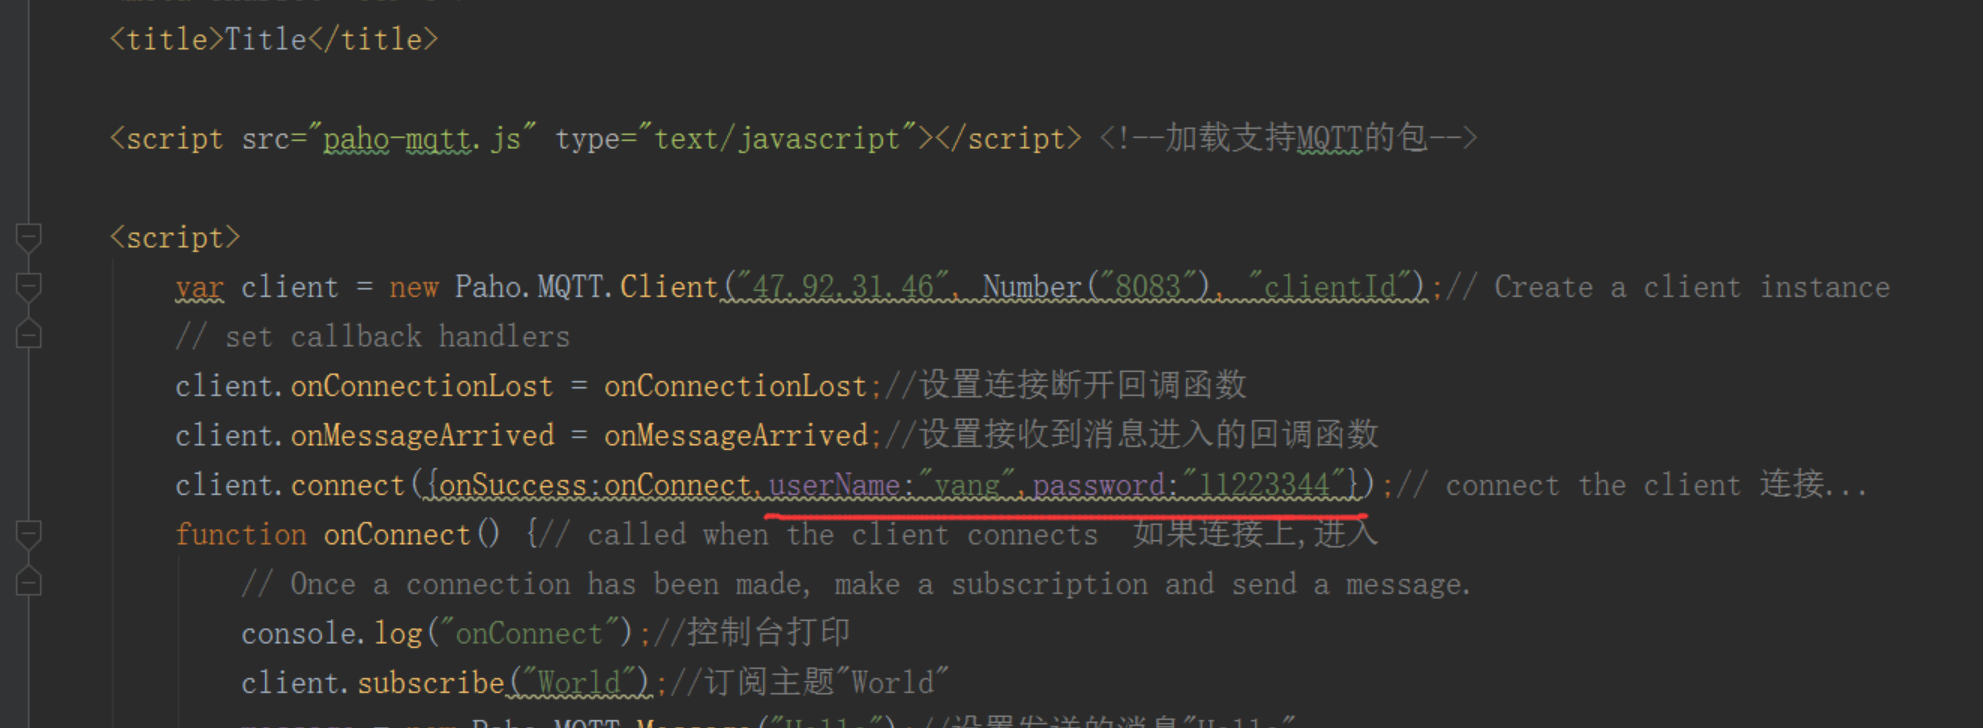
client.connect({onSuccess:onConnect,userName:"yang",password:"11223344"});
Test
Actually, it can be done like this.
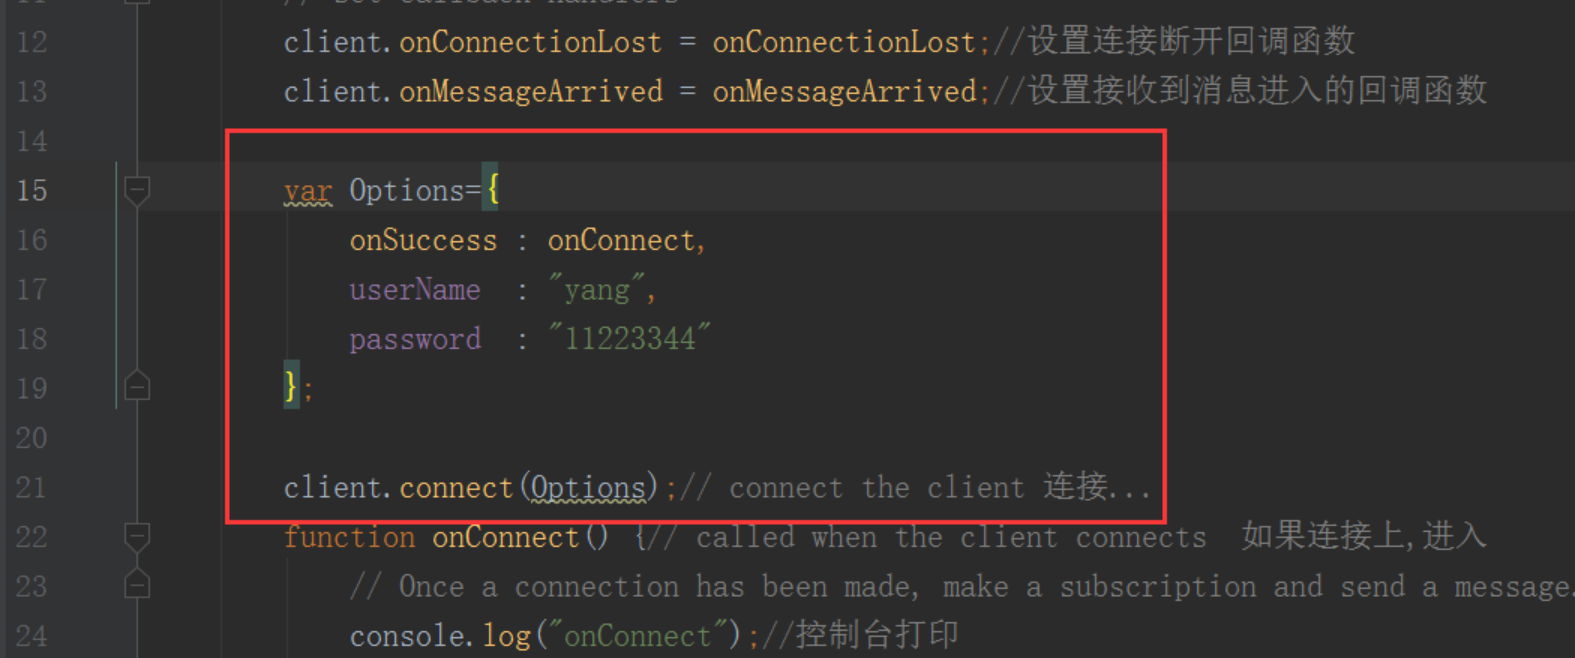
var Options={
            onSuccess : onConnect,
            userName : "yang",
            password  : "11223344"
        };

        client.connect(Options);// connect the client 连接...
I forgot to mention something
`var` is used to define variables in JavaScript. You use `var` to define variables.
var Options={
            onSuccess : onConnect,
            userName : "yang",
            password  : "11223344"
        This

is just syntactic sugar. If you write it like this, it will definitely check the preceding string name, get the value after the colon, and then fill it into the MQTT packing
function.
Many systems do this; if you write it according to this rule, the internal interpreter will accept it...
Like I said before, if you were born a few decades earlier, if you were fortunate enough to participate in JavaScript work, perhaps you would have your own rules.
The other day I said something similar in a group chat, and someone posted a picture with the caption: "I'm just quietly watching.
" He didn't understand what I meant. Much knowledge is defined by people. Don't dwell on why things are defined this way, because many things have been used for so many years; if they've always
existed, they must have a reason for existing. But please don't use this as an excuse; you still need to delve deeper into the knowledge that requires further understanding.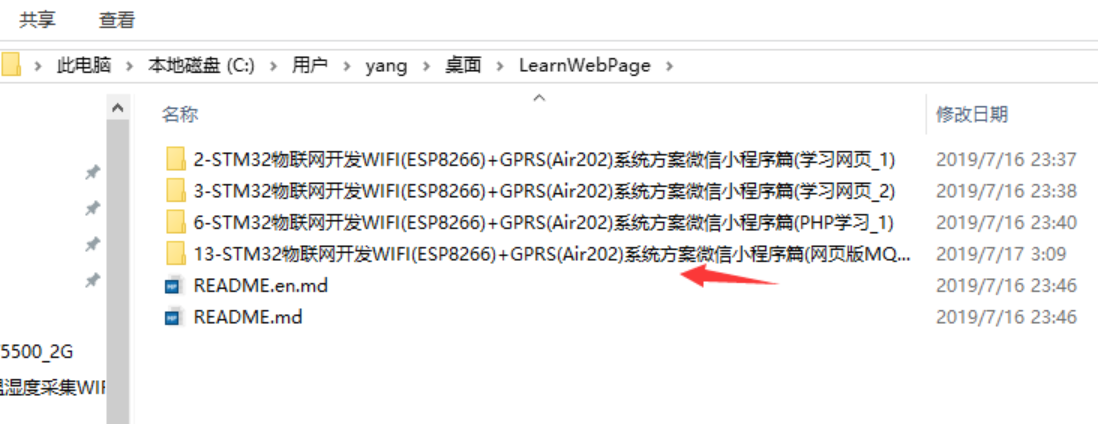
The source code for the basic tutorials is publicly available; you can refer to the blog for instructions on downloading.

That's all for this section; we'll continue to improve it in the next section.