
W5100S-EVB-Pico C/C++ Windows Development Environment
Guide for Development Environment W5100S-EVB-Pico C/C++ in Windows.
The development board W5100S-EVB-Pico with Ethernet embedded in Raspberry Pi Pico can use Arduino IDE aw well as C/C++, Micro Python , and Circuit Python. In this post, I would like to show you how to develop the Raspberry Pi Pico C/C++ SDK in a Windows environment.
ps. This post is based on the programs distrubuted as of September 02.2022.
1. H/W Preparations
- W5100S-EVB-Pico: W5100S-EVB-Pico - WIZnet (wiznetshop.co.kr)
(available on the Raspberry Pi Pico + WIZnet Ethernet HAT combinations)
2. Setup Development Environment for Windows VS Code
Various software must be installed to establish a C/C++ SDK development environment based on Raspberry Pi Pico.
I used it as a base on “ndabas/pico-setup-windows” that automatically builds the Raspberry Pi Pico S/C++ SDLK development environment.
ps. Refer to the bellow link for the detailed setup.
Raspberry Pi Pico : C/C++ SDK and Toolchain Setup in Windows 10 - Arnab Kumar Das
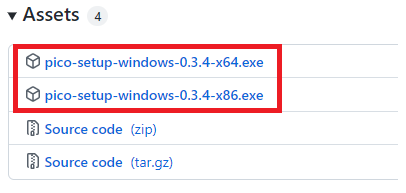
2-1. Download Programs for the integrated Development Environment
Release v0.3.4 · ndabas/pico-setup-windows · GitHub
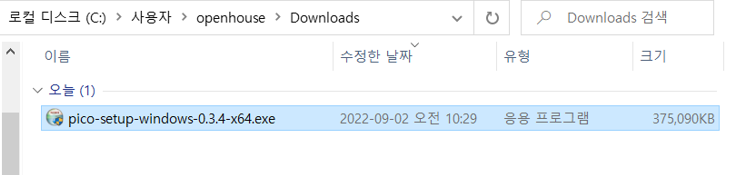
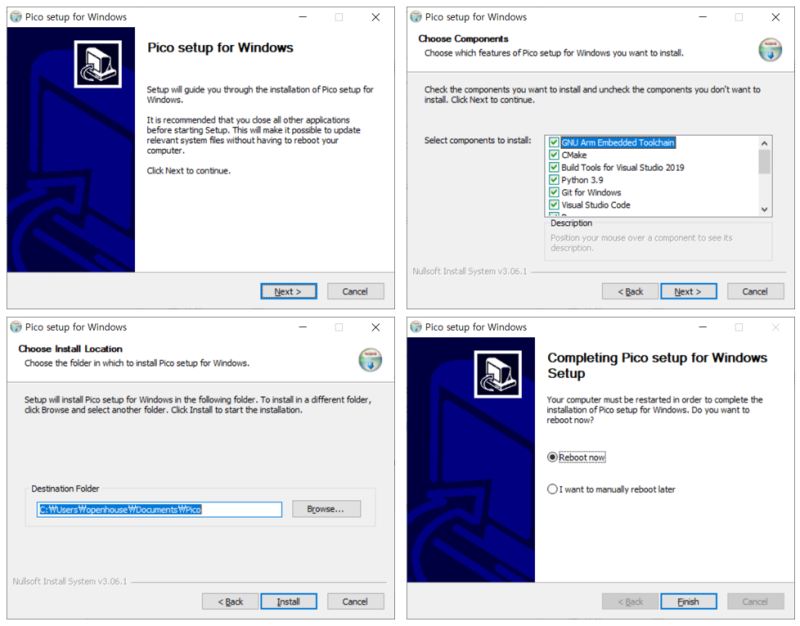
2-2. Run pico-setup-windows.exe program
Install pico-setup-windows.exe program (recommended to run in administrator mode). After installed, please reboot your PC.
3. Download C/C++ Raspberry Pi Pico SDK (Use Git)
WIZnet is distributing the C/C++ SDK "RP2040-HAC-C", which adds Ethernet functionality to the Raspberry Pi Pico SDK.
3-1. Run Command Prompt
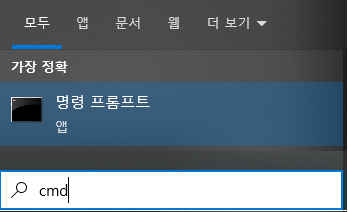
3-2. Create Clone through git command
git clone command: git clone https://github.com/Wiznet/RP2040-HAT-C.git

4. Run VS Code
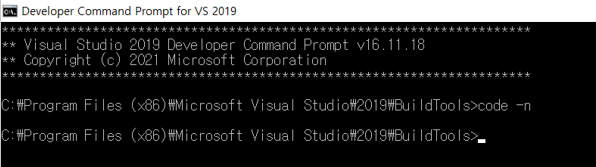
4-1. Run Developer Command Prompt for VS 2019
Run Developer Command Prompt for VS 2019 terminal. Please use the terminal for VS 2019.
p
4-2. Run VS Code
command: code -n
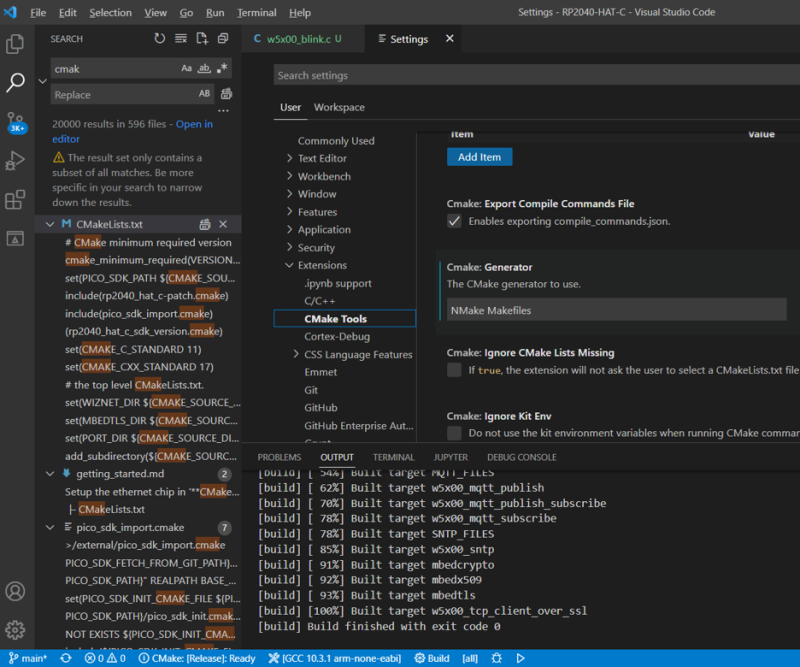
5. Setup CMake Tool
Input "NMake Makefiles" to the "VS code settings -> Extensions -> CMake Tools -> Cmake Generator.
6. VS Code에서 RP2040-HAT-C Build with Blink Example
6-1. Open RP2040-HAT-C folder on VS Code
Drag the RP2040-HAT-C folder to VS Code or import the content of the RP2040-HAT-C folder to VS Code using "File --> Folder Open".
6-2. Create and Upload Blink Examples
Unzip the link folder attached to this post and copy it to the examples directory on RP2040-HAT-C.
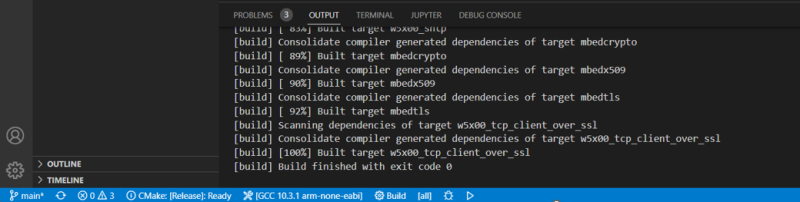
6-3. Build w5x00_blink.c
Build w5x00_blink.c file (Click the Build icon or F7 key).
6-4. Upload compiled file to the board
When the compilation is complete, w5x00_blink.uf2 file in the "build\examples\blink" directory is created.If you upload the file to W5100S-EVB-Pico, you can see that the Built-in LED is blinking.
-
Blink Example
