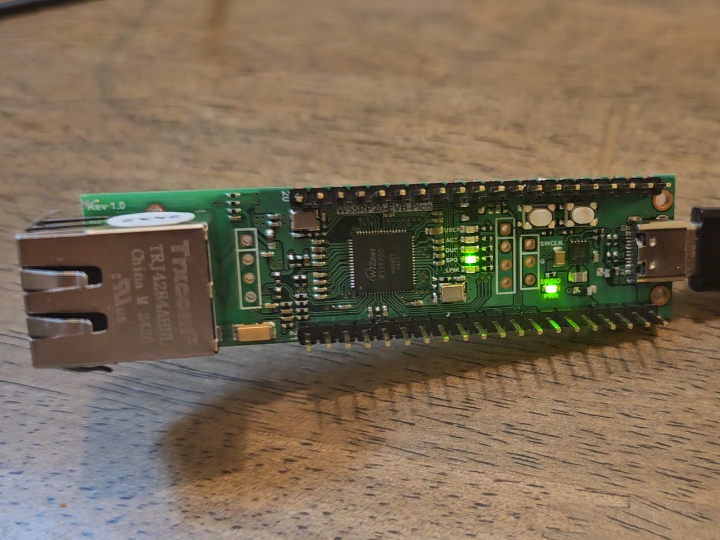
[W55RP20 Project #2] Development Environment: Getting Started
Getting Started

Getting Started with the W55RP20 Development Environment
In this guide, we'll walk you through the setup process for the W55RP20 development environment from scratch. While there are various methods and tutorials available online, many are outdated. Let's dive into the latest steps!
1. Visit the Wiznet GitHub Repository
Navigate to the Wiznet GitHub. You'll see a page like this:
Click the link in the middle of the page:
"Examples for the EVB-Pico and W55RP20 can be found here."
This will take you to the example page: WIZnet-ioNIC.
2. Select "WIZnet-PICO-C" from Popular Repositories
Once on the examples page, locate the "Popular repositories" section. Click on the first link: "WIZnet-PICO-C".
This is the Ethernet example repository for the RP2040 and RP2350.
3. Refer to the Raspberry Pi Documentation
Scroll down to the README section. For W55RP20-EVB-Pico development setup, you'll first need to consult Chapter 3 of the Raspberry Pi documentation.
Click the link to download the official Raspberry Pi Pico guide: "Getting started with Raspberry Pi Pico."
4. Open the Raspberry Pi Pico Documentation
Once downloaded, open the Raspberry Pi Pico documentation. This is the starting point for the setup.
5. Locate the Setup Instructions for Windows
In the Table of Contents, you'll find Chapter 3, which outlines how to set up the development environment on Windows.
6. Simplified Windows Setup
Unlike the past (which required installing Arm GCC, CMake, Visual Studio 2019, Python 3.9, Git, etc.), the new guide simplifies everything!
Now, "No dependencies needed"—just install Visual Studio Code, and you're good to go.
A huge thanks to the Raspberry Pi Pico team for this innovative approach. (Meanwhile, Wiznet… what’s next?)
7. Install Visual Studio Code
Following the guide, install Visual Studio Code. Once installed, open the editor and click the square Extensions icon on the left.
8. Search for "Pico" Extension
Search for "Pico" in the Extensions marketplace and click Install. Your environment setup is complete—amazing work by the Raspberry Pi team!
9. Create a New Project
With the Pico extension installed, a new Pico icon will appear. Select "New C/C++ Project."
10. Select an Example Project
Choose an example project from the list. Start with "blink"—simple and perfect for beginners!
11. Configure the Project
- Board Type: Pico
- Location: Choose any folder on your computer.
- Debug Configuration: Leave it default unless you have specific preferences.
Click "Create" to generate your project based on the Blink example.
12. Open the Blink Example Code
In the generated project, open "blink.c." The code toggles an LED every 250ms. Press F5 to build the project. Ignore any errors from missing debuggers.
13. Transfer to the W55RP20-EVB-Pico
Locate the generated blink.uf2 file in your selected project folder. Drag and drop it onto the W55RP20-EVB-Pico board.
If the driver isn't detected, unplug the USB, hold the Bootsel button, reconnect the USB, and release the button.
14. Blink Example in Action
The LED will blink at 250ms intervals. Here’s a video of it in action:
15. Modify the Blink Interval
Change the 250 value to 100 in the code and rebuild the project by pressing F5. Drag and drop the new blink.uf2 file onto the board.
16. Faster Blink Example
Now, the LED will blink every 100ms. Here's the updated video:
17. Conclusion
Your Raspberry Pi Pico development environment is now fully configured! In the next post, we’ll explore Ethernet examples with the W55RP20. Stay tuned, and thank you for following along!

