
How to Use ESP32-S3-ETH: Examples, Pinouts, and Specs
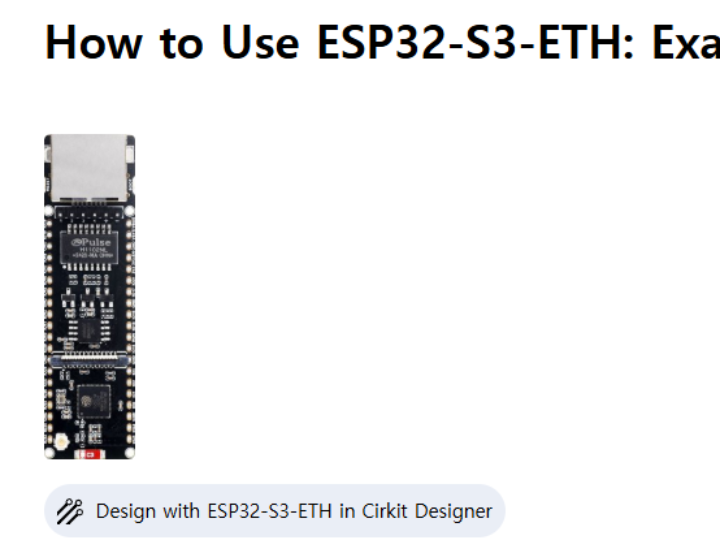
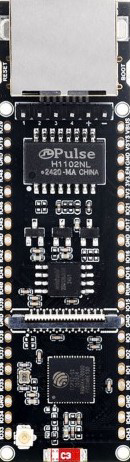
The ESP32-S3-ETH is a powerful microcontroller module manufactured by WAVESHARE (Part ID: ESP32-S3-POE-ETH).
How to Use ESP32-S3-ETH: Examples, Pinouts, and Specs
Introduction
The ESP32-S3-ETH is a powerful microcontroller module manufactured by WAVESHARE (Part ID: ESP32-S3-POE-ETH). It features integrated Wi-Fi and Bluetooth capabilities, along with Ethernet support for reliable wired connectivity. This module is designed for high-performance IoT applications, offering robust communication options and advanced processing power.
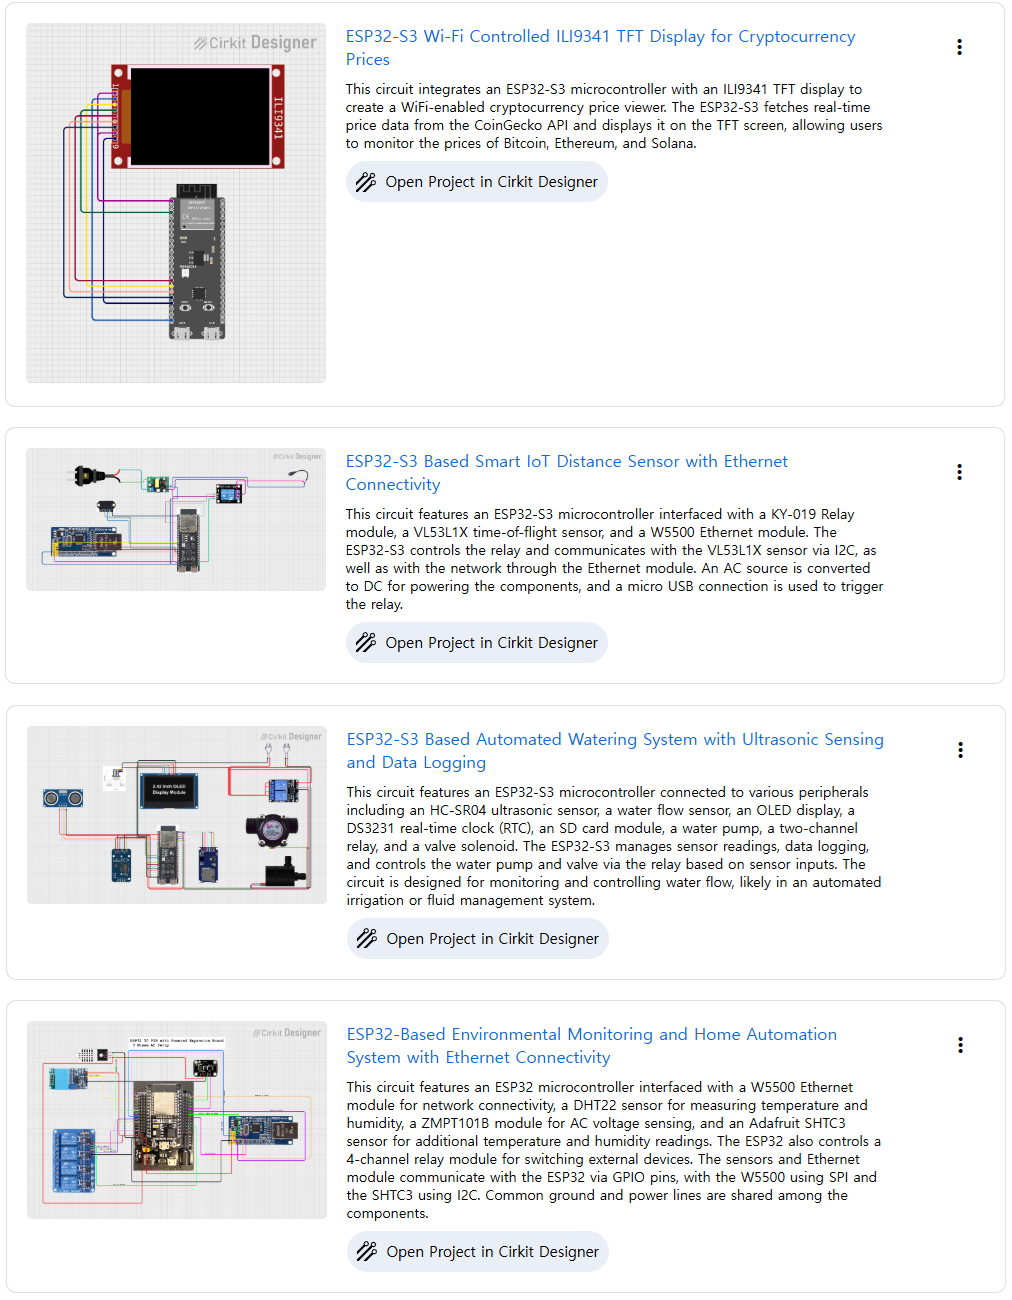
Explore Projects Built with ESP32-S3-ETH
Use Cirkit Designer to design, explore, and prototype these projects online. Some projects support real-time simulation. Click "Open Project" to start designing instantly!
Common Applications and Use Cases
- IoT Gateways: Acts as a central hub for IoT devices, supporting both wired and wireless communication.
- Industrial Automation: Provides reliable Ethernet connectivity for industrial control systems.
- Smart Home Devices: Enables seamless integration of smart home appliances with cloud services.
- Data Logging and Monitoring: Collects and transmits data over Ethernet or Wi-Fi for real-time monitoring.
- Edge Computing: Processes data locally with its powerful dual-core processor before sending it to the cloud.
Technical Specifications
Key Technical Details
| Parameter | Value |
|---|---|
| Microcontroller | ESP32-S3 (Xtensa® 32-bit LX7 dual-core processor) |
| Clock Speed | Up to 240 MHz |
| Flash Memory | 16 MB |
| SRAM | 512 KB |
| Wireless Connectivity | Wi-Fi 802.11 b/g/n, Bluetooth 5.0 (LE) |
| Ethernet Support | 10/100 Mbps Ethernet with PoE (Power over Ethernet) |
| Operating Voltage | 3.3V |
| GPIO Pins | 45 (including ADC, DAC, I2C, SPI, UART, PWM, and more) |
| Power Supply | PoE or external 5V via USB-C |
| Operating Temperature | -40°C to +85°C |
| Dimensions | 60 mm x 30 mm |
Pin Configuration and Descriptions
| Pin Name | Type | Description |
|---|---|---|
| VIN | Power Input | External 5V power input (used when not powered via PoE). |
| GND | Ground | Ground connection. |
| GPIO0 | Digital I/O | General-purpose I/O pin, often used for boot mode selection. |
| GPIO1-45 | Digital I/O | General-purpose I/O pins with multiple functions (PWM, ADC, etc.). |
| TXD0/RXD0 | UART | UART0 TX and RX pins for serial communication. |
| SCL/SDA | I2C | I2C clock and data lines for communication with peripherals. |
| MISO/MOSI | SPI | SPI data lines for high-speed communication. |
| ETH_TX+/ETH_TX- | Ethernet | Differential pair for Ethernet transmission. |
| ETH_RX+/ETH_RX- | Ethernet | Differential pair for Ethernet reception. |
| RESET | Input | Resets the microcontroller. |
Usage Instructions
How to Use the ESP32-S3-ETH in a Circuit
Powering the Module:
- Use PoE (Power over Ethernet) for a single-cable solution.
- Alternatively, supply 5V via the VIN pin or USB-C connector.
Connecting to Ethernet:
- Connect the Ethernet cable to the RJ45 port for wired communication.
- Ensure the Ethernet network supports 10/100 Mbps speeds.
Programming the Module:
- Use the USB-C port to connect the module to a computer.
- Install the ESP32-S3 board package in the Arduino IDE or ESP-IDF.
- Select the correct COM port and board type before uploading code.
Using GPIO Pins:
- Configure GPIO pins as input or output in your code.
- Use appropriate pull-up or pull-down resistors if required.
Wireless Communication:
- Configure Wi-Fi or Bluetooth settings in your code for wireless connectivity.
- Ensure proper security protocols (e.g., WPA2) are implemented for Wi-Fi.
Important Considerations and Best Practices
- Power Supply: Ensure the module receives a stable 3.3V or 5V power supply.
- Ethernet Shielding: Use shielded Ethernet cables in noisy environments to reduce interference.
- GPIO Voltage Levels: Avoid applying voltages higher than 3.3V to GPIO pins to prevent damage.
- Firmware Updates: Regularly update the firmware to ensure compatibility and security.
Example Code for Arduino UNO Integration
Below is an example of how to use the ESP32-S3-ETH with the Arduino IDE to connect to an Ethernet network and send data to a server:
#include <ETH.h> // Include the Ethernet library for ESP32-S3

// Ethernet configuration
#define ETH_CLK_MODE ETH_CLOCK_GPIO17_OUT // Set clock mode
#define ETH_PHY_POWER 12                  // GPIO pin for PHY power

// Network credentials
const char* server = "example.com";       // Server address
const int port = 80;                      // Server port

void setup() {
  Serial.begin(115200);                   // Initialize serial communication
  ETH.begin(ETH_PHY_POWER, ETH_CLK_MODE); // Initialize Ethernet

  // Wait for Ethernet connection
  while (!ETH.linkUp()) {
    Serial.println("Connecting to Ethernet...");
    delay(1000);
  }
  Serial.println("Ethernet connected!");
}

void loop() {
  // Example: Send a GET request to the server
  WiFiClient client;
  if (client.connect(server, port)) {
    client.println("GET / HTTP/1.1");
    client.println("Host: example.com");
    client.println("Connection: close");
    client.println();
    Serial.println("Request sent!");
  } else {
    Serial.println("Connection failed!");
  }
  delay(10000); // Wait 10 seconds before sending the next request
}
Troubleshooting and FAQs
Common Issues and Solutions
Ethernet Not Connecting:
- Ensure the Ethernet cable is securely connected to the RJ45 port.
- Verify that the network supports 10/100 Mbps speeds.
- Check if the PoE switch or injector is functioning correctly.
Wi-Fi Not Connecting:
- Double-check the SSID and password in your code.
- Ensure the Wi-Fi network is within range and not overloaded.
Module Not Detected by Computer:
- Verify the USB-C cable is functional and supports data transfer.
- Install the correct USB drivers for the ESP32-S3.
GPIO Pins Not Working:
- Confirm the pin mode (input/output) is correctly set in the code.
- Check for short circuits or incorrect wiring.
FAQs
Q: Can I use both Ethernet and Wi-Fi simultaneously?
A: Yes, the ESP32-S3-ETH supports simultaneous Ethernet and Wi-Fi operation.
Q: How do I update the firmware?
A: Use the ESP-IDF or Arduino IDE to upload the latest firmware via the USB-C port.
Q: What is the maximum Ethernet cable length?
A: The maximum recommended length is 100 meters (328 feet) for standard Ethernet cables.
Q: Can I power the module with a battery?
A: Yes, you can use a 3.7V LiPo battery with a suitable voltage regulator to provide 3.3V.