Wiznet makers

alistair

Published June 28, 2026 © MIT license (MIT)

0 UCC

0 VAR

5 Contests

0 Followers

0 Following

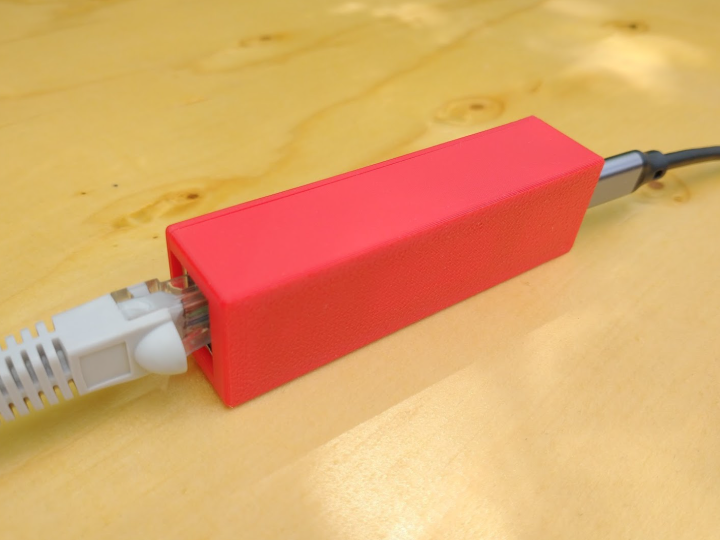
Net Keyboard (Virtual Keyboard over IP)

This project emulates as a USB keyboard to give remote access to a computer or games console using the browser.

COMPONENTS Hardware components

WIZnet - W55RP20-EVB-Pico

x 1

Software Apps and online services

Arduino - Arduino IDE

x 1

Version 1.3 was used for this project


PROJECT DESCRIPTION

Introduction

This is a [hopefully] useful project based around the W55RP20-EVB-Pico that emulates a keyboard that can be controlled remotely across a network. This was inspired by wanting to have keyboard access on a public display screen without being able to install software or run extra cables to it. It can be used whenever you need a USB keyboard to be accessed remotely.

Flashing the Firmware

There is a lot of background information about this project below, but if you just want to install the firmware then in this section you will find all instructions you need.

First you will need the Arduino IDE installed. I am currently using The Legacy IDE (v1.8.19) but a more recent version should work.

You will also need the Arduino-Pico core installed within the Arduino IDE, and full instructions on how to do that are on Earle Philhower’s GitHub repository. After this you can select “WIZnet W55RP20-EVB-Pico” from the “Raspberry Pi RP2040” boards. You will need to select the port, but all the other defaults should be fine for what we need.

The final bit of setup is you will need to install the Arduino mDNS library that can be done from the “Skitch” menu, “Include Library”, “Manger Libraries…”, searching for “ArduinoMDNS”, and clicking the “Install” button. This allows us to locate the device across the network without needing to worry about router configuration or IP addresses.

When you are setup, download the firmware (“net_keyboard.ino”) and the embedded web page (“indexhtml.h”) from this page to a folder called “net_keyboatrd”. Next open the .ino file in the Arduino IDE, and click the upload button.

That should be it. Now you can plug the Ethernet port in to a network switch, the USB port to the target machine you want to control, and go to “http://netkeyboard.local:80/” (or just “http://netkeyboard/” on some machines/browsers) and you will be connected. What you type on the virtual keyboard in the browser will be typed on the target machine as if it came from a USB keyboard.

Technical Overview

So what is going on here and how is it working? At the heart of the firmware is a simple HTTP server. It is basic and not fully featured, but it is all we need. This serves us a basic web page that displays a keyboard, and sends an API call when one of the virtual keys is pressed.

To do this the W55RP20-EVB-Pico listens for a connection from the network, and when a connection is established a HTTP header is received and partly decoded. If it is a request for the index page we return the HTML (with CSS and JavaScript embedded). If it is an API call we extract the requested key code from the request and use that to simulate a key press. This keyboard simulation is being done on the Pi Pico using the standard Keyboard library.

As we are using a virtual keyboard where a user may not be able to hold a shift key alongside another key, I treat the shift keys as a toggle and change the keyboard shown in the same way many mobile phones do.

Finally we also have a mDNS server running on the module. This is so we don’t need to know the IP address of the module to connect to it, and instead we can just type in netkeyboard.local instead.

For more detail the source on this page is fully documented.

The Enclosure

The case design could not be more simple to print. It is designed in two halves that can be simply printed on most 3D printers without any support structures or complicated settings. It will protect your W55RP20-EVB-Pico and looks much like an inline coupler.

Just download the two STL files from this page, print them, insert the W55RP20-EVB-Pico into the base, and then press on the top.

Device compatibility

The Net Keyboard is theoretically compatible with any device that supports a USB keyboard, be this a laptop, tablet, or phone using a USB-A to USB-C, a USB-C to USB-C, or a USB Micro OTG cable. It has been tested on a Windows machine and an iPad. In all these scenarios the power is supplied from the host device.

If you are using the Net Keyboard with a device that requires power to be supplied, such as a TV streaming device, then you will need an OTG with a power injector or a USB-C hub with power delivery just as you would if using an USB keyboard.

Finally under some circumstances you could use PoE directly on the W55RP20-EVB-Pico to power the device you are plugging in to. There are some notable limitations, one being that we can not use USB-C. By using a WIZPoE-P1 and bridging pins 39 and 40 on the W55RP20-EVB-Pico we can feed 5V back to the USB-C socket, but unlike Micro USB this will not power the host device without some negotiation. An easy hack here is to use a USB-C to USB-A and plug that into a OTG adapter in the host device. Another limitation is that we will only have 6.75W spare (1.45A at 5V) to power any device and while enough to power entry level devices, it is not enough to power most 4K video streaming devices.

Conclusion and Demonstration

It works, it works well, and it works reliably. Here is a video of it being tested where I load VLC and start a video playing.

There are a few features I would like to add, such as being able to use the physical keyboard on the remote computer, and the ability to use shift, CTRL and ALT in a more traditional way if the hardware running the browser supports multitouch. Adding mouse support would also be a benefit. That said, it is already a functional solution for most use cases.
 

Documents
  • Project Case (Top)

    Best printed inverted in PLA with no supports.

  • Project Case (Bottom)

    Best printed in PLA with no supports.

  • Net Keyboard Firmware

    Compile and upload in the Arduino IDE (v1.8) after installing earlephilhower's arduino-pico core and the standard ArduinoMDNS libry.

  • Net Keyboard Web Interface

    Place in the same folder as the main firmware .ino file when compiling.

Comments Write