Arduino Tutorial : Telnet Client
.
3
Project description
DETAILS
This example connects to a Telnet server using an Ethernet shield.
Step 1: What You Need?
Software Required
– A telnet server
– Alternatively, Processing has a ChatServer example that works well for this purpose
Step 2: Build Your Circuit.
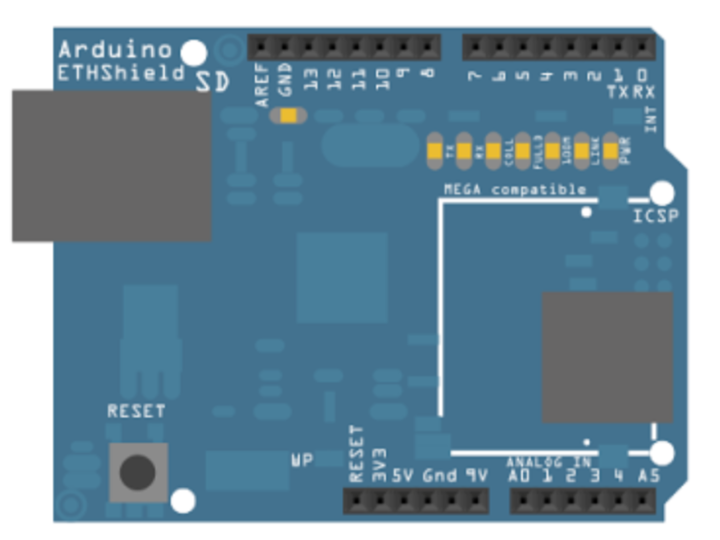
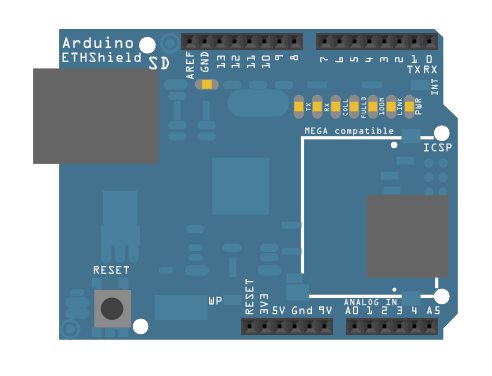
The Ethernet shield allows you to connect a WizNet Ethernet controller to the Arduino boards via the SPI bus. It uses pins 10, 11, 12, and 13 for the SPI connection to the WizNet. Later models of the Ethernet shield also have an SD Card on board. Digital pin 4 is used to control the slave select pin on the SD card.
Step 3: Upload The Code.
– Details are explained! You just do step by step!


Dated : Friday, August 05, 2016
Source : https://myrobotduino.blogspot.kr/2016/08/telnet-client.html
Author : Robot edu
