
Debugging & Building an STM32CubeIDE Project in VS Code
Debugging & Building an STM32CubeIDE Project in VS Code
microsoft - VS Code
x 1
Debugging & Building an STM32CubeIDE Project in VS Code
This article introduces how to build and debug STM32CubeIDE projects using VSCode. You will be doing a lot of development using our WIZnet chips and STM32 MCUs. Therefore, we want to introduce this project to you. VSCode is a lightweight yet powerful code editor that is loved by many developers. Through this article, we hope you learn how to use VSCode to make your STM32 project development process more efficient and convenient. Happy coding!
Items needed for this project
[Installation files within Windows]
- Common Installation
[gnuwin32] https://gnuwin32.sourceforge.net/packages/zip.htm
- If you use ST-LINK?
[STM32CubeCLT] https://www.st.com/en/development-tools/stm32cubeclt.html
-If you use J-LINK?
[J-LINK SW Pack] https://www.segger.com/downloads/jlink/#J-LinkSoftwareAndDocumentationPack
[J-LINK SVD] https://keilpack.azureedge.net/pack/Keil.Kinetis_K60_DFP.1.5.0.pack
[J-LINK SCRIPT] https://www.segger.com/downloads/eval/SeggerEval_K66_SEGGER_emPower_CortexM_EmbeddedStudio
[Arm GNU Toolchain] https://developer.arm.com/downloads/-/gnu-rm
You have to This items Directories for creating json files!
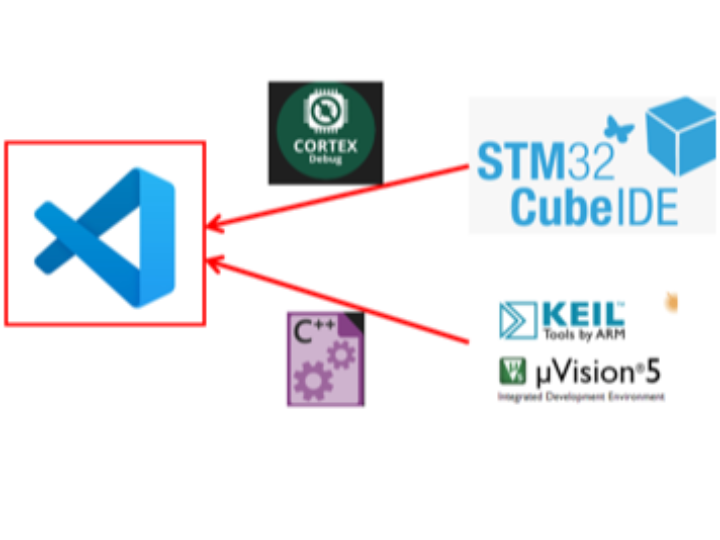
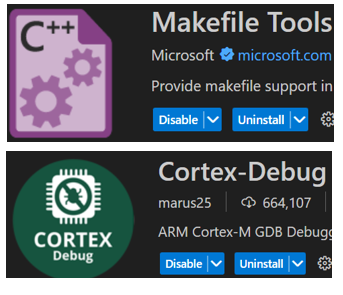
[Extension packs to install within VS Code]
Creating a launch.json file
you should create the following json file in advance to skip several build processes and save time. Since the paths for ST-Link and J-Link are different in the launch.json file, you should modify the path in this file from the code below.
- If you use ST-LINK?
[You need to change the following json parameters]
executable: This is the name of the project elf file generated from the project in CUBE IDE.
serverpath: This is the path to ST-LINK_gdbserver.exe.
stm32cubeprogrammer: This is the path to STM32CubeCLT/STM32CubeProgrammer/bin.
svdFile: This is the path to the SVD file within STMicroelectronics_CMSIS_SVD.
    {
    "version": "0.2.0",
    "configurations": [
      {
        "cwd": "${workspaceFolder}",
        "executable": "./Debug/STM32F103RBT6.elf",
        "name": "Debug with ST-Link",
        "request": "launch",
        "type": "cortex-debug",
        "runToEntryPoint": "main",
        "showDevDebugOutput": "none",
        "servertype": "stlink",
        "windows": {
          "serverpath": "C:/ST/STM32CubeCLT/STLink-gdb-server/bin/ST-LINK_gdbserver.exe",
          "stm32cubeprogrammer": "C:/ST/STM32CubeCLT/STM32CubeProgrammer/bin",
          "svdFile": "C:/ST/STM32CubeCLT/STMicroelectronics_CMSIS_SVD/STM32H723.svd"
        },
      }
    ]
  }
-If you use J-LINK?
[You need to change the following json parameters]
executable: This is the name of the project elf file generated from the project in CUBE IDE.
device: This is the device connected to J-Link. It can be confirmed from the J Flash software.
interface: Enter your connection interface.
serverpath: This is the location of 'JLinkGDBServerCL.exe'.
jlinkscript: This is the location of 'Kinetis_K66_Target.js'.
svdFile: This is the location of 'MK66F18.svd'.
armToolchainPath: This is the location containing the executable of the toolchain.
{
    "version": "0.2.0",
    "configurations": [
        {
            "cwd": "${workspaceFolder}",
            "executable": "./Debug/project.elf",
            "name": "Cortex Debug",
            "request": "launch",
            "type": "cortex-debug",
            "device": "STM32F103C6",
            "interface": "swd",
            "runToEntryPoint": "main",
            "showDevDebugOutput": "none",
            "servertype": "jlink",
            "serverpath": "C:/Program Files/SEGGER/JLink_V794m/JLinkGDBServerCL.exe",
            "jlinkscript" : "C:/Users/osodl/Downloads/SeggerEval_K66FN2M0_SEGGER_emPower_CortexM_SES_230626/BSP/SEGGER/K66FN2M0_emPower/Setup/Kinetis_K66_Target.js" ,
            "svdFile" :  "C:/Users/osodl/AppData/Local/Arm/Packs/Keil/Kinetis_K60_DFP/1.5.0/MK66F18.svd",
            "armToolchainPath": "C:/Program Files (x86)/GNU Arm Embedded Toolchain/10 2021.10/bin"
        }
    ]
}
Creating a C_cpp_properties.json file
[You need to change the following json parameters]
compilerPath: This is gcc.exe of mingw64 directory
{
    "configurations": [
        {
            "name": "Win32",
            "includePath": [
                "${workspaceFolder}/**"
            ],
            "defines": [
                "_DEBUG",
                "UNICODE",
                "_UNICODE"
            ],
            "compilerPath": "C:\\Program Files (x86)\\mingw64\\bin\\gcc.exe",
            "cStandard": "c17",
            "cppStandard": "gnu++14",
            "intelliSenseMode": "windows-gcc-x64"
        }
    ],
    "version": 4
}
Creating a settings.json file
{
    "makefile.configurations": [
      {
          "name": "build",
          "makeArgs": ["-j20"],
      }
    ],
    "makefile.makeDirectory": "Debug",
    "makefile.compileCommandsPath": "Debug/compile_commands.json"
  }
How to build & Debug VIDEO
How to Build & Debug STM32IDE Projects in VS Code (youtube.com)