A Simple Guide to Building the WIZnet-PICO-C Library with Raspberry Pi Pico in VS Code
Here's a concise summary for your guide on building the WIZnet-PICO-C library using the Raspberry Pi Pico extension in VS Code

Software Apps and online services
Before you begin this project, you need to install the WIZnet-PICO-C library from the link provided below. Please use the GitHub link below to download the library.
Step 1: Install the Libraryss
First, make sure you've installed the WIZnet-PICO-C library from the GitHub link provided below.
Step 2: Install the Raspberry Pi Pico Extension in VS Code
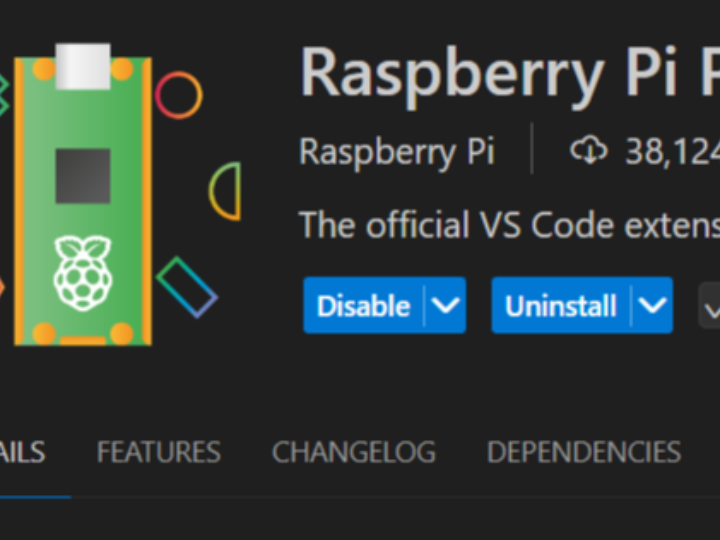
Once the library is installed, open Visual Studio Code and go to the Extensions tab. Search for "Raspberry Pi Pico" and install the extension.
Step 3: Import the Project
After installing the extension, open the "Raspberry Pi Pico" extension from the left-hand side tab in VS Code, as shown in the image below. Click on "Import Project," then click the "Change" button to add the path of your WIZnet-PICO-C library. Once added, click on the "Import" button.
Step 4: Compile the Project
After a short waiting time, if the project window opens successfully, run the "Raspberry Pi Pico" extension again and click the "Compile Project" button.
Step 5: Check the Build and Run
Once the build is complete, as shown in the terminal window in the image below, you can use the UF2 file located in the Build directory of the project to operate your Pico board.


