
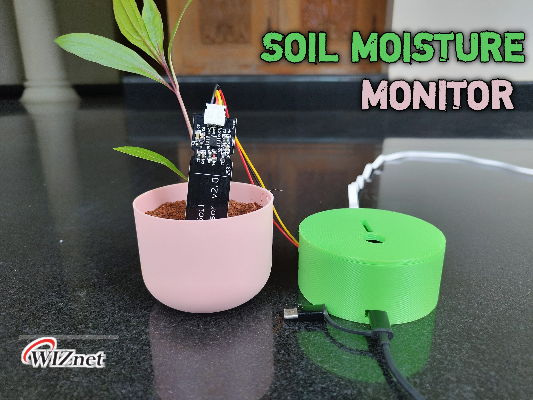
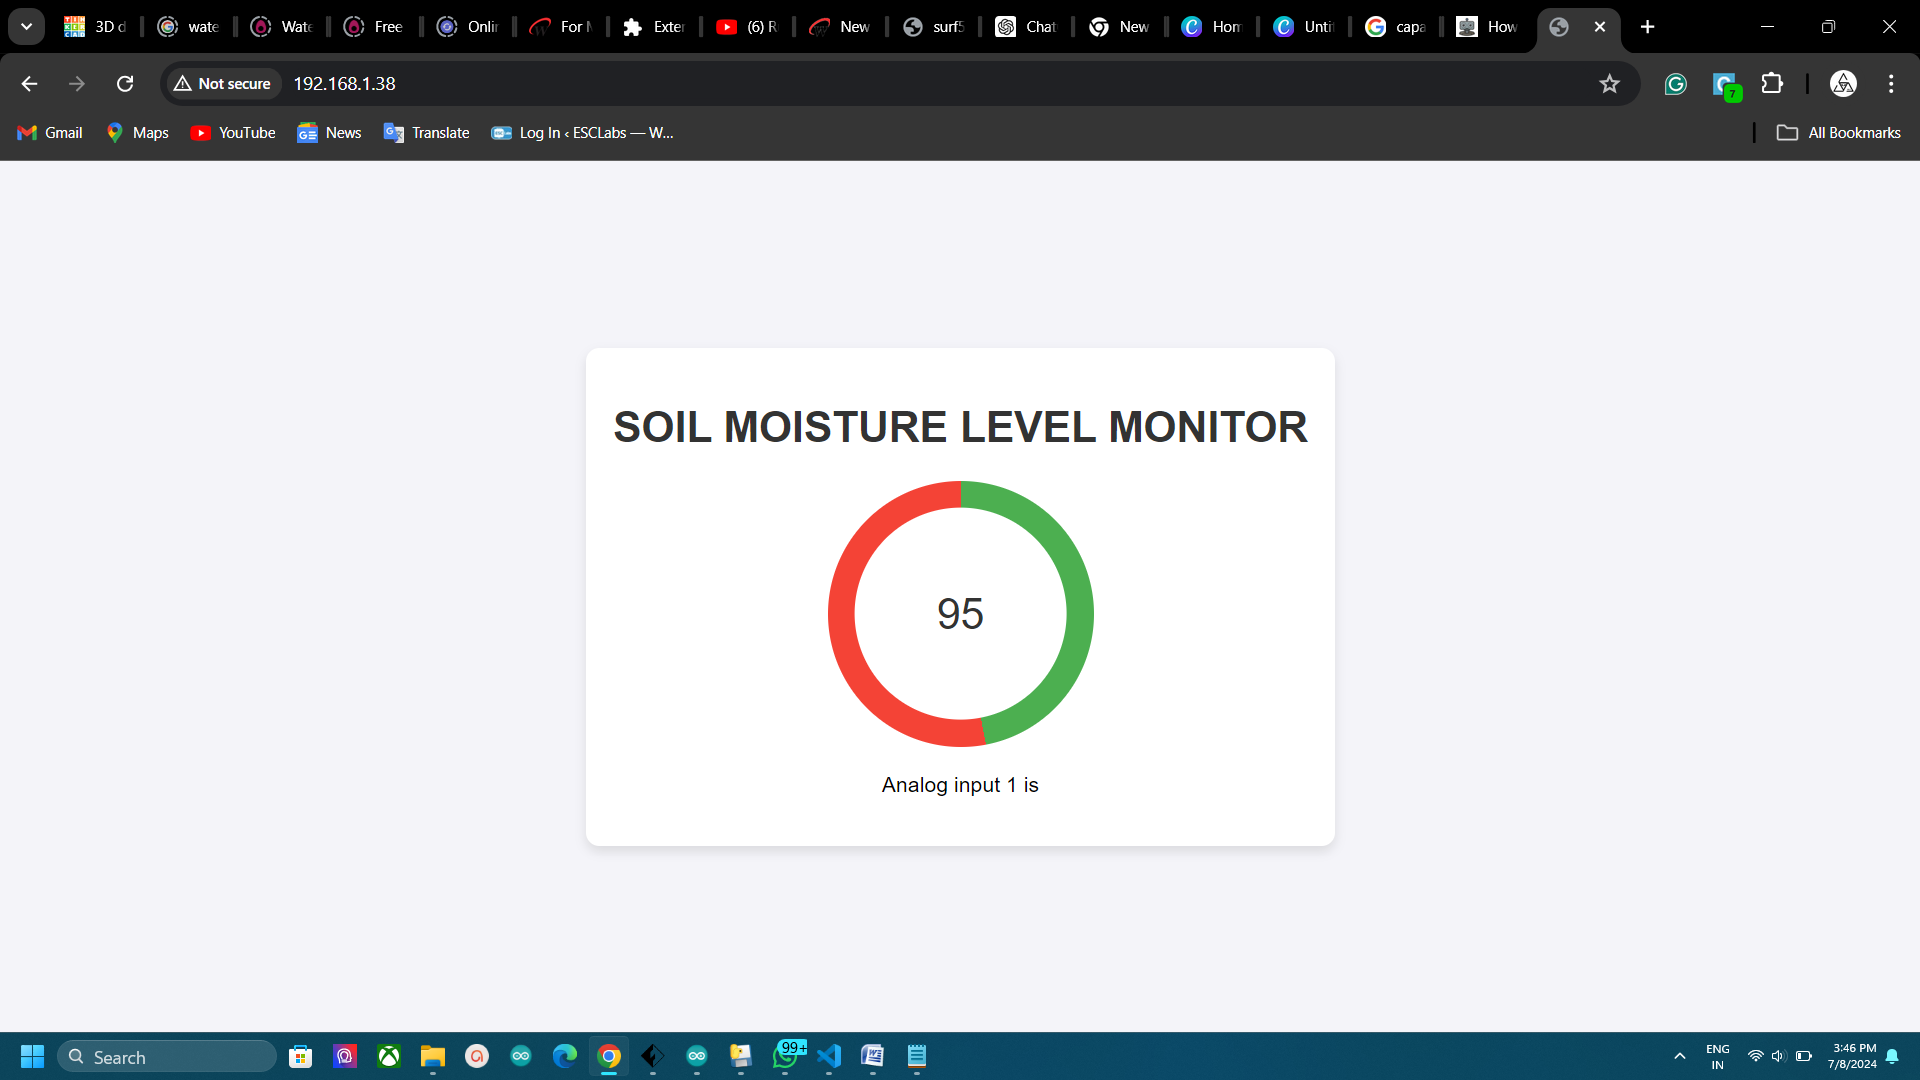
A simple SOIL MOISTURE LEVEL monitor
A simple soil moisture monitor using wiznet Surf5
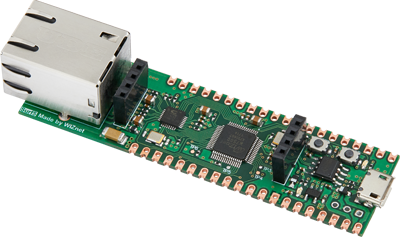
WIZnet - Surf5
x 1
microsoft - VS Code
x 1
This project involves designing and building a device that can measure and display the moisture content of the soil, helping to ensure that plants receive the optimal amount of water. By using soil moisture sensors and wiznet surf5 microcontrollers we can create a reliable system to monitor soil moisture levels in real time. This project can be particularly useful for gardeners, farmers, or anyone who wants to maintain healthy plants with minimal effort.
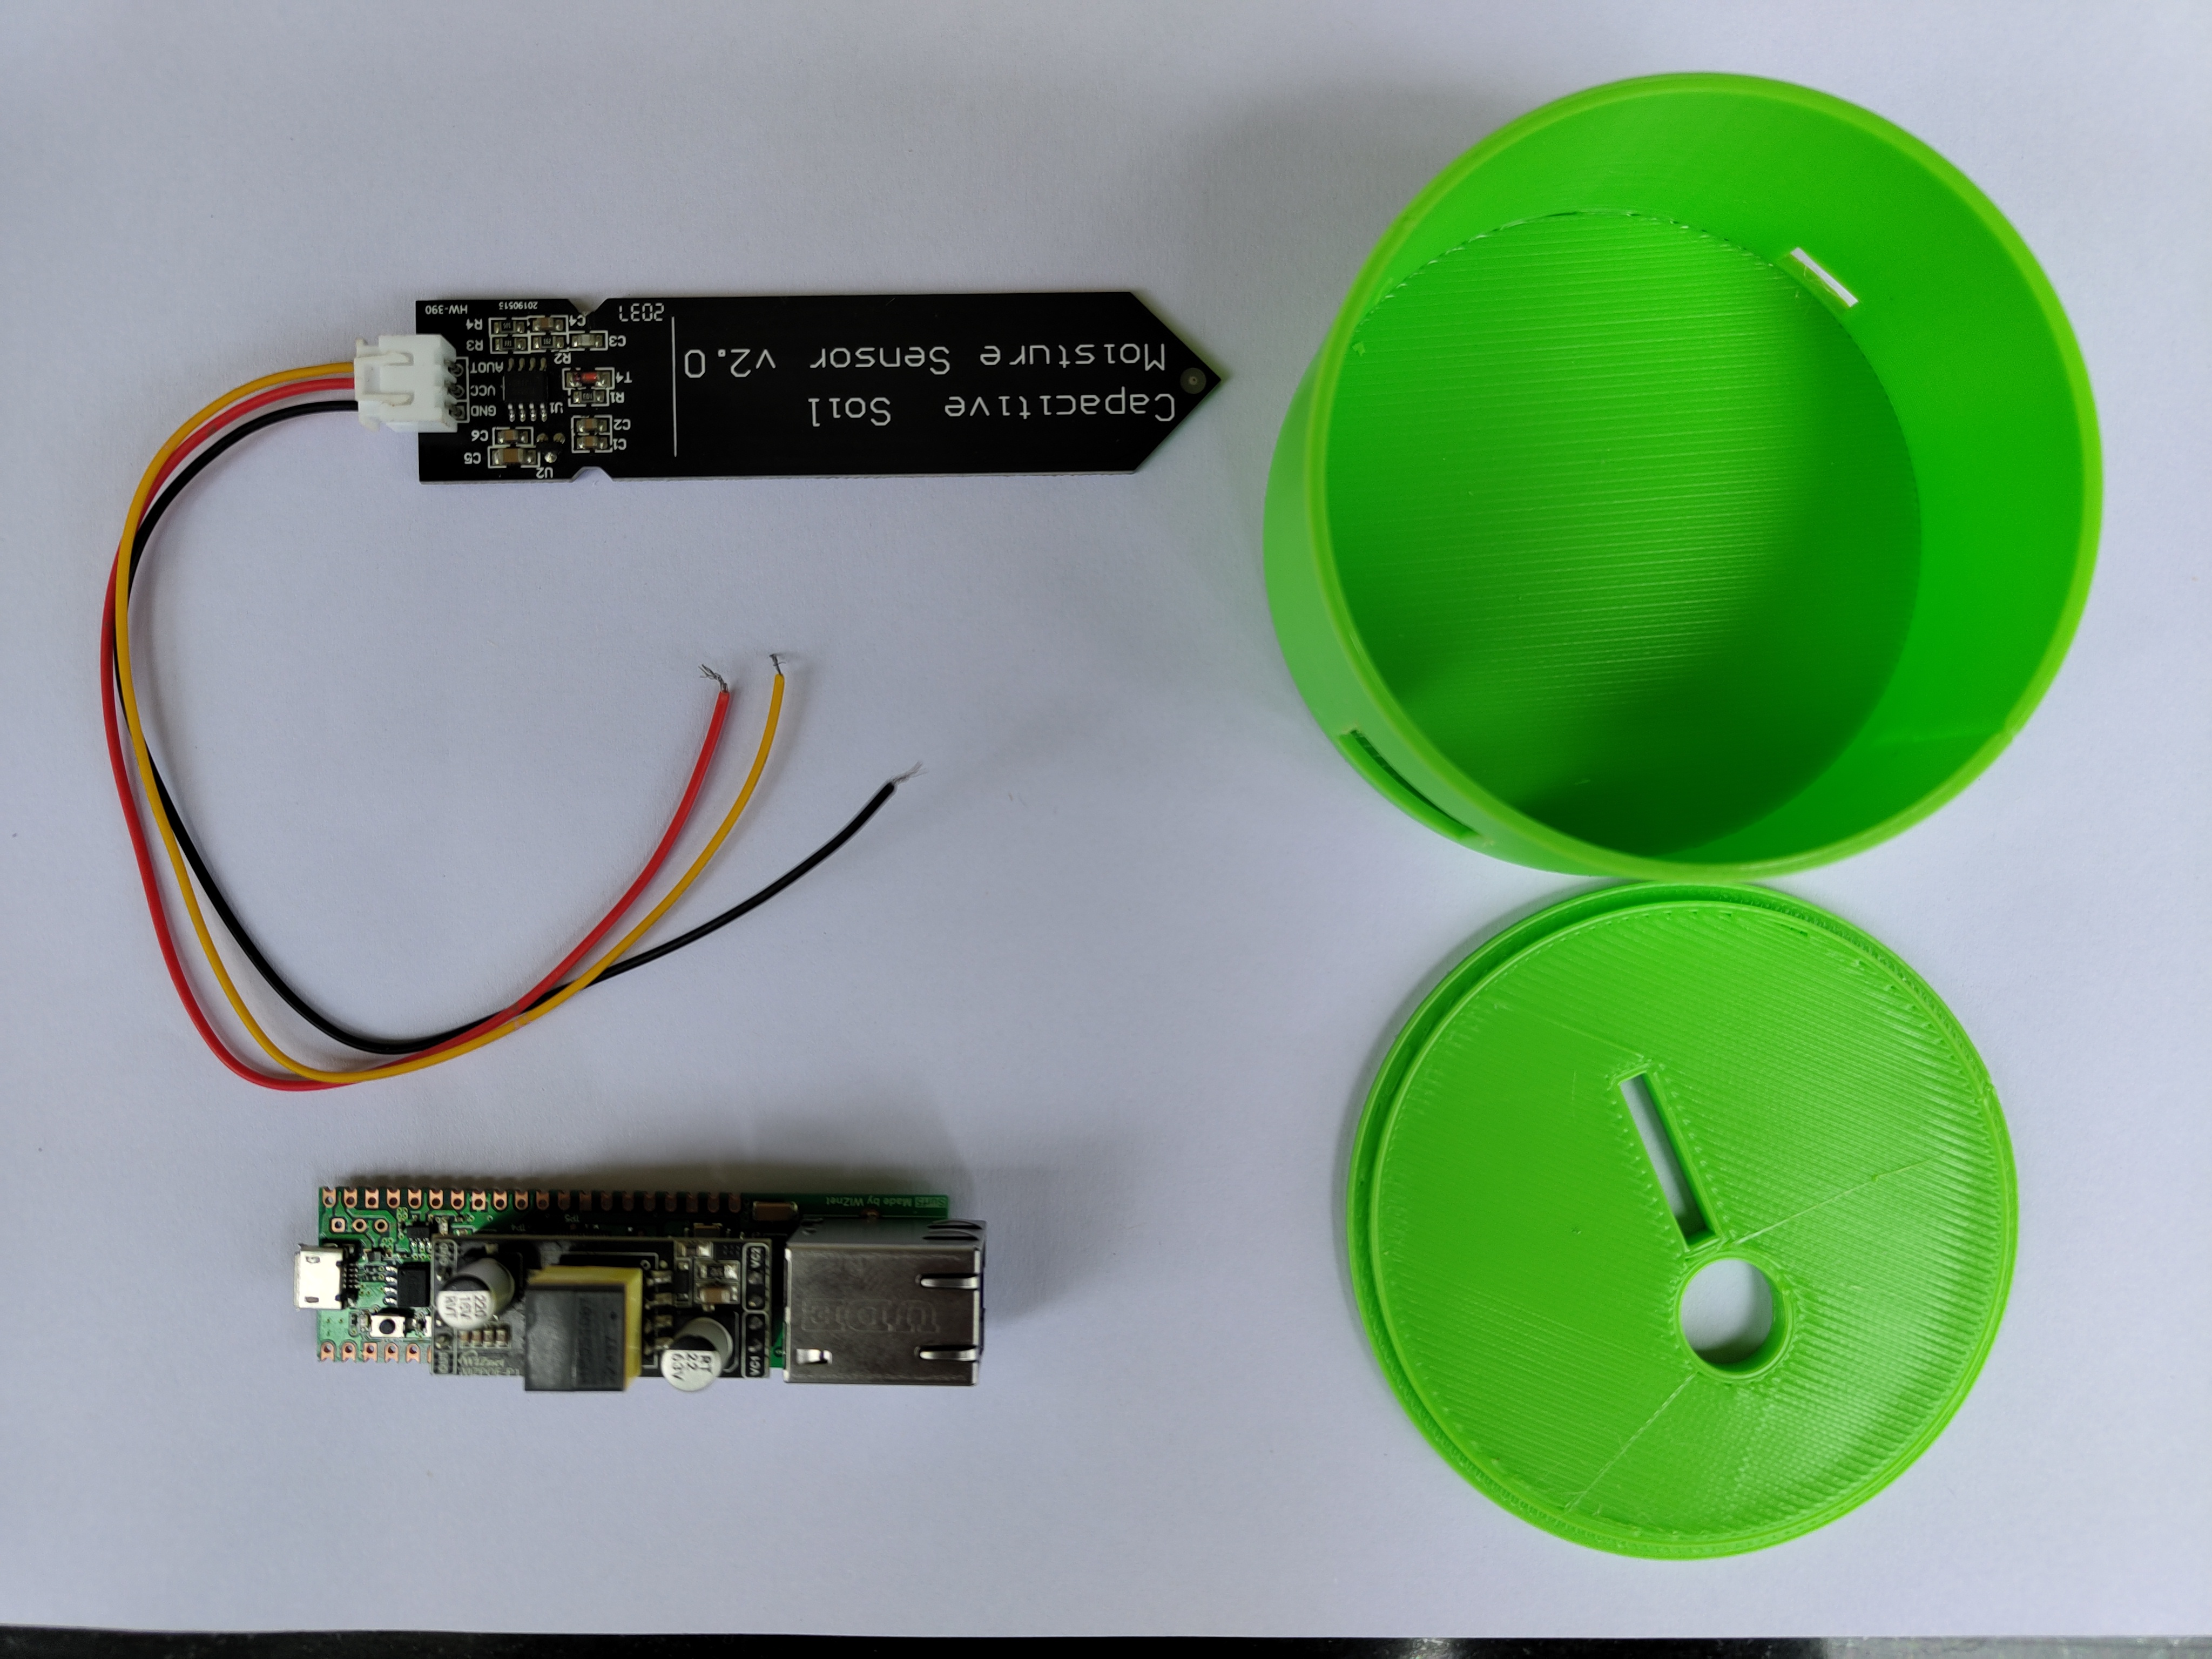
COMPONENTS NEEDED
Wiznet Surf5 Module-1
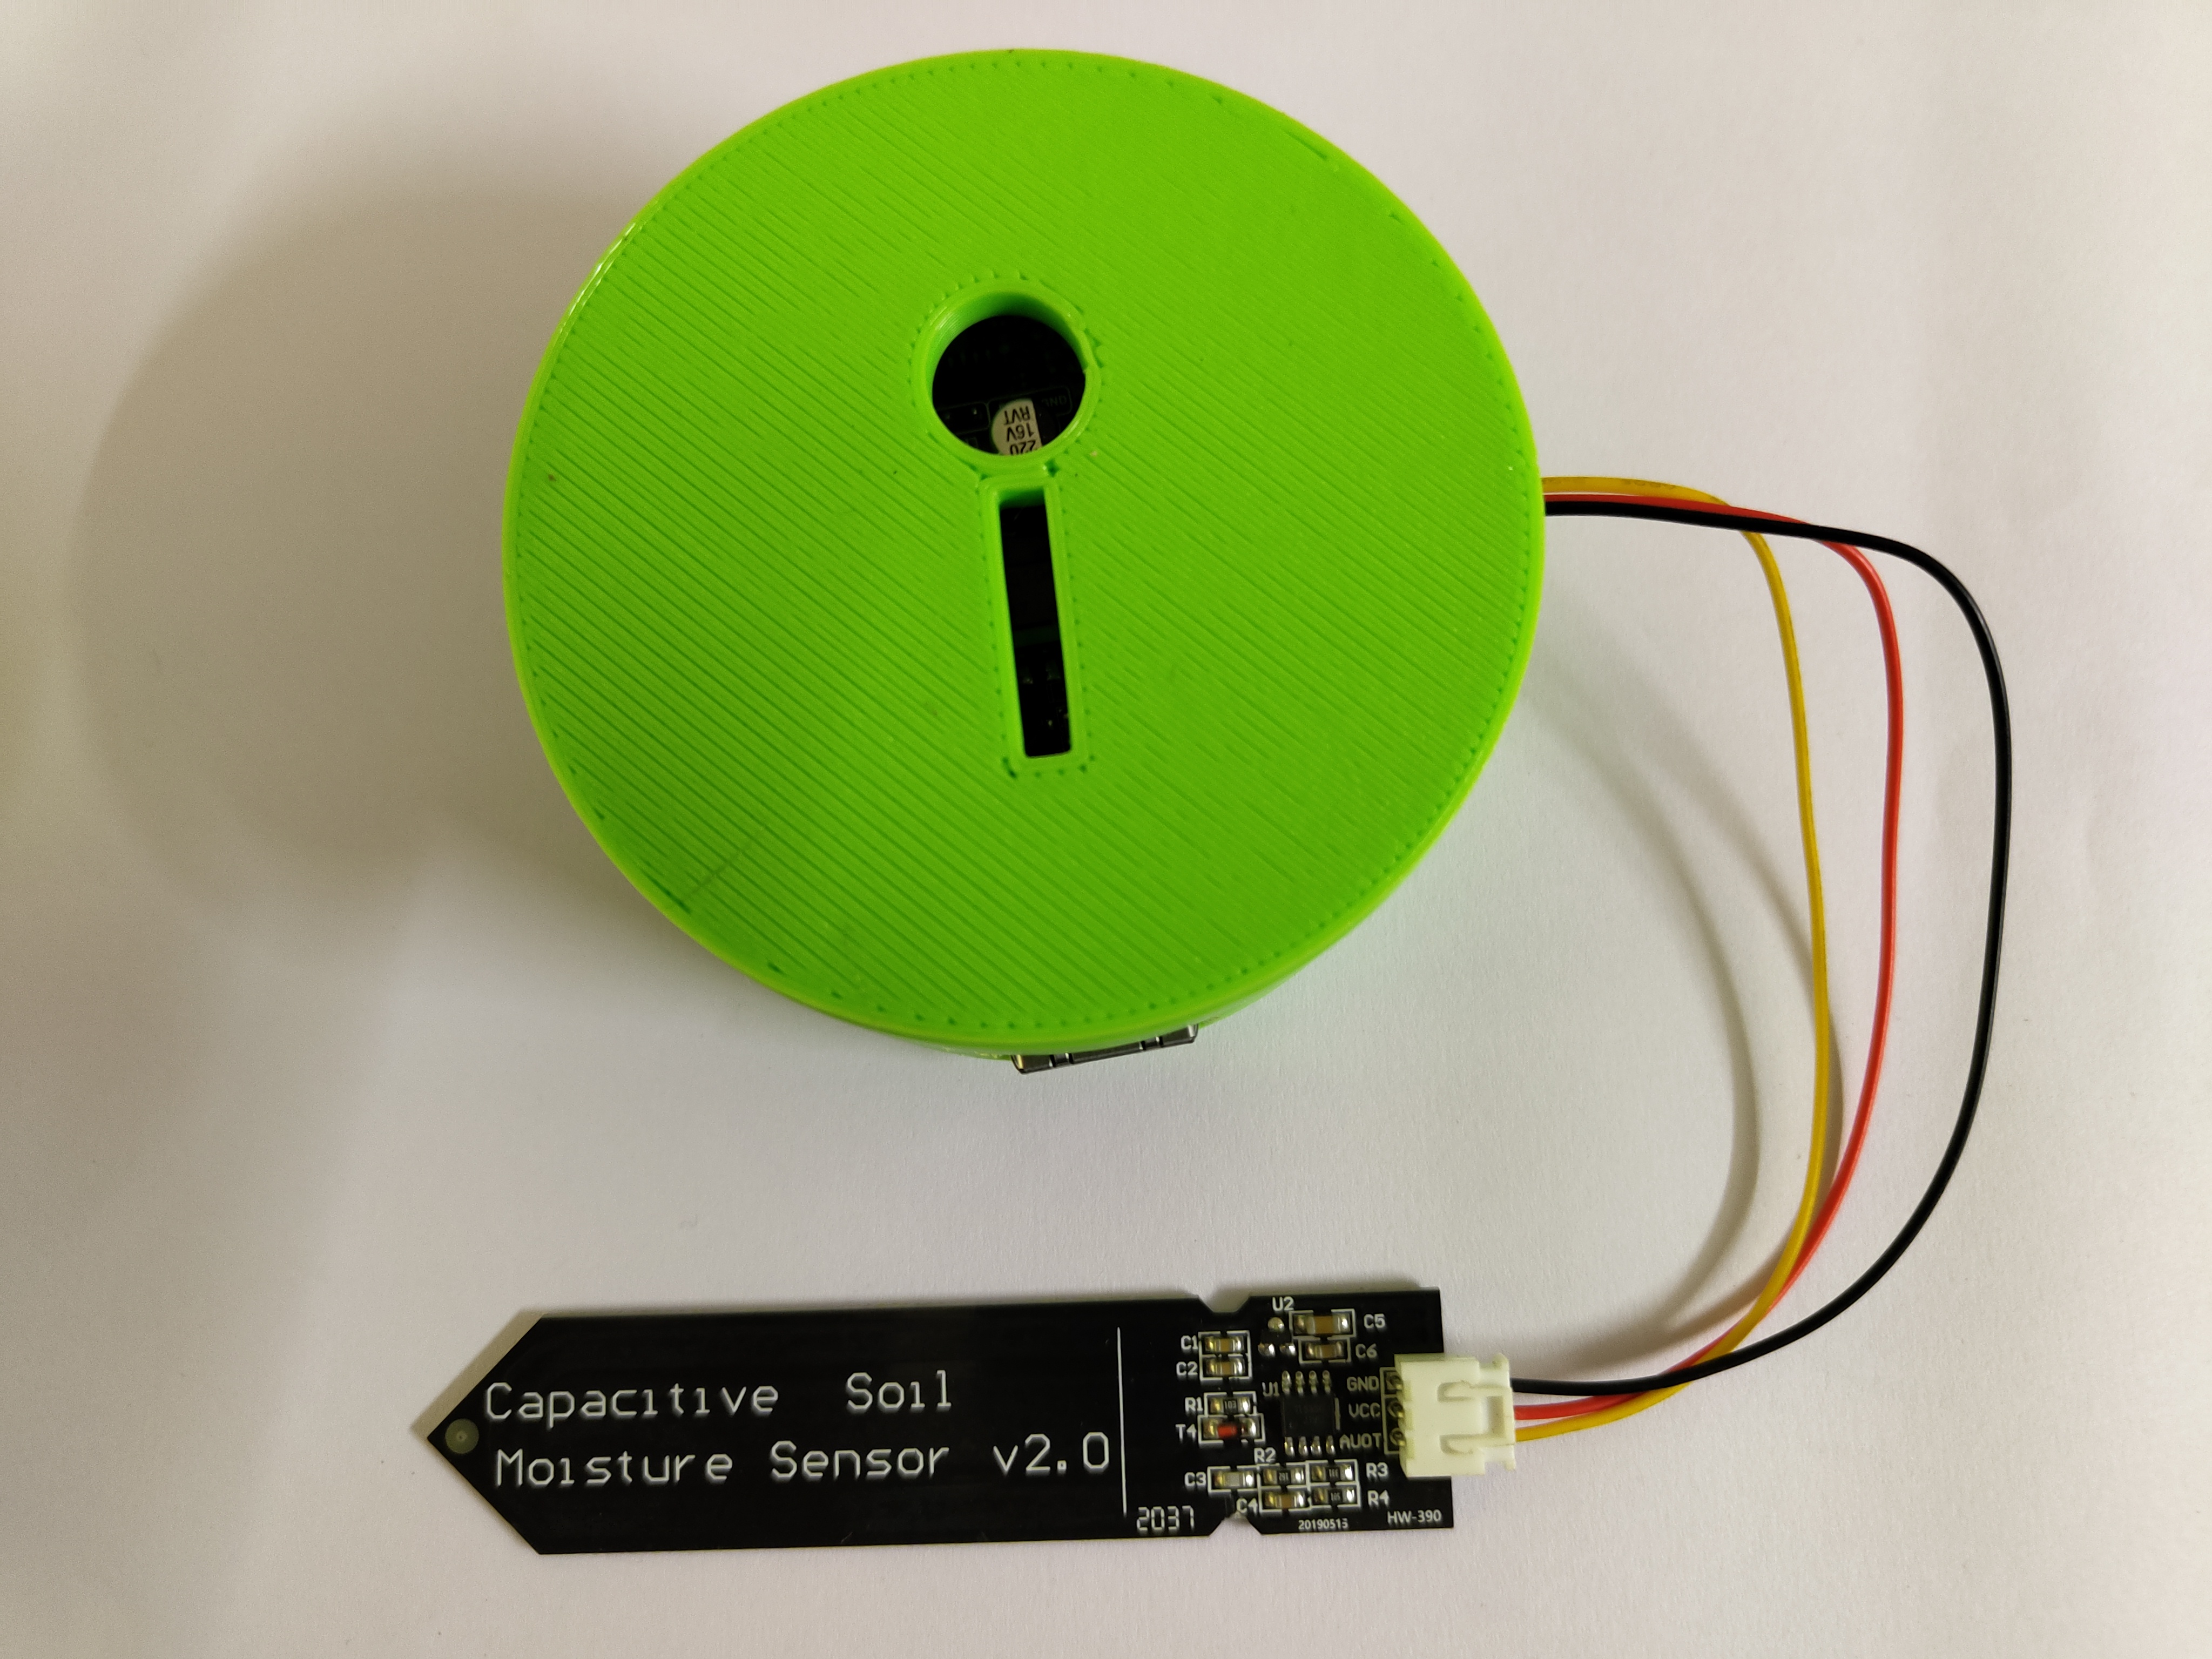
Capacitive type soil moisture sensor-1
3D printed Case-1
CIRCUIT DIAGRAM

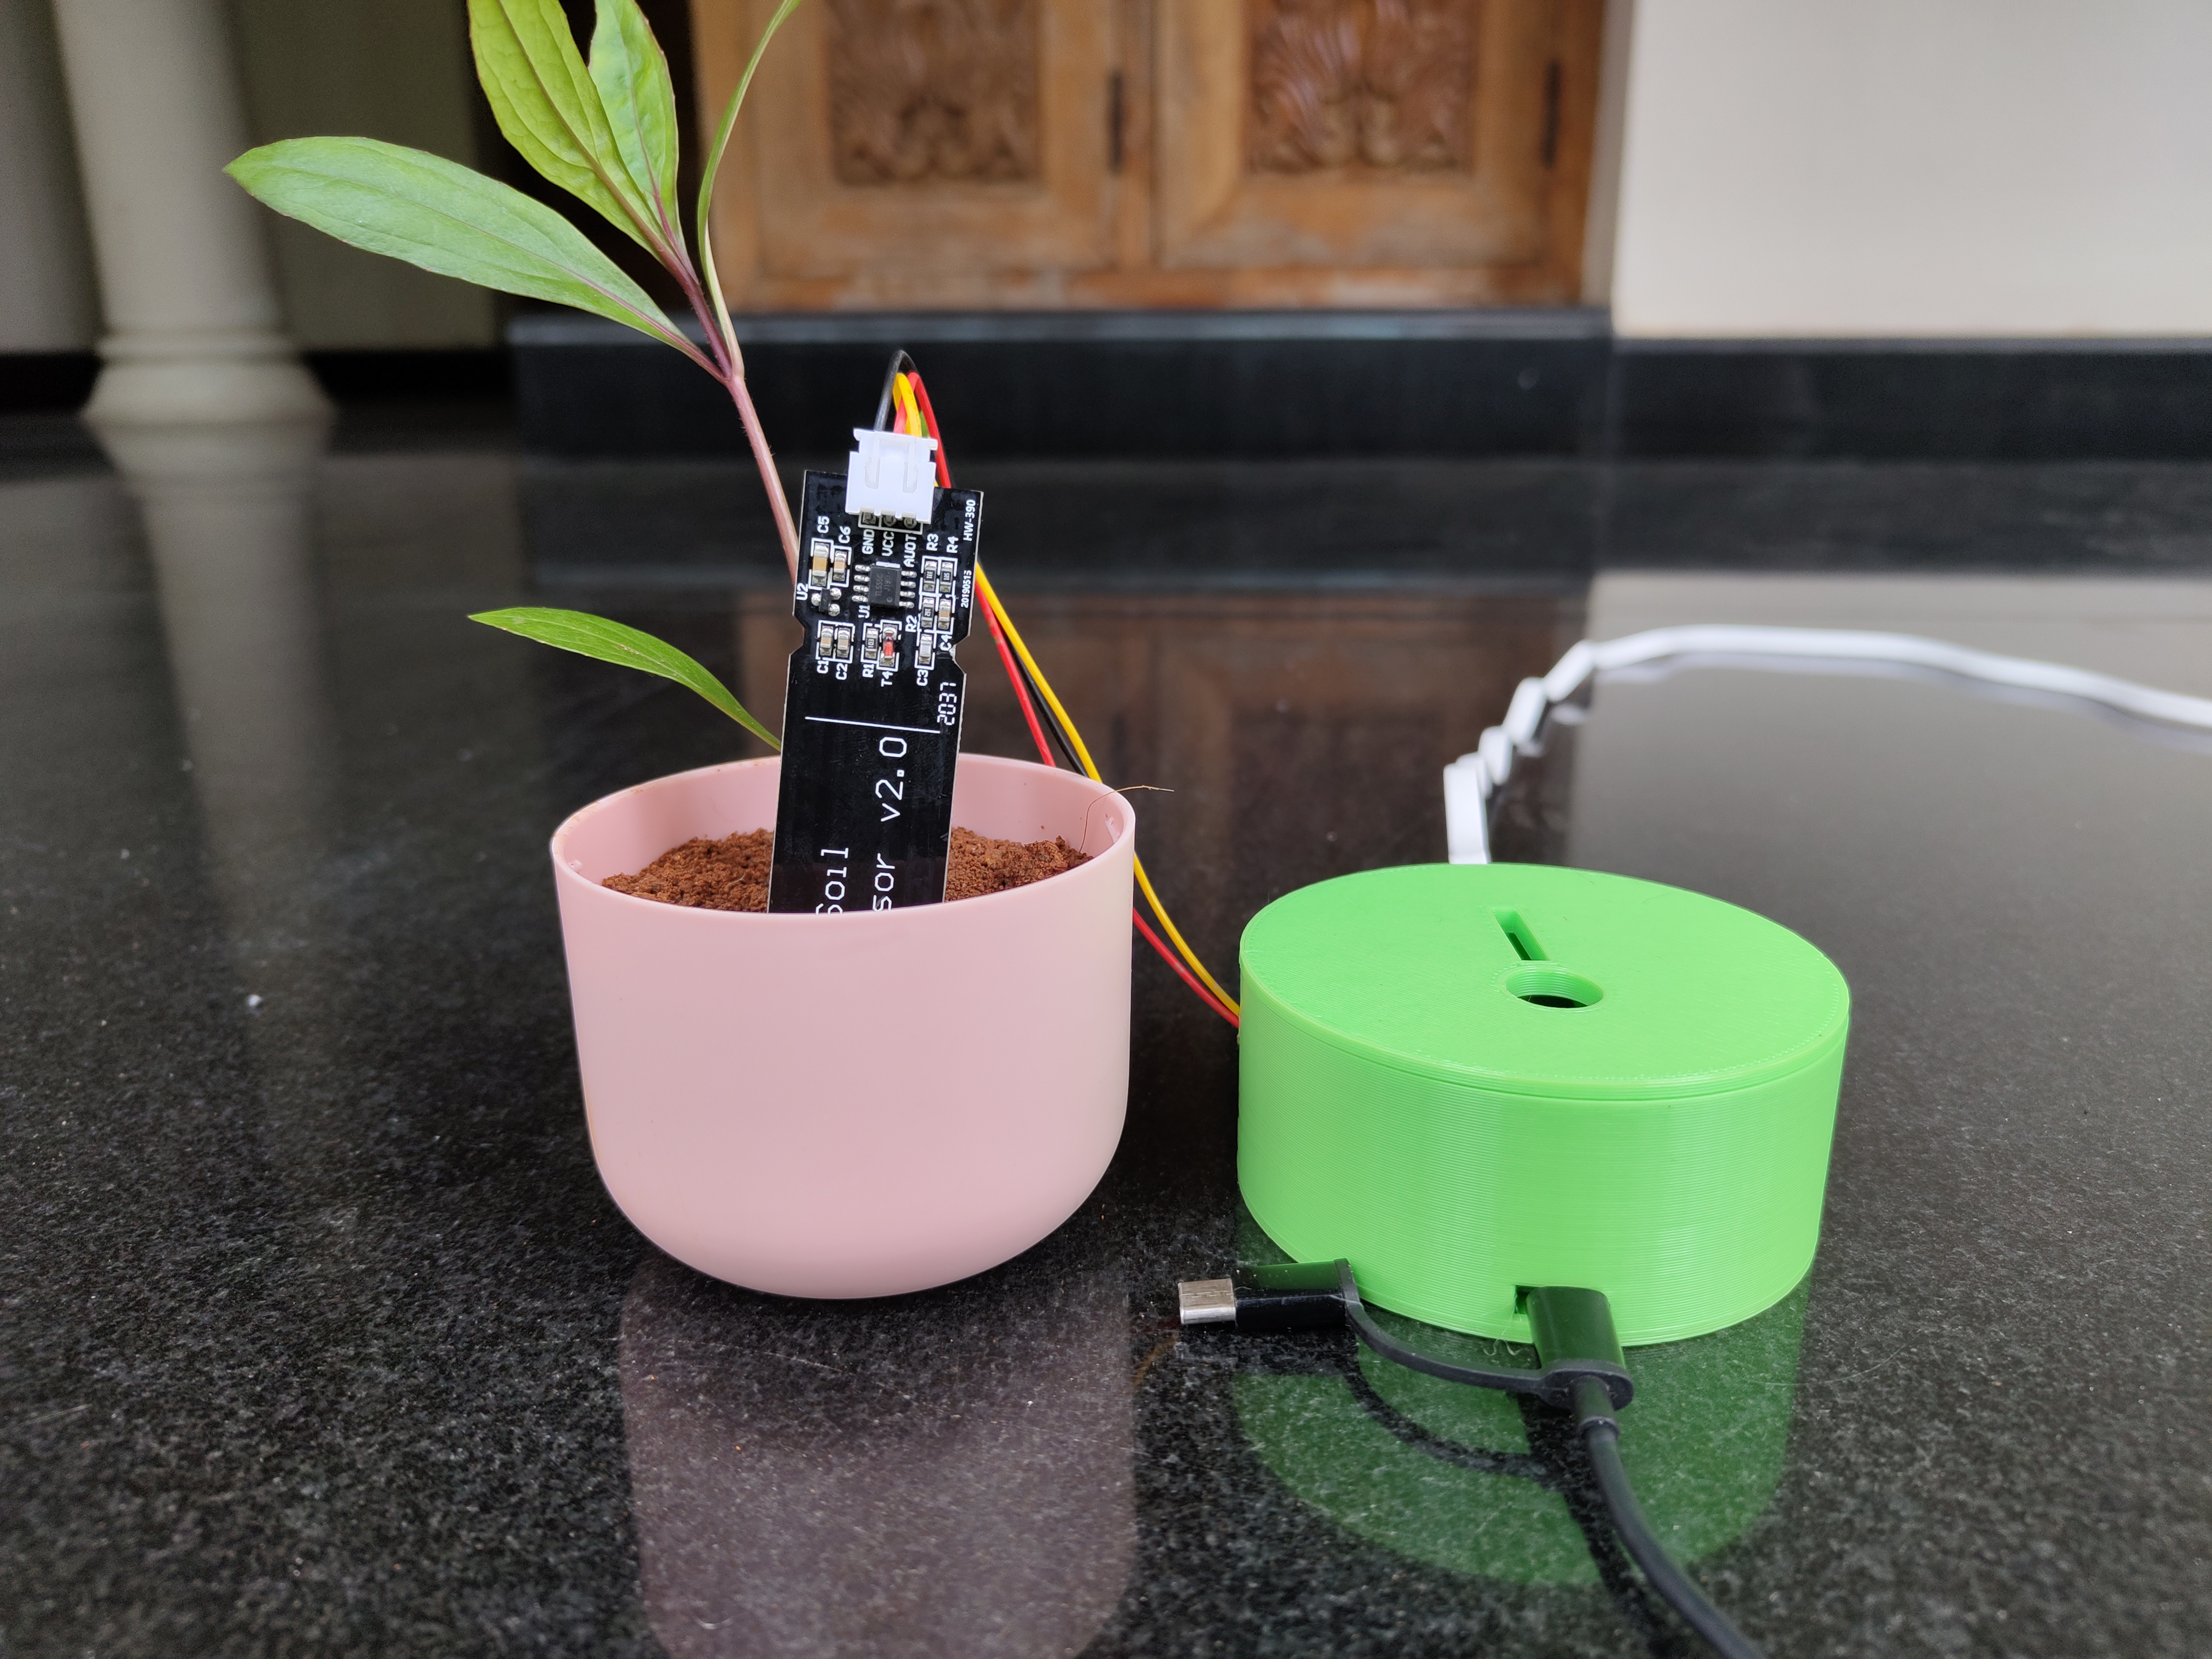
We need to connect the VCC of soil moisture sensor to the 3.3v pin of surf5. Then connect the ground to ground . the analog output pin of soil moisture sensor goes to the GPIO9 of surf5. By the way you can use any anlog pins of surf5 for this.
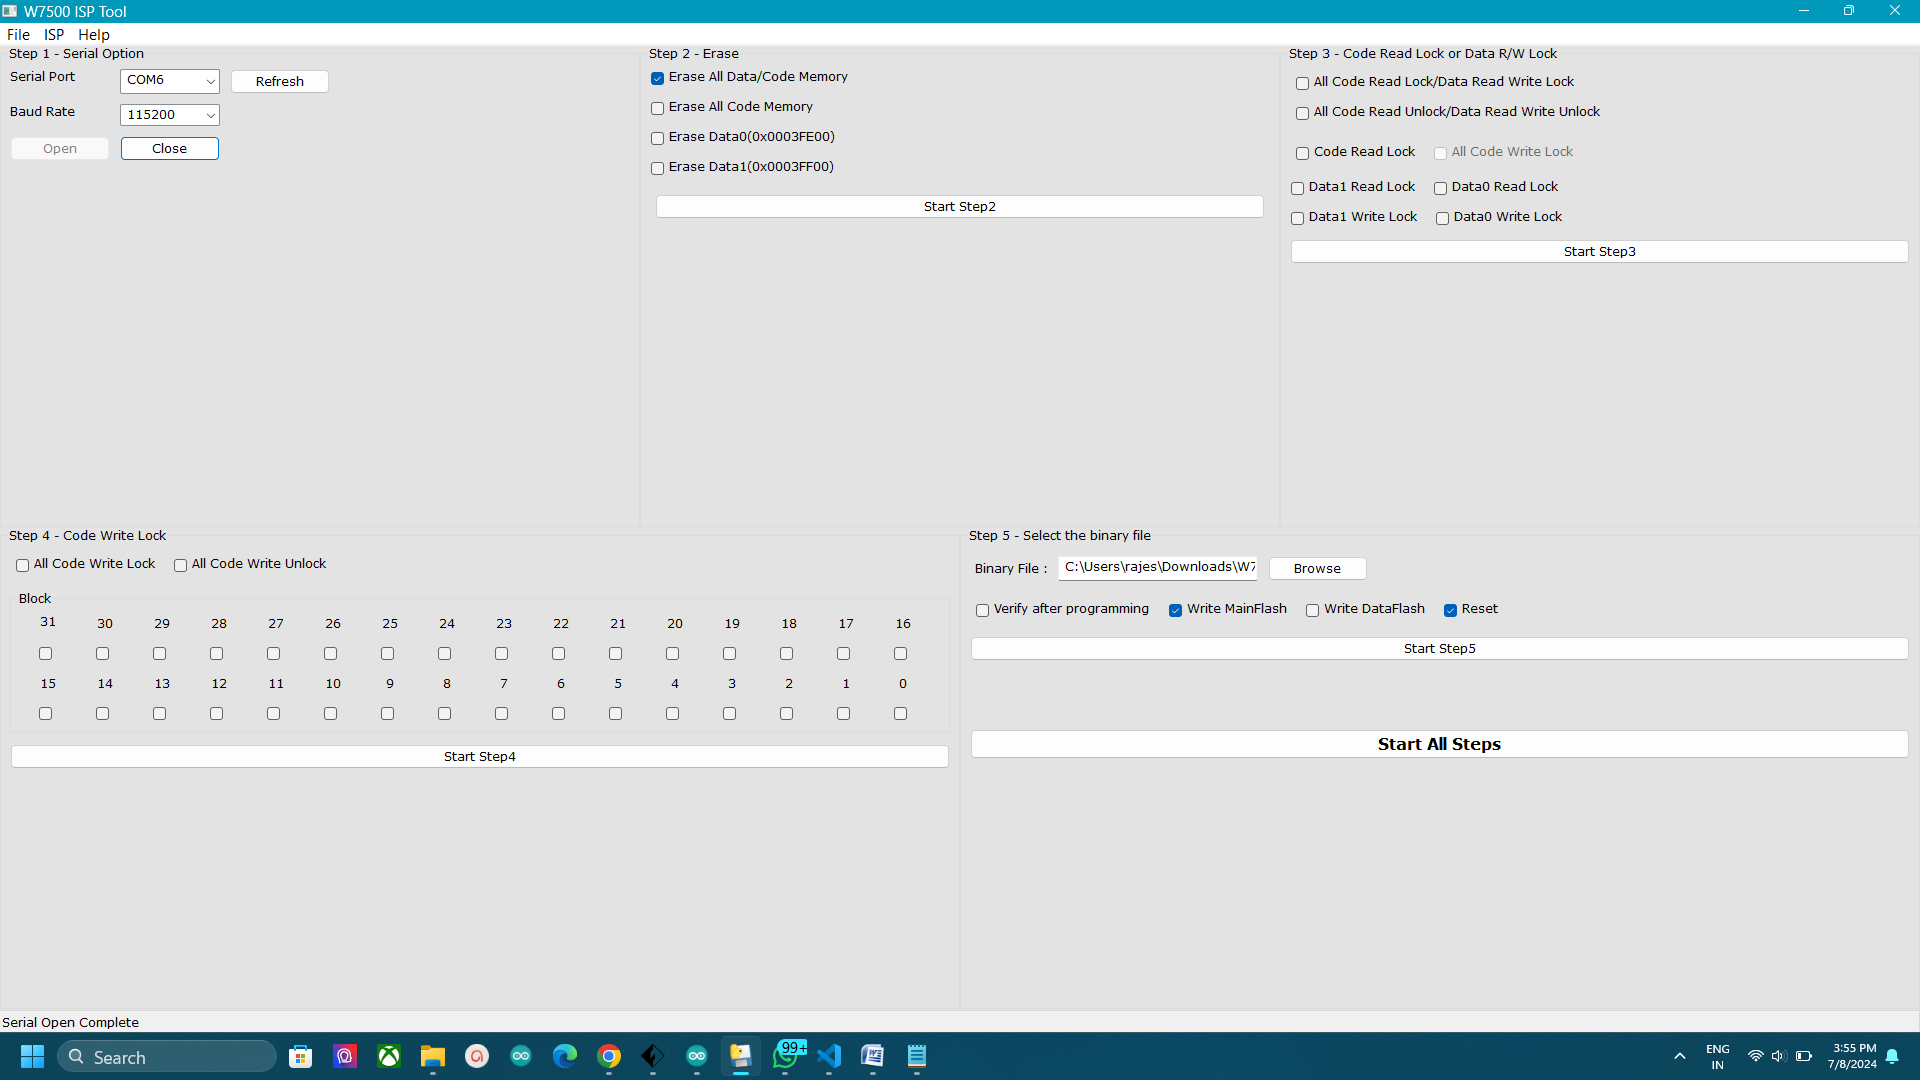
PROGRAMMING THE SURF5
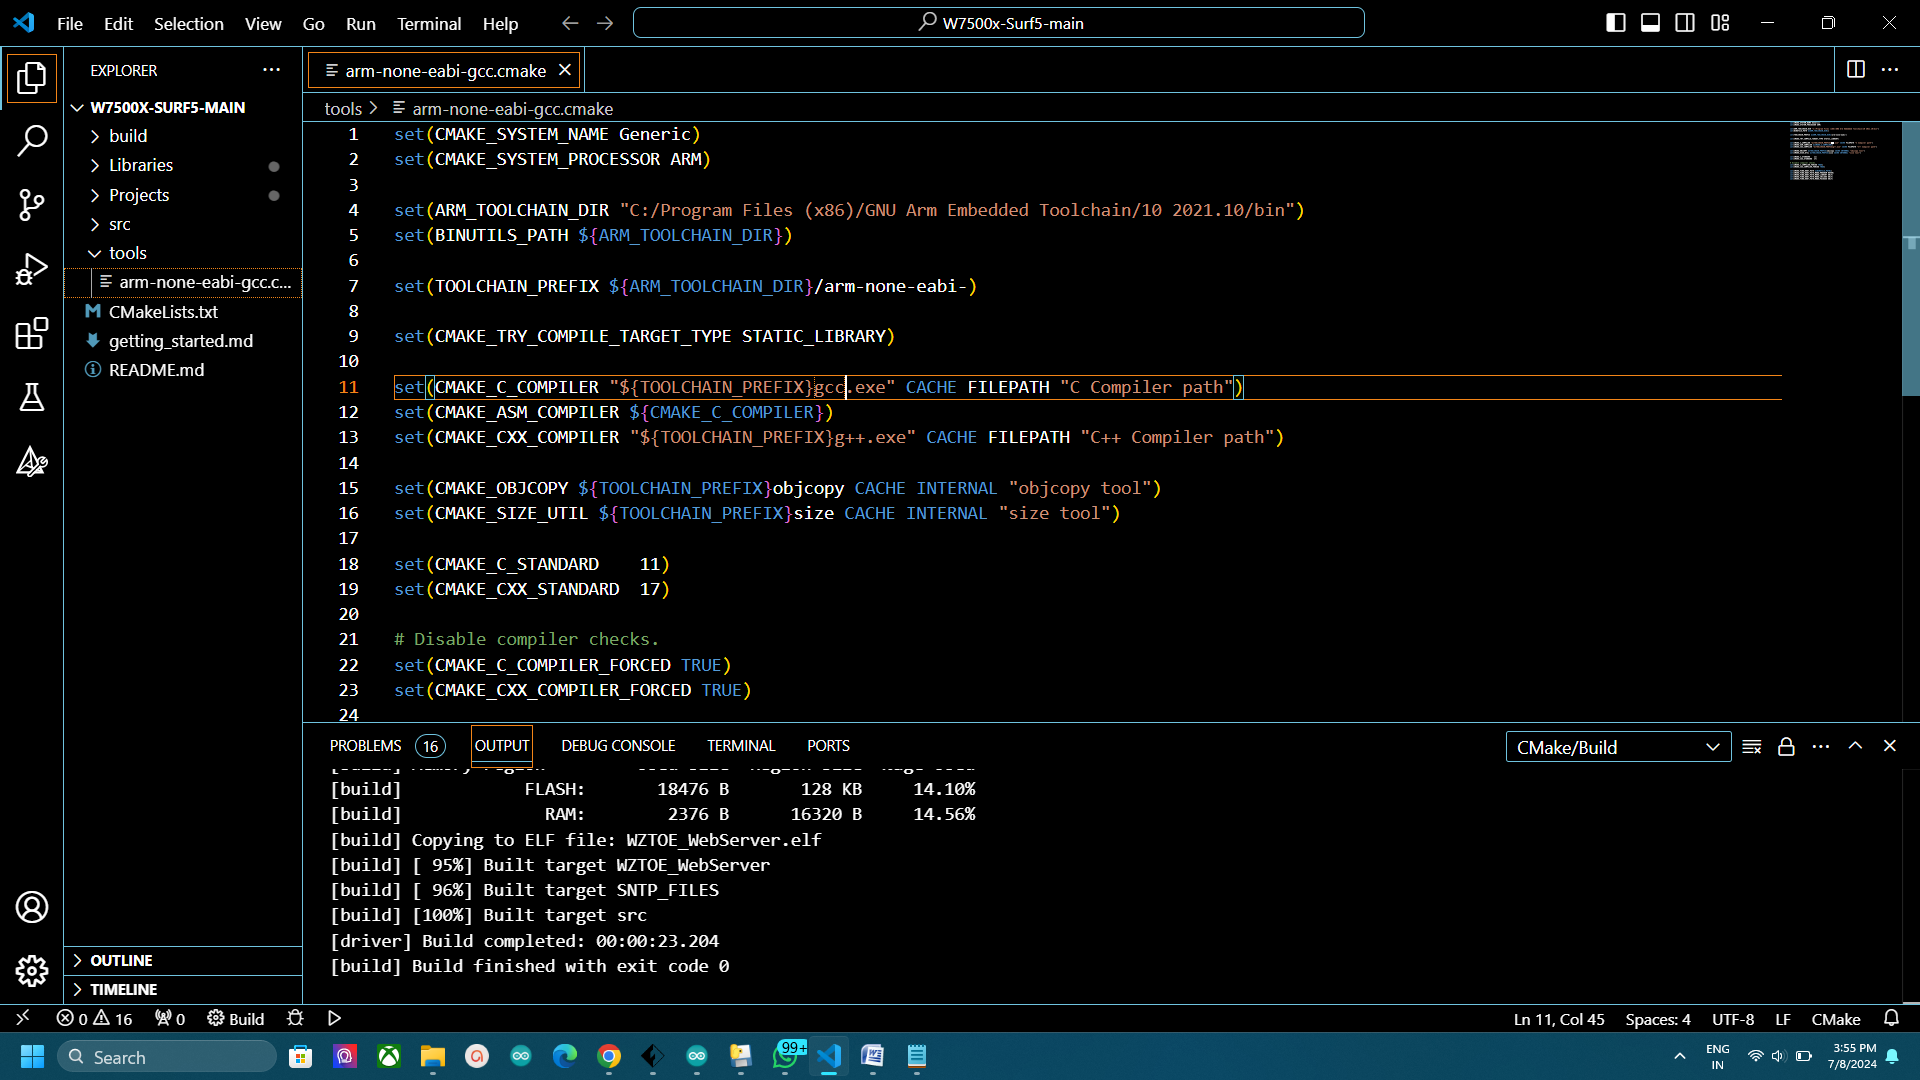
Inorder to upload code to wiznet surf5 we need to use keil or vscode. I tried both but keil didn’t worked for me. So I prefer to use VS code. You need to install the vscode and some other supporting files. Ypu can find the complete tutorial from here.
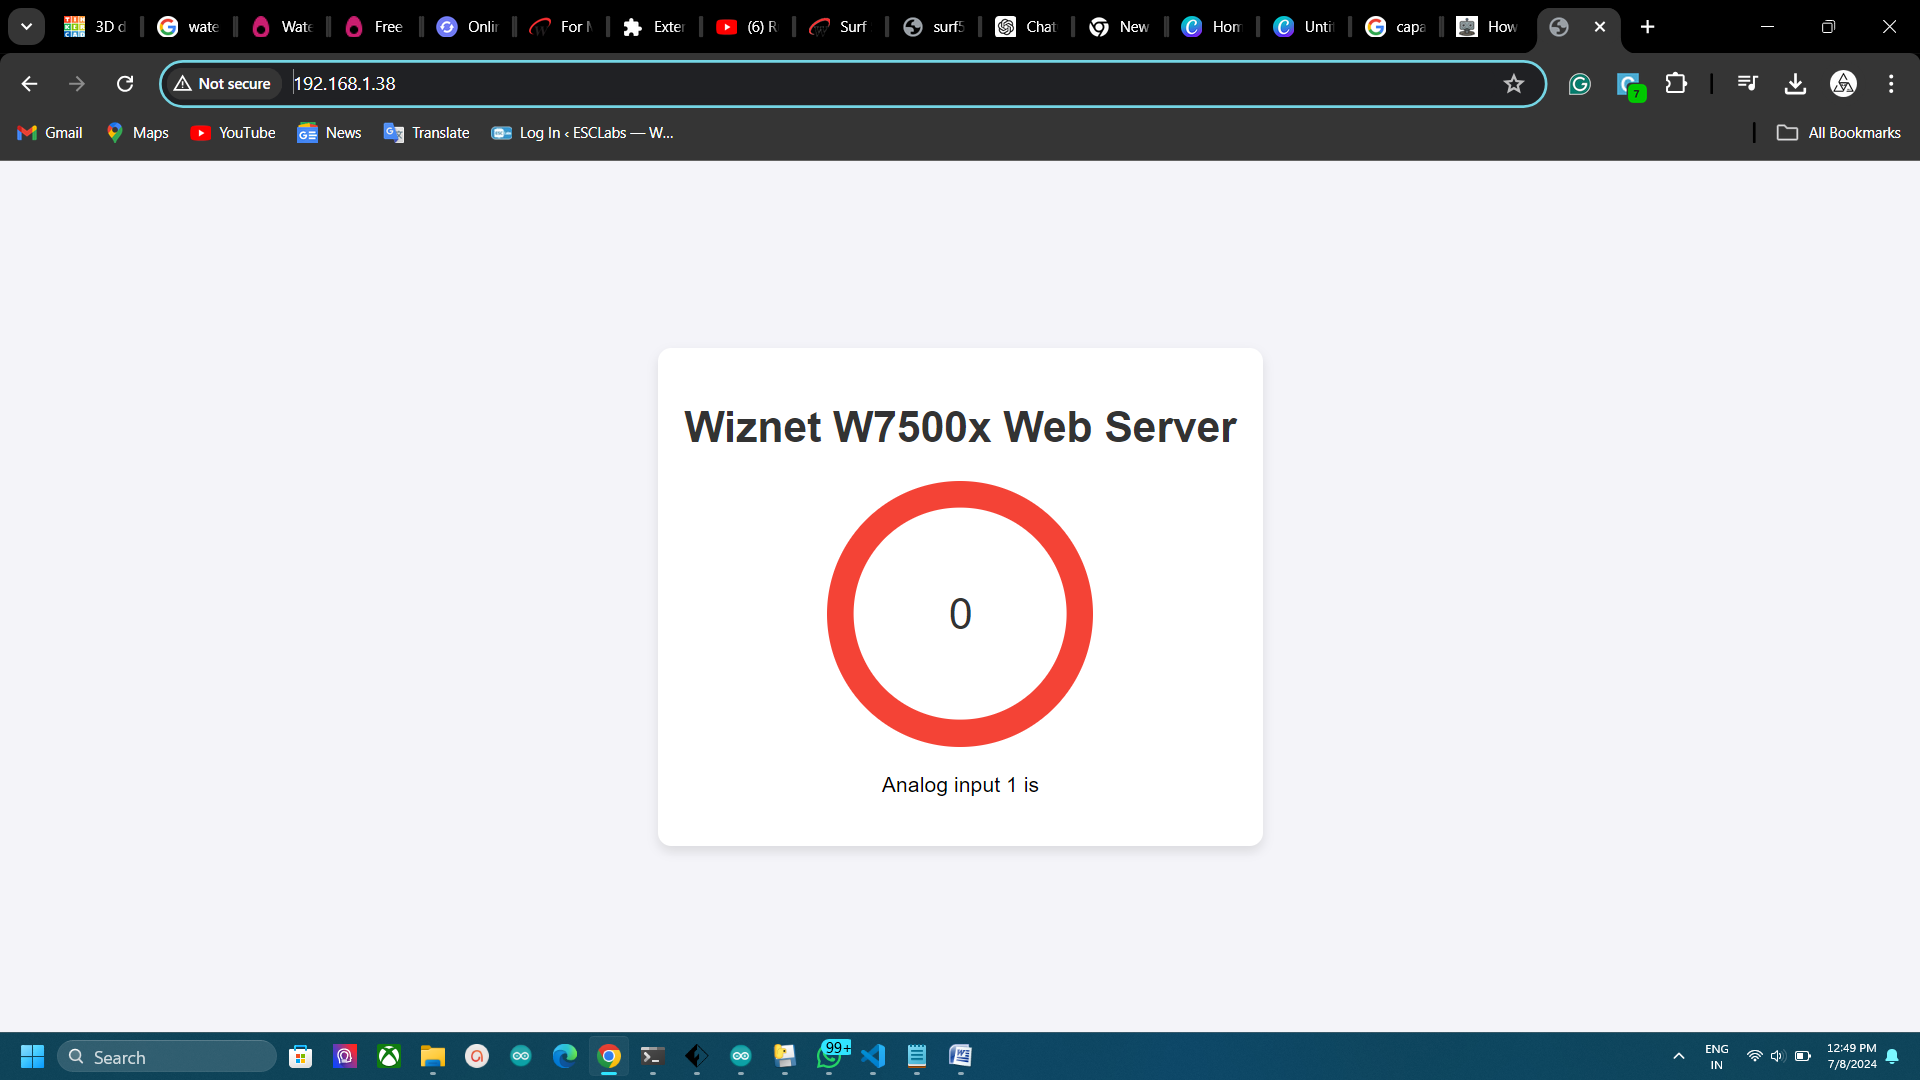
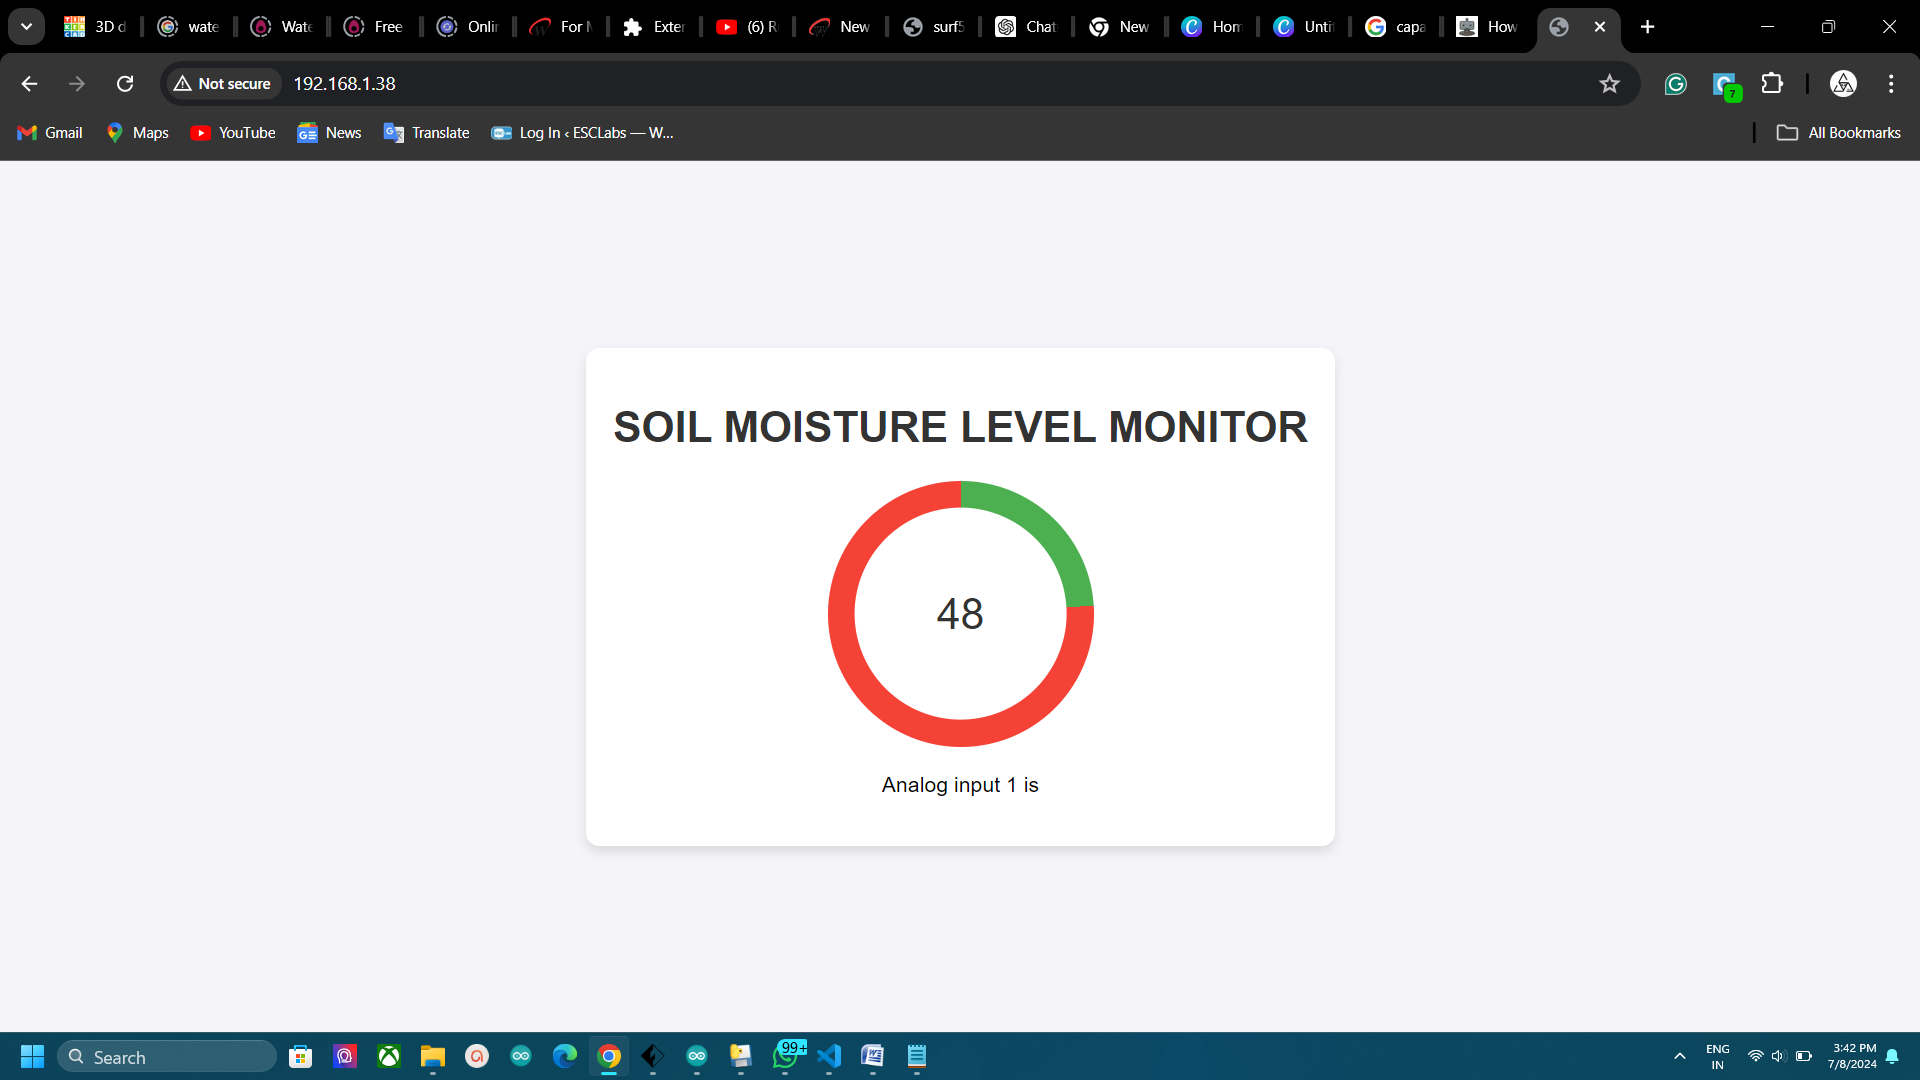
By the way I used the wiznet webserver example to build my own local server. You can download the example code of wiznet from here. Then open the folder in vscode and build the project. To edit the interface or anything go to main.c file and we can edit it accordingly.
ENCLOSURE DESIGN

I used tinkercad to design a simple round-shaped enclosure for the surf5 to get a better appearance.
3D PRINTING
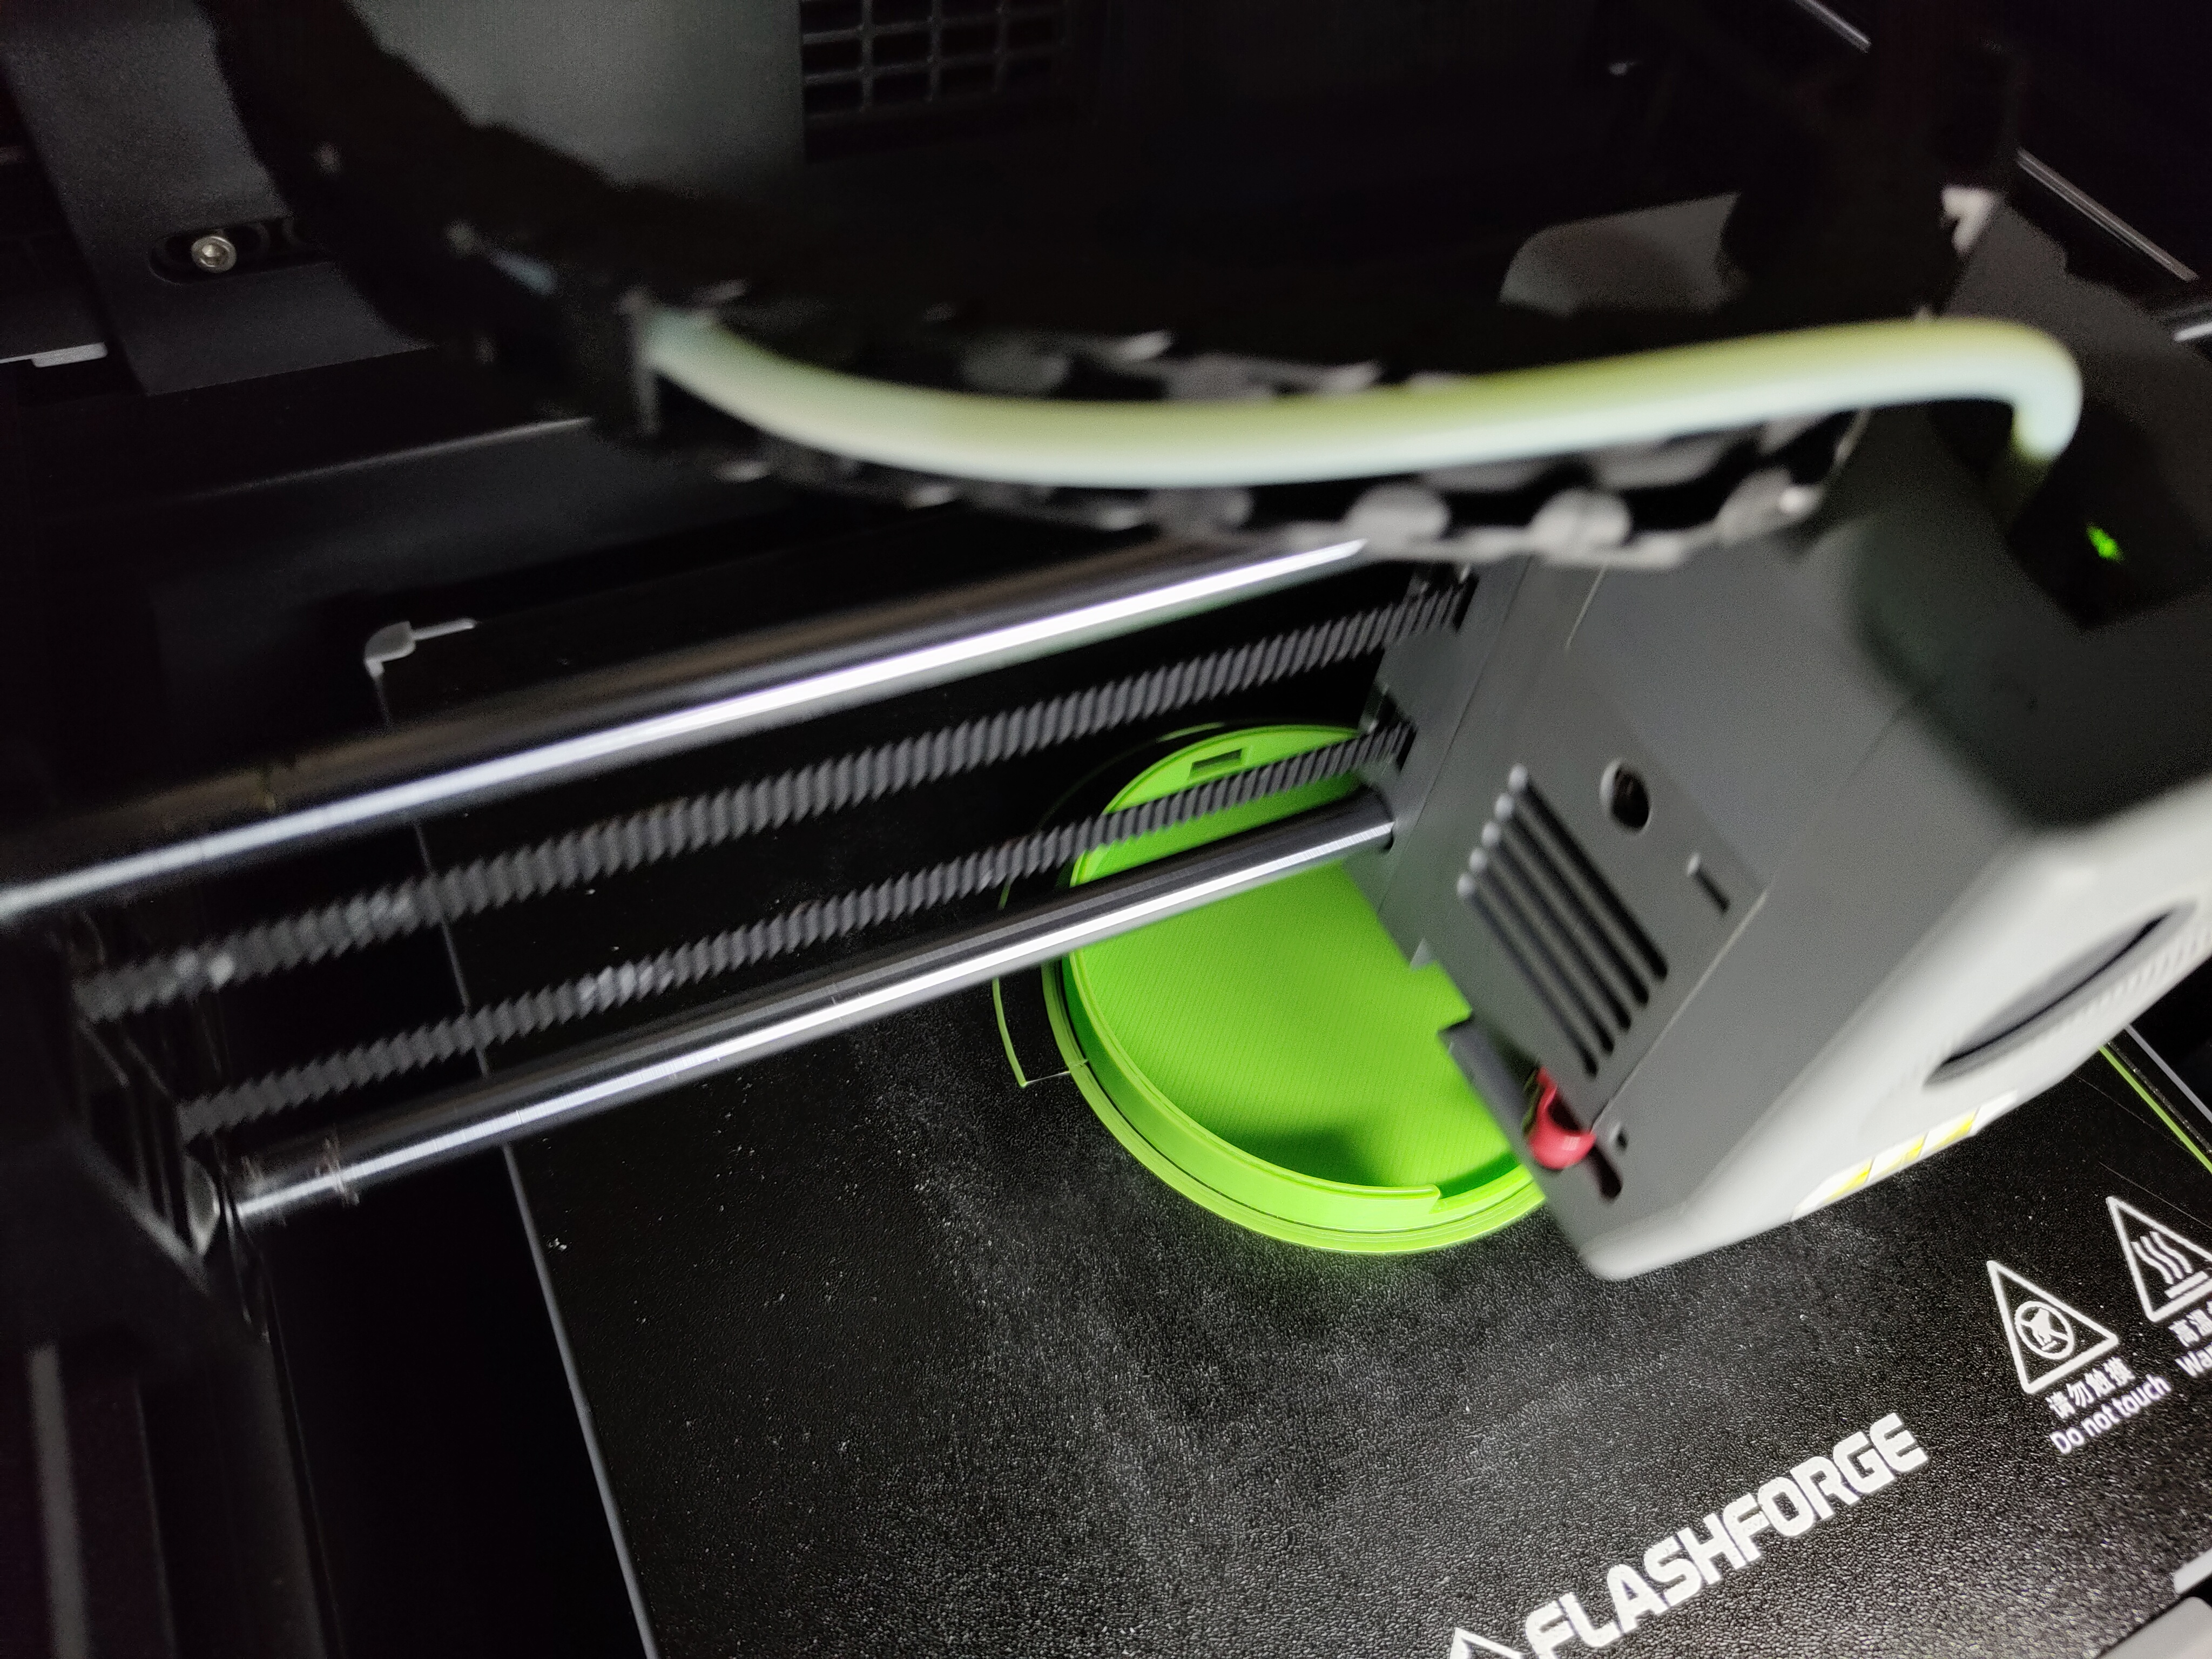
I printed the designed model using my Adventurer 5M Pro with green colour filament.
SOLDERING

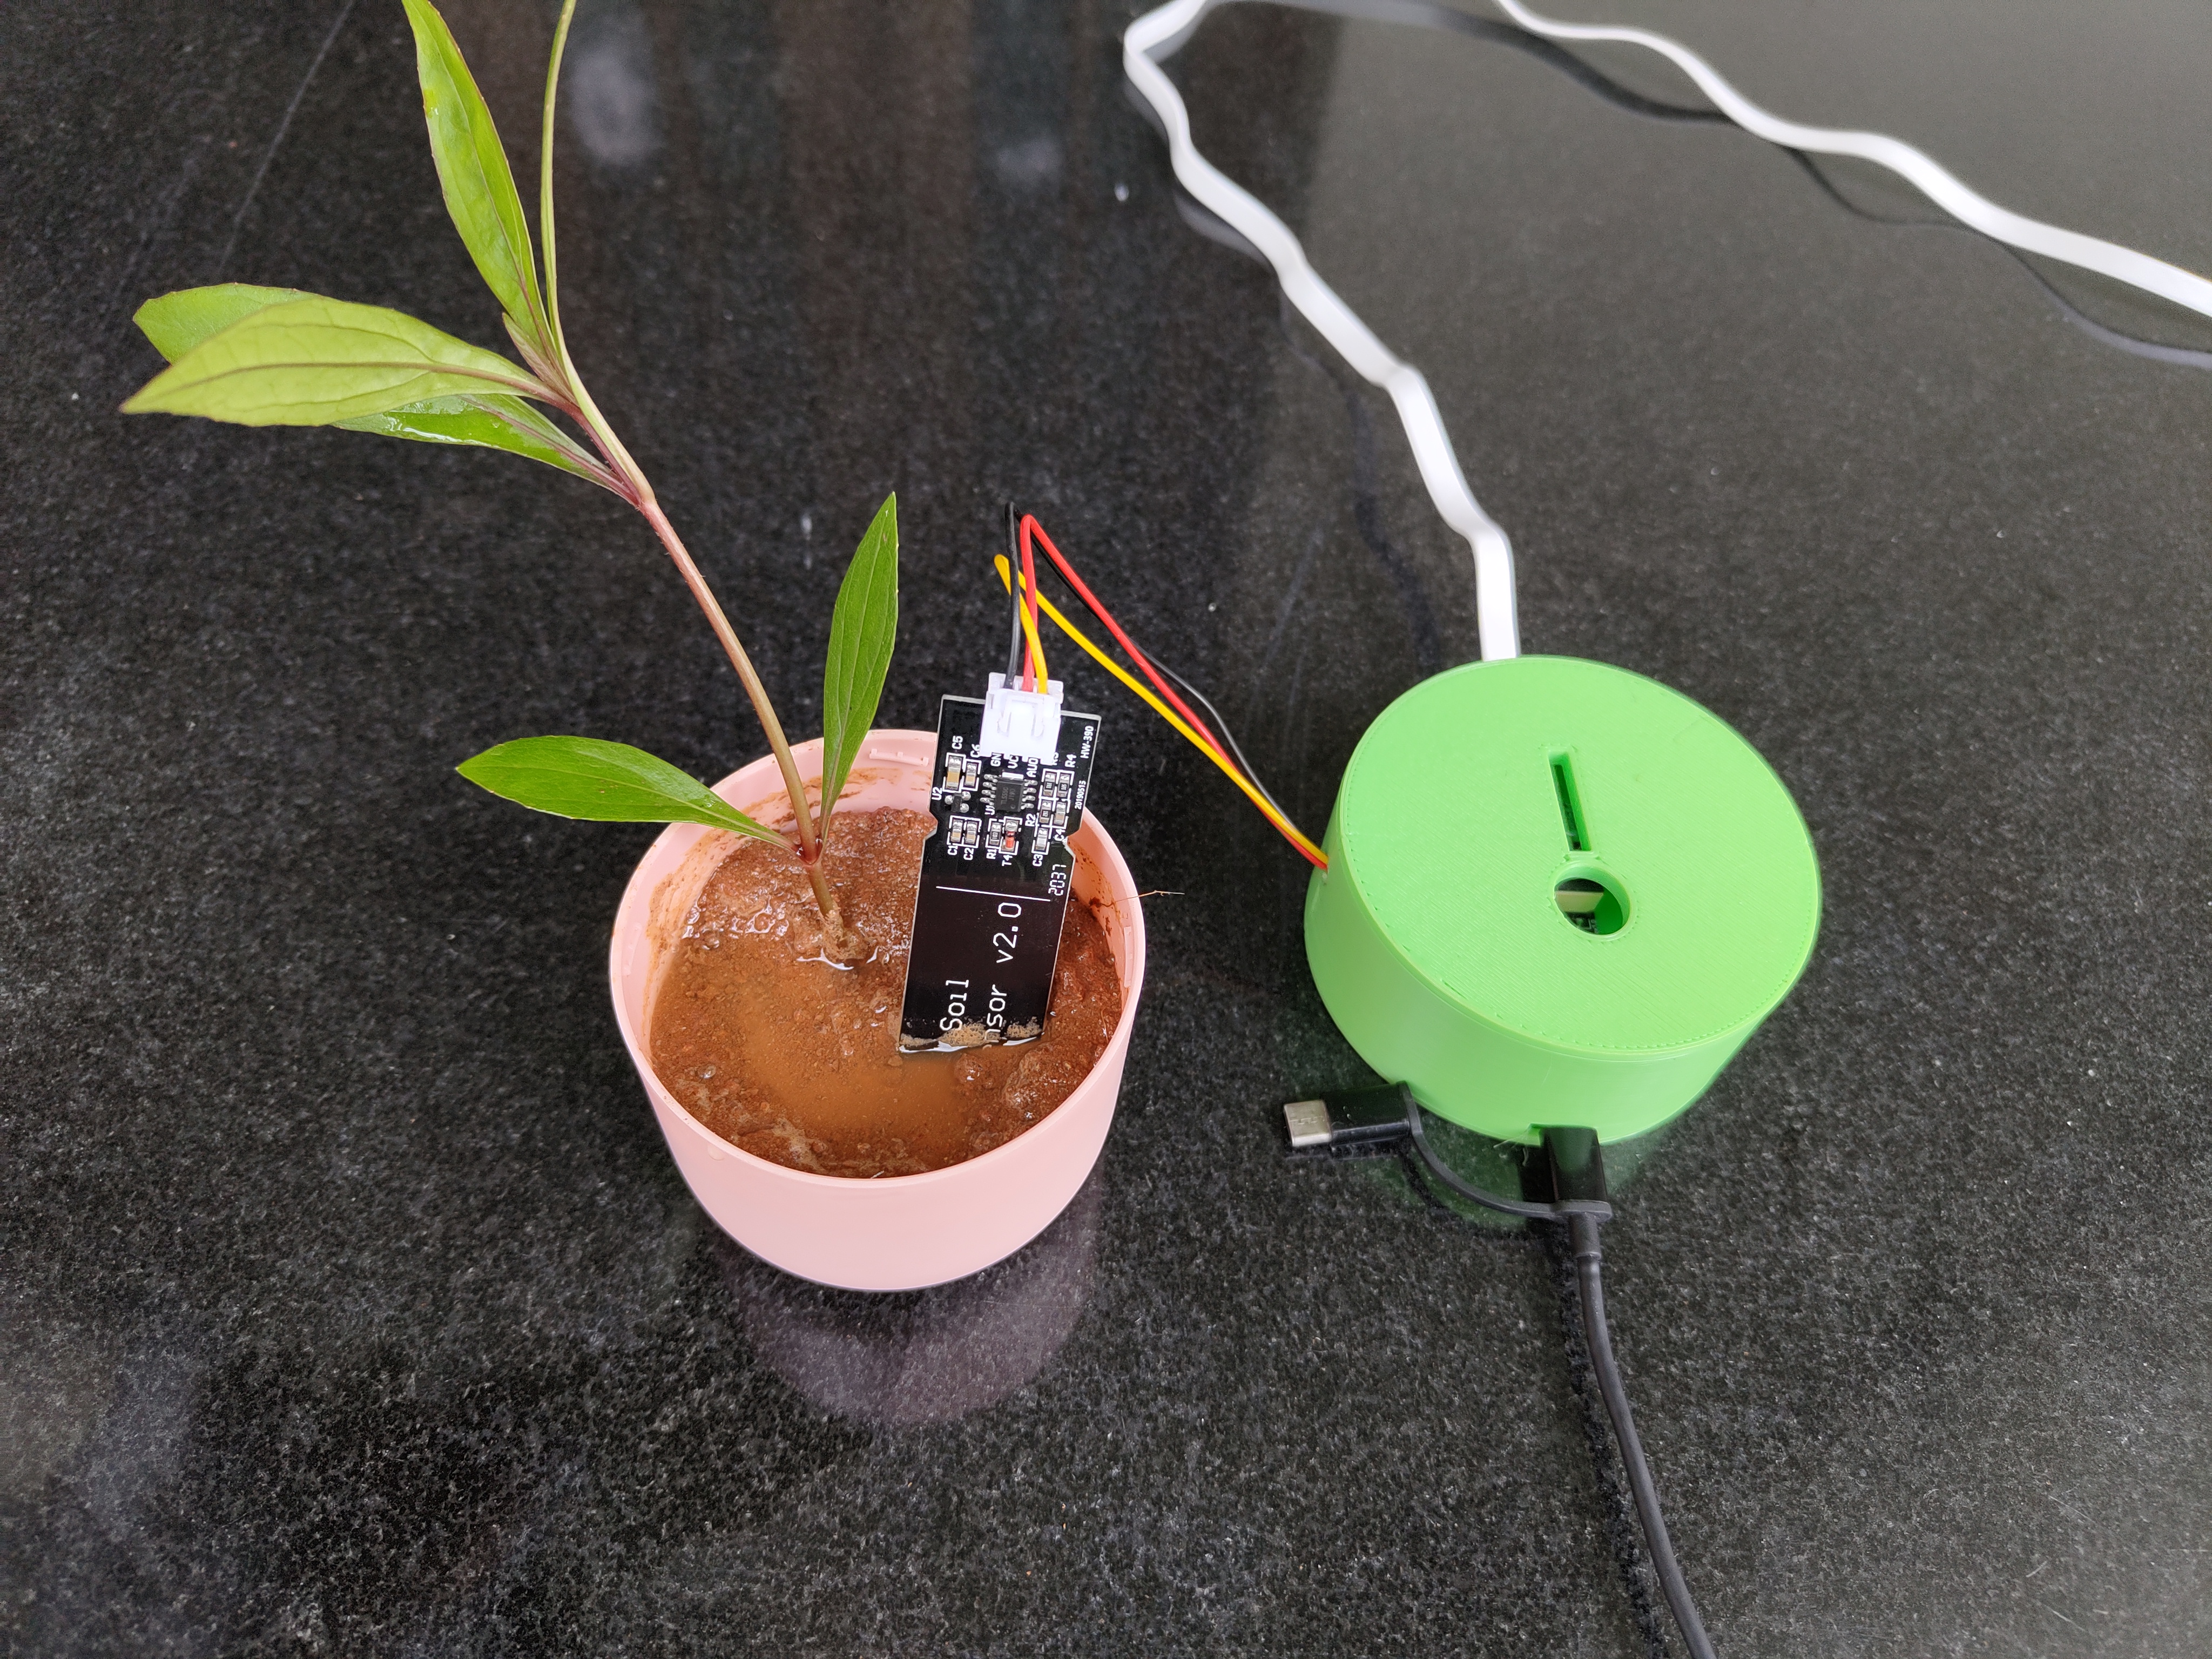
RESULT AND WORKING
-
main.c


-
circuit diagram
-
3d bottom