
WebServerWithSD
How to setup a web server with arduino 2560 and Ethernet Shield and SD card to control built-in LED
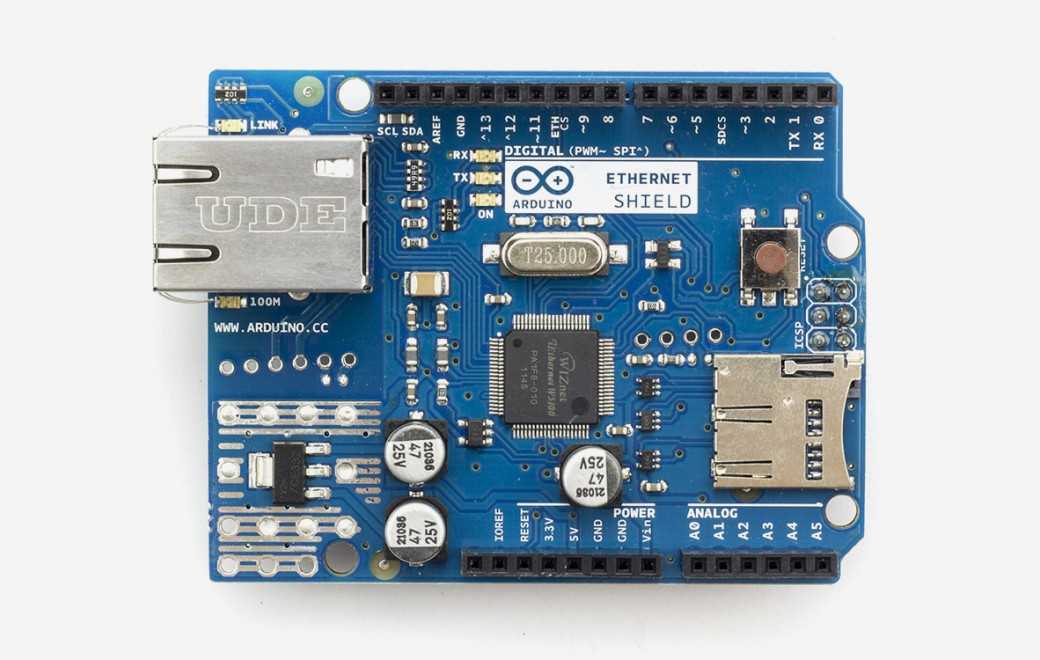
Arduino - Arduino Ethernet Shield
x 1
This project is focused on setting up a web server using an Arduino Mega2560, an Ethernet Shield, and a micro SD card for controlling an LED. The key components used in this project include:
- Arduino Mega2560 (with the built-in LED)
- Arduino Ethernet Shield
- USB cable (A male - B male)
- Network switch
- Micro SD card (16GB or smaller, even 512MB will work)
How to Start: To get started, you need to transfer the files from the "SD content" folder to your micro SD card. Then, upload the "WebServerWithSD.ino" sketch to your Arduino. After connecting the Ethernet Shield to your network switch using a LAN cable, you can open the Arduino's serial monitor to check the SD card initialization status and obtain the device's IP address. When you enter the device's IP address displayed in the serial monitor into a web browser, you will see a web page.
Features: The project's key features include:
- Setting up a web server on the Arduino Mega2560.
- Using an Ethernet Shield to enable communication over the local network.
- Utilizing a micro SD card to store and serve HTML files for the web interface.
- Controlling an LED embedded on the Arduino board via a web page.
- Using JavaScript's fetch command to send GET requests to toggle the LED's status.
- Displaying Arduino web server request logs in the serial monitor for debugging and monitoring.