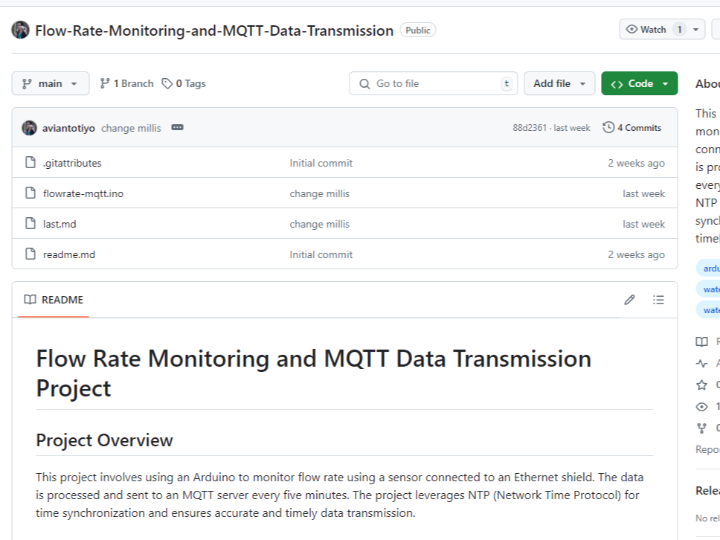
Flow-Rate-Monitoring-and-MQTT-Data-Transmission
This project involves using an Arduino to monitor flow rate using a sensor connected to an Ethernet shield. The data is processed and sent to an MQTT server

This project involves using an Arduino to monitor flow rate using a sensor connected to an Ethernet shield. The data is processed and sent to an MQTT server every five minutes. The project leverages NTP (Network Time Protocol) for time synchronization and ensures accurate and timely data transmission.
- Arduino (e.g., Arduino Uno, recomended Arduino Mega)
- Ethernet shield
- Flow rate sensor
- Jumper wires
- MQTT broker (e.g., Mosquitto)
- Ethernet connection to the local network
- SPI
- Ethernet
- PubSubClient
- ArduinoJson
- NTPClient
- TimeLib
Hardware Setup:
- Connect the Ethernet shield to the Arduino.
- Connect the flow rate sensor to the Arduino (in this case, to pin 3).
- Connect the Arduino to the local network using an Ethernet cable.
Software Setup:
- Install the required libraries in the Arduino IDE.
- Configure the MQTT broker details (IP address, port, username, and password) in the code.
- Configure the NTP server details in the code.
Code Explanation:
- MQTT Setup: The code initializes the connection to the MQTT server and handles reconnection if the connection is lost.
- NTP Setup: The code uses the NTP client to synchronize time, which is crucial for scheduling the data transmission accurately.
- Flow Rate Calculation: An interrupt is set up on the sensor pin to count pulses, which are then used to calculate the flow rate every minute.
- Buffering Flow Rate Data: The flow rate is stored in a buffer, which holds the last five values. This ensures that the data sent to the MQTT server is an average over five minutes.
- Data Transmission: Every five minutes, the code calculates the average flow rate from the buffer, prepares a JSON payload, and sends it to the MQTT server.
Running the Code:
- Upload the code to the Arduino.
- Open the Serial Monitor to observe the flow rate calculations and MQTT data transmission.
- Ensure that the Arduino is connected to the local network and the MQTT broker is running.
Troubleshooting:
- Check the Ethernet connection and ensure the Arduino gets an IP address.
- Verify the MQTT broker details and ensure it is running.
- Ensure the NTP server is reachable and the time is correctly synchronized.
- Use the Serial Monitor to debug and check the flow rate calculations and MQTT transmission logs.
Initializing Libraries and Variables:
- Include the necessary libraries for Ethernet, MQTT, JSON handling, NTP client, and time management.
- Define the MQTT server details, Ethernet MAC address, and initialize clients for Ethernet, MQTT, and NTP.
Sensor and Timing Setup:
- Define the sensor pin and setup intervals for one minute and five minutes.
- Initialize variables for counting pulses, storing total volume, and buffering flow rate data.
MQTT Connection Handling:
- Implement a function to connect to the MQTT server and handle reconnection attempts.
Flow Rate Calculation:
- Use an interrupt to count sensor pulses.
- Calculate the flow rate every minute and store it in a circular buffer.
Data Transmission:
- Every five minutes, calculate the average flow rate from the buffer.
- Prepare a JSON payload with the flow rate, total volume, and the current time.
- Send the JSON payload to the MQTT server.
Main Loop:
- In the
loopfunction, handle MQTT reconnection, flow rate calculation, and data transmission based on the defined intervals.
This project ensures accurate and periodic monitoring of flow rate data, which is then transmitted to an MQTT server for further processing or monitoring. The use of NTP ensures the data is time-synchronized, providing reliable timestamps for the recorded measurements.
