
My own analog web favorites
W5100S + PoE

Raspberry Pi - Raspberry Pi Pico
x 1
WIZnet - W5100S
x 1
micropython - MicroPython
x 1
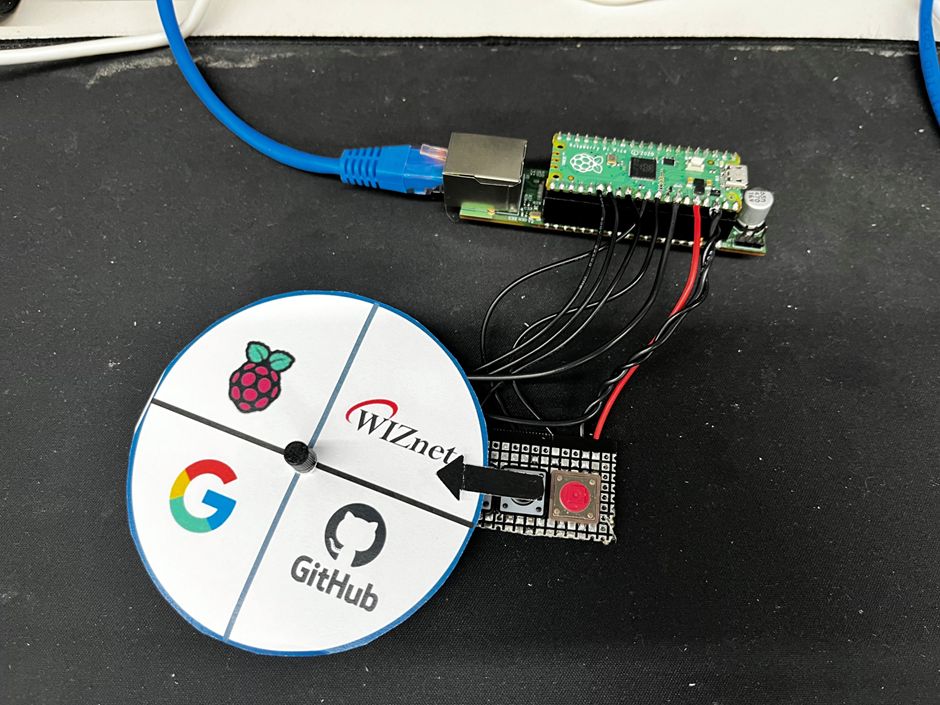
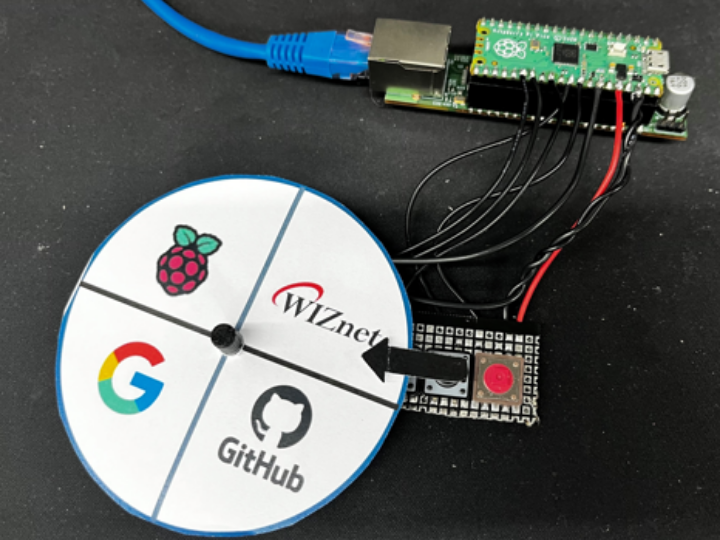
This time, I worked on a project that allows me to turn on the website I want with one button.
I chose four sites that I go to often.
Hardware
I connected the button and variable resistance as shown below. It's a module that anyone can easily do.
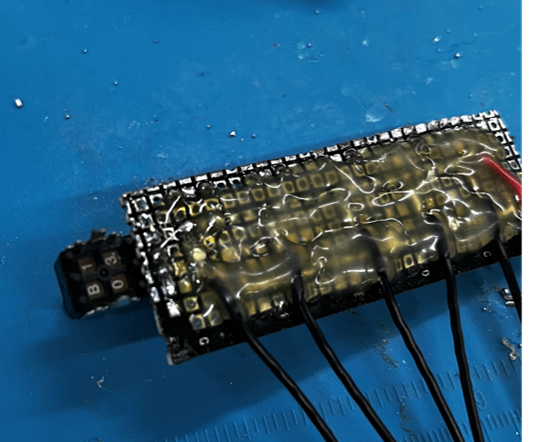
I made a simple button. Pull-up 3.3V.
The board to be used as the MCU is the Raspberry Pi Pico board. It's a board that can easily produce incredible performance.
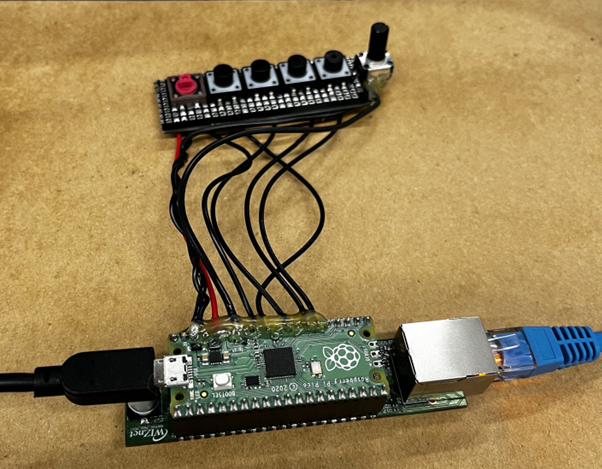
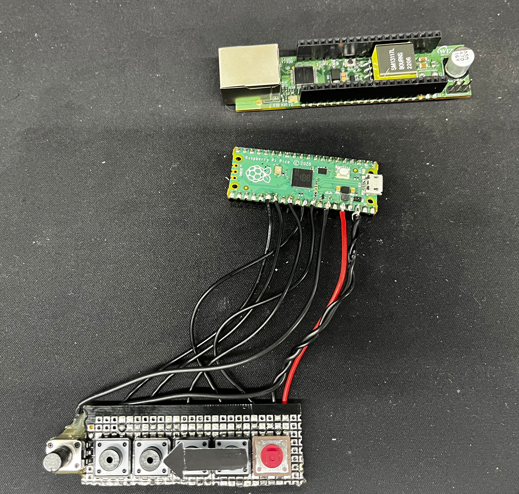
It connects to the Pico board. I finished it with silicon to secure it.And the Pico board is connected to the W5100S board. This is the best way to use Ethernet.
Ethernet
W5100S was used for Ethernet communication. You can use Ethernet simply by using the link below.
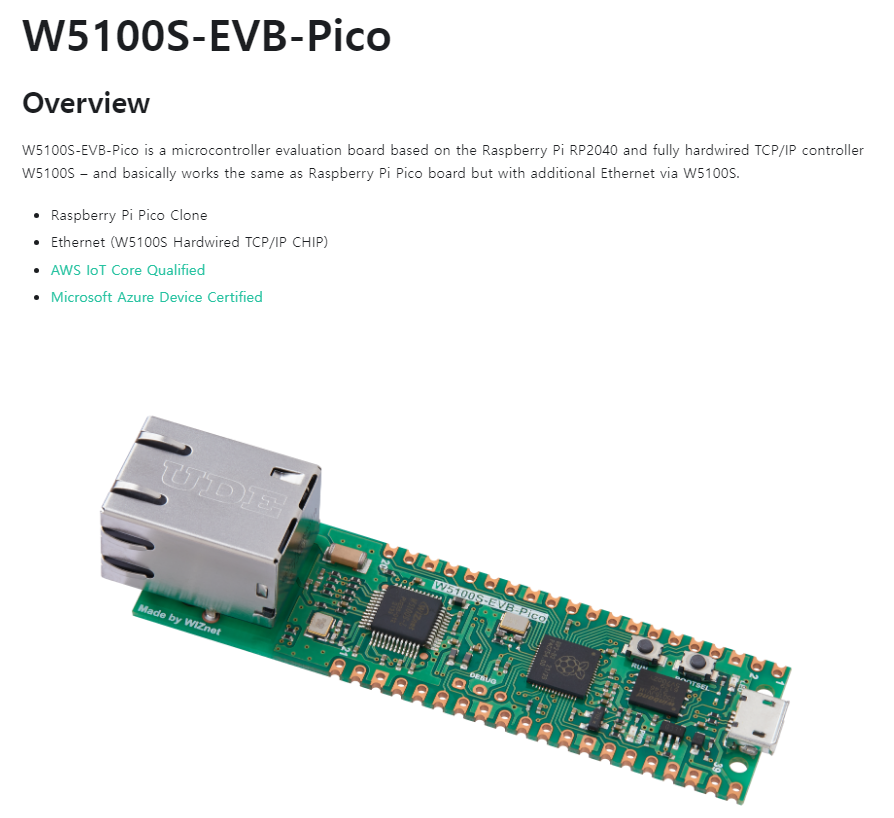
https://docs.wiznet.io/Product/iEthernet/W5100S/w5100s-evb-pico
Firmware
https://www.raspberrypi.com/documentation/microcontrollers/micropython.html
I did it in a micro python environment. There are some simple tasks to do for this. Fortunately, the link above explains it easily.
Now, let's get started with the Firmware configuration.
from usocket import socket
from machine import Pin,SPI,ADC
import network
import time

button_pin1 = machine.Pin(27, machine.Pin.IN, machine.Pin.PULL_UP)
adc = machine.ADC(28)
Import required libraries and set up GPIO and ADC pins.
def client_loop(query):
    s = socket()
    s.connect(('192.168.0.4', 5000))  # Destination IP Address
    #data = query.encode('utf-8')
    query_str = str(query)
    query_bytes = query_str.encode('utf-8')
    s.send(query_bytes)
    s.close()
It then creates a function to write the device as a client. Of course, these examples are also shared on the WIZnet Git.
if button_pin1.value() == 0:
                analog_value = adc.read_u16()
                print("Button 1 pressed. Sending data: %d" % analog_value)
                client_loop(analog_value)
                time.sleep(3)
Now, in the main statement, when the button is pressed, enter the operation status. Simply press the button to read and send the current ADC value.
Raspberry Pi Pico's ADC is 12 bits. You can choose Vref, so I think it would be good to design it as you want.
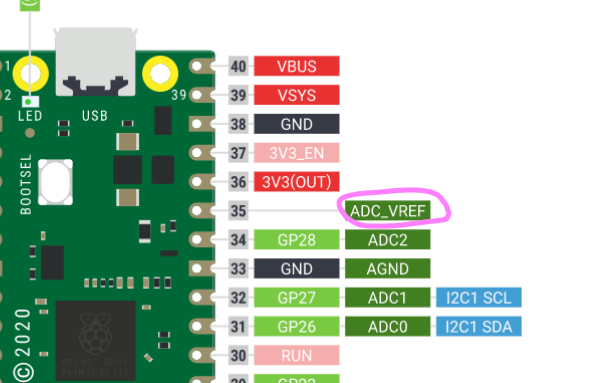
I set it to 3.3V, read 1.5 to 3.3V through voltage distribution, and used ADC.
This is now the server side FW.
from socket import *
import webbrowser
import time

chrome_path = "C:/Program Files/Google/Chrome/Application/chrome.exe"

url1 = "https://maker.wiznet.io/"
url2 = "https://github.com/"
url3 = "https://www.google.com"
url4 = "https://www.raspberrypi.com/news/page/3/"
Determine the browser path you want to open, and save the website to a variable.
            try:
                data = connectionSock.recv(1024)
                if not data:
                    break
                print(f"recv data: {data.decode('utf-8')}")

                data_int = int(data.decode('utf-8'))

                url = url1
                if data_int < 57402:
                    url = url2
                    if data_int < 49269:
                        url = url3
                        if data_int < 41136:
                            url = url4

                webbrowser.register('chrome', None, webbrowser.GenericBrowser(chrome_path))
                webbrowser.get('chrome').open(url)
                time.sleep(3)
                print("server closed1.")
            except ConnectionResetError:
                print("Client disconnected: {addr}")
                break
Then write a code to open the website according to the ADC value you received.
Complete!
https://www.youtube.com/shorts/_NYon1s_9x4
-
W5100S_Open_Website
