
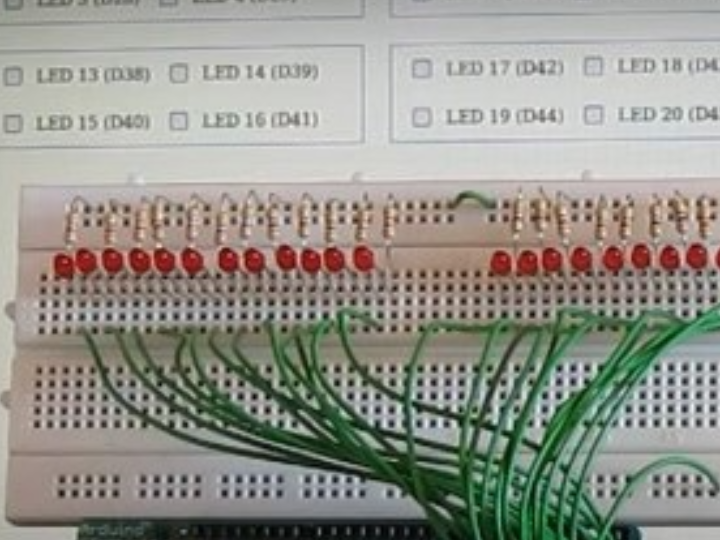
Arduino MEGA Web Server to Control 24 Outputs
This tutorial shows how to use the Arduino MEGA 2560 and Arduino Ethernet shield to make a web server that hosts a web page allowing 24 outp

Arduino - Arduino Mega 2560
x 1
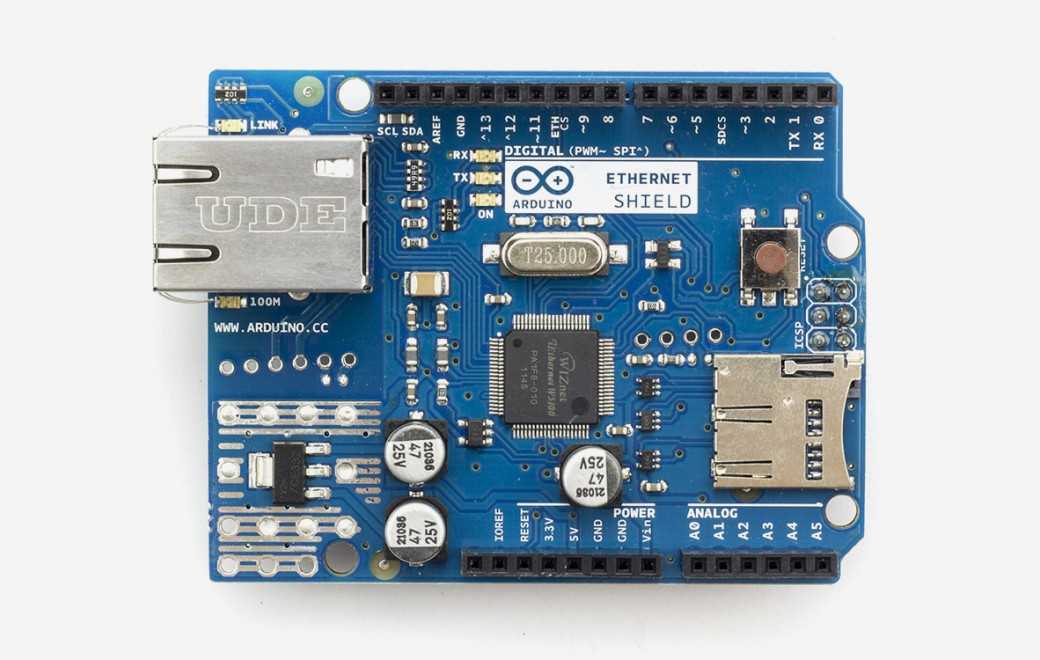
Arduino - Arduino Ethernet Shield
x 1
Basic Code Structure
The code consists of an Arduino sketch that is loaded to the Arduino MEGA and an index.htm file that is copied to the micro SD card. The index.htm page contains HTML, CSS and JavaScript. The micro SD card is inserted into the micro SD card socket on the Ethernet shield.
The Arduino MEGA and Ethernet shield are programmed to behave as a web server that serves up the web page from the micro SD card when a web browser connects to the server and requests the page.
The JavaScript that is embedded in the page communicates with the Arduino web server using Ajax after the web page has been loaded to the web browser.
Prerequisites for Understanding the Code
The code for this tutorial is listed and explained below, but a basic understanding of the technologies used in this tutorial will be needed. All the basics of how an Arduino web server, web pages and Ajax work are explained in the Arduino Ethernet web server tutorial on this website.
How the Code Design was Started
The code in this tutorial is based on part 16 of the web server tutorial – SD card web server I/O but is modified to use only outputs for the 24 outputs.
It would be a lot of work and also the HTML file would be bigger if this project accessed the outputs directly using unique names like the project that it is based on does. Because of this, the other major change to the base code was to make use of loops to access the 24 outputs sequentially in the Arduino code and JavaScript.