[WIZnet CAN] Build and run CANdevStudio
Among representative CAN applications, we built CANdevStudio, an open source project, and tested the plug-in operation.

Welcome to the world of CANdevStudio, a pivotal tool for CAN network development. This open-source project is an indispensable application for the simulation and testing of CAN communication. The following article provides a detailed account of the building process and plugin testing of CANdevStudio. From start to finish - setting up the development environment, installing necessary libraries, to running the application - readers will learn how to efficiently manage and test their CAN communication using CANdevStudio.
Since we built and added the Qt plugin, it can now be used directly in applications that use this plugin. Among the representative CAN applications, we will build CANdevStudio, an open source project, and test the plugin operation.
CANdevStudio's source code can be found on GitHub below.
https://github.com/GENIVI/CANdevStudio
Clone the repository using git.
git clone https://github.com/GENIVI/CANdevStudioAnd Submodule update is in progress.
 cd .\CANdevStudio\3rdParty\
 git submodule update --init --recursive
Run Qt Creator and select File->Open File or Project.
Select CMakeLists.txt.
Proceed with Configure in the same way as when building a plugin.

When the build is complete, CANdevStduio is executed as shown below. Select New Project.

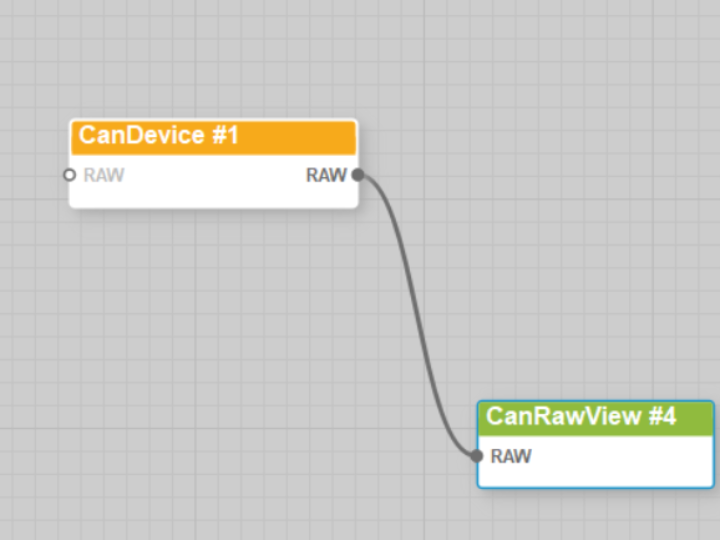
For a simple test, add one CanDevice.

When you double-click CanDevice and select backend, you will see the added wiznet_can plugin and select it.

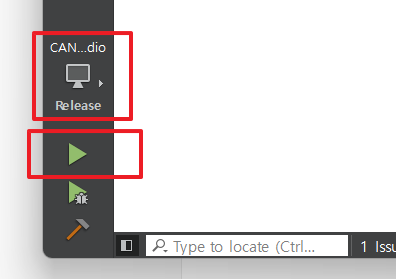
Connect CanRawView to view received CAN messages. and Click the play icon at the top to connect.


Data sent from the CAN analyzer is displayed as a received message in CanRawView.

By simply creating a plug-in, you can use the same interface in multiple programs.
So far, we have looked at how to use the Ethernet CAN Gateway using the WIZnet board.

