WizFi250 Twitter
Using WizFi250, connect to Twitter Server using a separate proxy server and post messages.

Step 1: Configuration diagram
The example referenced in Arduino does not connect directly to Twitter Server, but uses a separate proxy server to connect to Twitter Server and post a message. For reference, the Proxy Server used in this post is arduino-tweet.appspot.com, and Posting is possible once per minute.
SSL Protocol is required to directly connect to Twitter Server, and we plan to implement an example of directly connecting to Twitter using the SSL function of WizFi250 in the future.
The configuration diagram of this posting example is as follows.
Step 2 : Get a token to post a message using OAuth
Step 3 : Hardware
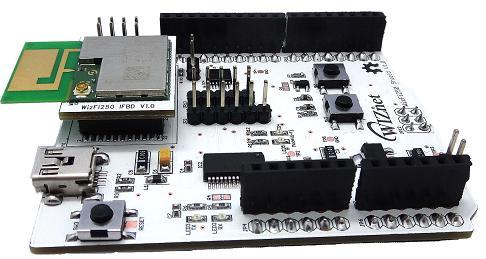
- Arduino Mega, WizFi250-EVB
WIZnet provides an SPI interface-based Arduino Library, which can be downloaded from the path below. https://github.com/Wiznet/Arduino_WizFi250
To use WizFi250 with Arduino, please refer to the posting below. Things to check when using WizFi250-EVB (Arduino Shield)
Step 4 : Software
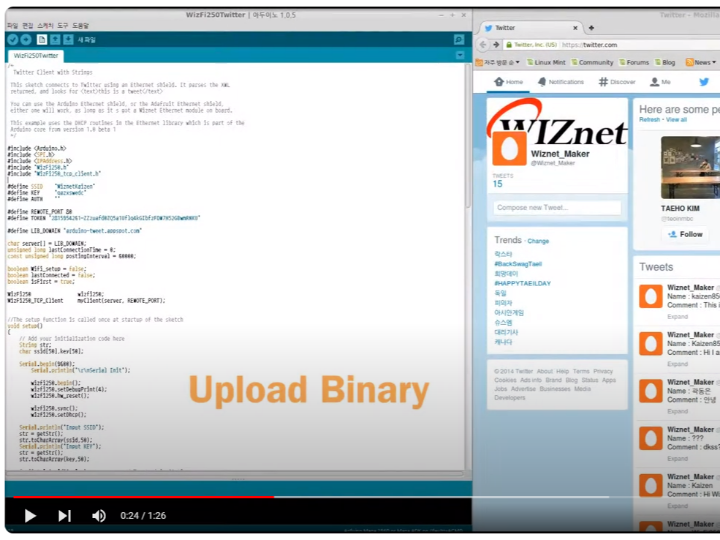
The example below is located in the Software/WizFi250/Example/WizFi250_Twitter folder of https://github.com/Wiznet/Arduino_WizFi250.
#include <Arduino.h>
#include <SPI.h>
#include <IPAddress.h>
#include "WizFi250.h"
#include "WizFi250_tcp_client.h"

#define SSID    "WiznetKaizen"
#define KEY     "qazxswedc"
#define AUTH    ""

#define REMOTE_PORT 80
#define TOKEN "Your-Token"    // For Wiznet_Maker

#define LIB_DOMAIN "arduino-tweet.appspot.com"

char server[] = LIB_DOMAIN;
unsigned long lastConnectionTime = 0;
const unsigned long postingInterval = 60000;

boolean Wifi_setup = false;
boolean lastConnected = false;
boolean isFirst = true;

WizFi250        wizfi250;
WizFi250_TCP_Client myClient(server, REMOTE_PORT);

//The setup function is called once at startup of the sketch
void setup()
{
    // Add your initialization code here
    String str;
    char ssid[50],key[50];

    Serial.begin(9600);
    Serial.println("\r\nSerial Init");

    wizfi250.begin();
    wizfi250.setDebugPrint(4);
    wizfi250.hw_reset();

    wizfi250.sync();
    wizfi250.setDhcp();

    Serial.println("Input SSID");
    str = getStr();
    str.toCharArray(ssid,50);
    Serial.println("Input KEY");
    str = getStr();
    str.toCharArray(key,50);

    for(int i=0; i<10; i++)     // Try to join 30 times
    {
        if( wizfi250.join(ssid,key,AUTH) == RET_OK )
        {
            Wifi_setup = true;
            break;
        }
    }
}

void loop()
{
    if( Wifi_setup )
    {
        wizfi250.RcvPacket();

        if( myClient.available() )
        {
            char c = myClient.recv();
            if( c != NULL )
                Serial.print(c);
        }
        else
        {
            if( !myClient.getIsConnected() && lastConnected )
            {
                Serial.println();
                Serial.println("disconnecting.");
                myClient.stop();
            }


            if( isFirst || (((millis() - lastConnectionTime) > postingInterval) && (!myClient.getIsConnected())) )
            {
                Serial.println("Ready to transmit message");
                Twitter_Post( inputSerialMessage() );
                isFirst = false;
            }

            lastConnected = myClient.getIsConnected();
        }
    }
}

String inputSerialMessage()
{
    String SendingMessage="";

    Serial.print("Input Your Name :");
    SendingMessage  = "Name : ";
    SendingMessage += getStr();
    SendingMessage += "\r\n";

    Serial.print("Input Your Comment :");
    SendingMessage += "Comment : ";
    SendingMessage += getStr();
    SendingMessage += "\r\n";

    return SendingMessage;
}


String getStr()
{
    String str="";

    while(1)
    {
        if( Serial.available() )
        {
            char inChar = (char)Serial.read();
            Serial.print(inChar);

            if(inChar == '\r')   break;
            str += inChar;
        }
    }
    return str;
}


bool Twitter_Post(String thisData)
{
    uint8_t content_len[6]={0};
    String TxData;
    uint16_t length;

    Serial.println("Connecting..");
    if(myClient.connect() == RET_OK)
    {
        TxData  = "POST http://";
        TxData += LIB_DOMAIN;
        TxData += "/update HTTP/1.0\r\n";
        TxData += "Content-Length: ";

        length = thisData.length() + strlen(TOKEN) + 14;
        itoa(length, (char*)content_len, 10);

        TxData += (char*)content_len;
        TxData += "\r\n\r\n";
        TxData += "token=";
        TxData += TOKEN;
        TxData += "&status=";
        TxData += thisData;
        TxData += "\r\n";

        Serial.print(TxData);
        myClient.send((String)TxData);

        lastConnectionTime = millis();
    }
}
Step 5 Demo
- minicom
- Serial setup
- dmesg | You can check the Serial Port in use on Linux by running grep tty.
2. run screen
AT+WNET=1
[OK]
Input SSID

Input KEY
qazxswedc
<Send AT Command>
AT+WLEAVE
[OK]
<Send AT Command>
AT+WSET=0,WiznetKaizen
[OK]
<Send AT Command>
AT+WSEC=0,,qazxswedc
[OK]
<Send AT Command>
AT+WJOIN
Joining : WiznetKaizen
Successfully joined : WiznetKaizen
[Link-Up Event]
  IP Addr    : 192.168.201.12
  Gateway    : 192.168.201.1
[OK]Ready to transmit message
Input Your Name : WizFi250
Comment : Hi I am WizFi250
Connecting..

<Send AT Command>
AT+FDNS=arduino-tweet.appspot.com,1000
74.125.203.141
[OK]
<Send AT Command>
AT+SCON=O,TCN,74.125.203.141,80,,0
[OK]
[CONNECT 0]POST http://arduino-tweet.appspot.com/update HTTP/1.0
Content-Length: 111

token=2815954261-XXXXXXXXXXXXXXXXXXXXXXXXXXXXXXXXXXXXXXX:status=Name : WizFi250
Comment : Hi I am WizFi250


<Send AT Command>
AT+SSEND=0,0.0.0.0,80,191
[0,,,191]
[OK]HTTP/1.0 200 OK
Content-Type: text/html; charset=utf-8
Cache-Control: no-cache
Vary: Accept-Encoding
Date: Tue, 23 Sep 2014 04:03:08 GMT
Server: Google Frontend
Alternate-Protocol: 80:quic,p=0.002

OK<Disassociate>

disconnecting.
3. Check messages on your Twitter account


