Create an HTTP Web Client with W5100S-EVB-Pico and Arduino IDE
Set up a web client with W5100S-EVB-Pico board, connect to a web server, send HTTP GET requests for webpages, and print server responses.

The ever-evolving digital landscape continues to push the boundaries of Internet of Things (IoT) devices. The versatility of such devices lies in their ability to interact with the web - an application that the W5100S-EVB-Pico board excels in. In this guide, we will explore how to leverage this Ethernet board and the Arduino IDE to create a straightforward web client. This web client will be capable of establishing a connection with a web server, sending an HTTP GET request, and displaying the server's response.
What You Will Need
Before starting, ensure you have the following:
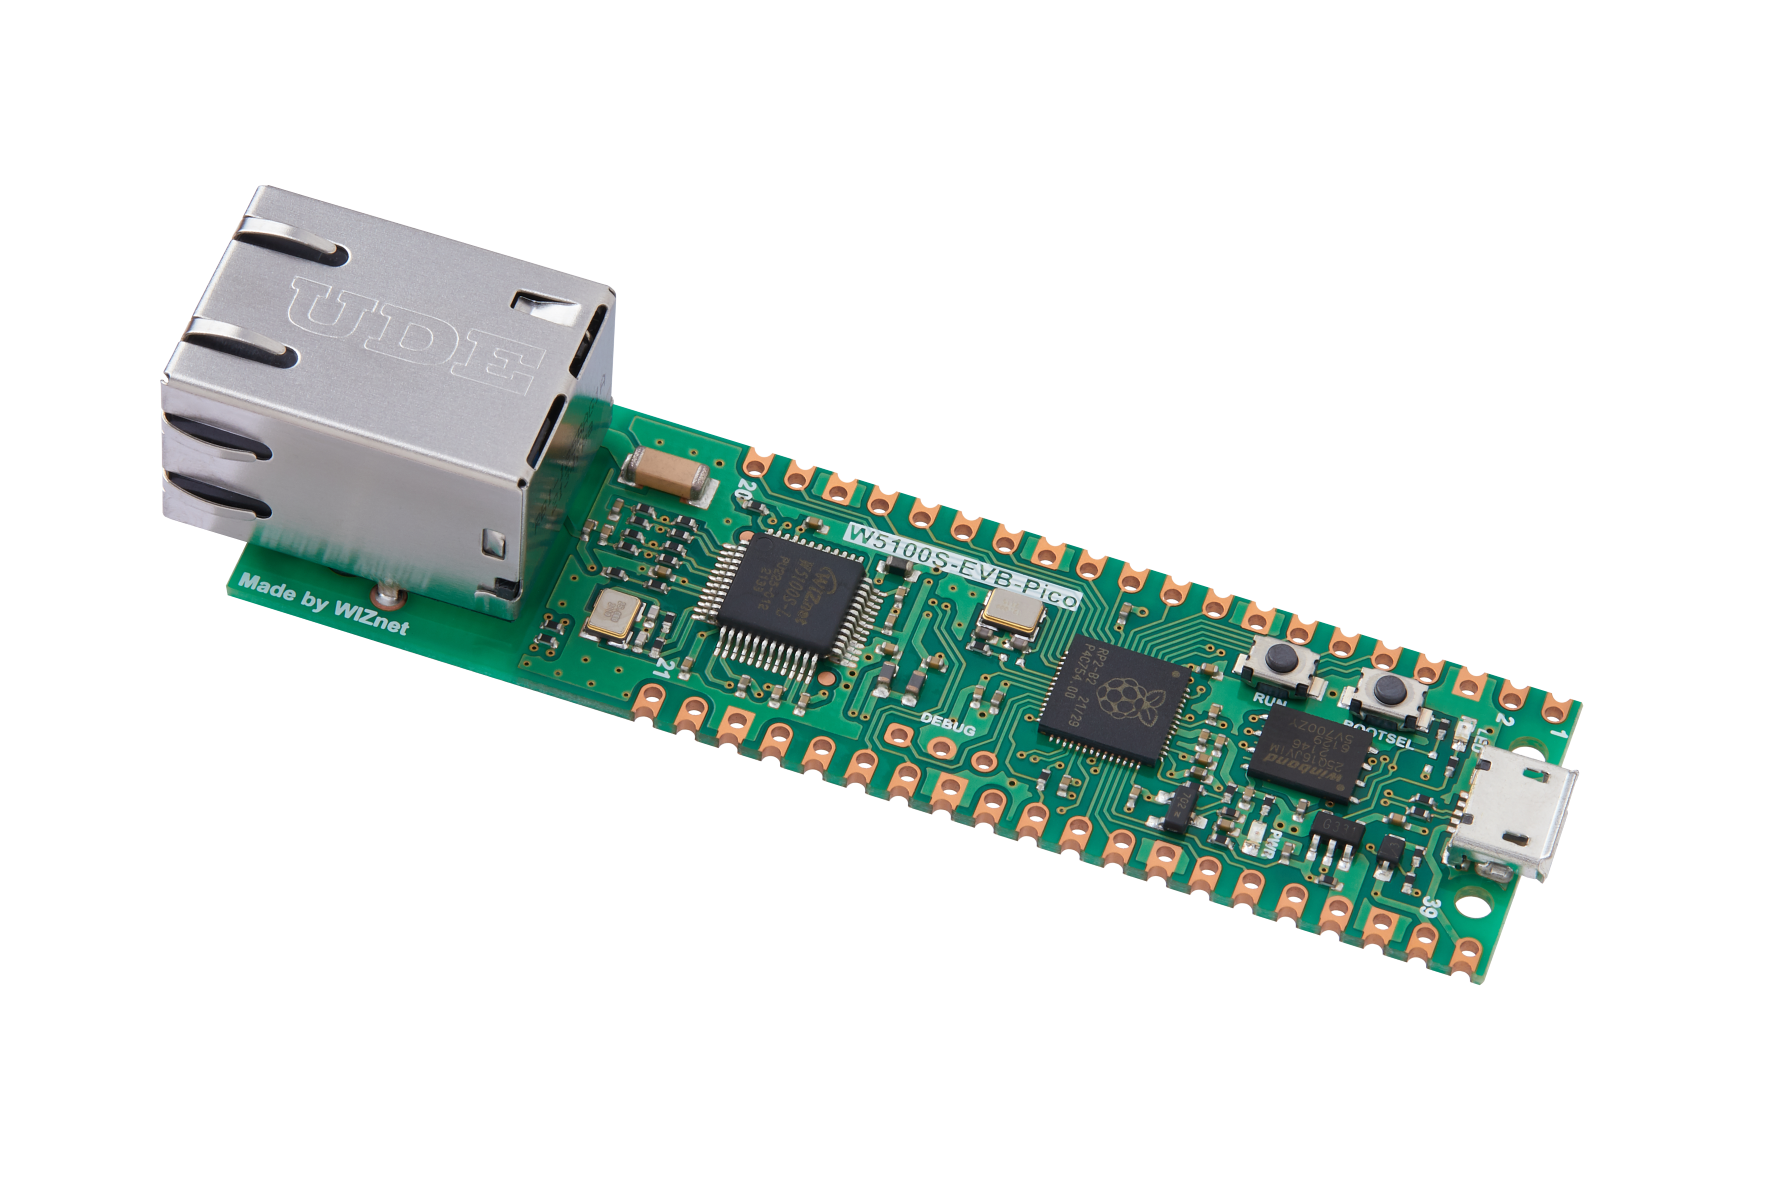
- W5100S-EVB-Pico board: A compact, high-performance network module that includes a W5100S, a 32Kbytes inner buffer, and a 10/100 Ethernet PHY. It's an excellent choice for internet connectivity.
- Arduino IDE: The open-source Arduino Software (IDE) makes it easy to write code and upload it to the board.
- WIZnet Ethernet library for W5100S-EVB-Pico: This can be downloaded from GitHub.
- A live web server: The IP address of your server will be required, along with a valid webpage to request.
Setting Up Your Web Client
Here's a step-by-step guide on setting up your web client:
- Using a USB cable, connect your W5100S-EVB-Pico board to your computer.
- Install the necessary libraries and configure the Arduino IDE as described in the main repository's README.
- Open the web client example code in the Arduino IDE.
- Locate the serverIP variable in the code and adjust it to match your web server's IP address.
- Identify the line client.println("GET /example_page.html HTTP/1.1"); and modify the webpage name to match the webpage you intend to request from the server.
Code
#include <SPI.h>
#include <Ethernet.h>

// Enter a MAC address for your controller below.
byte mac[] = {
  0xDE, 0xAD, 0xBE, 0xEF, 0xFE, 0xED
};

const int csPin = 17; // Chip Select (CS) pin for W5100S on W5100S-EVB-Pico

// Enter the IP address of the server you want to connect to
IPAddress serverIP(192, 168, 0, 2);

// Initialize the Ethernet client library
EthernetClient client;

void setup() {
  // Open the serial communications and wait for port to open:
  Serial.begin(9600);
  while (!Serial) {
    ; // wait for serial port to connect. Needed for native USB port only
  }

  // Initialize Ethernet with the CS pin:
  Ethernet.init(csPin);

  // Start the Ethernet connection using DHCP:
  Serial.println("Attempting to obtain IP address using DHCP...");
  if (Ethernet.begin(mac) == 0) {
    Serial.println("Failed to obtain IP address using DHCP");
  } else {
    // Print the obtained IP address:
    Serial.print("Successfully obtained IP address: ");
    Serial.println(Ethernet.localIP());
  }

  // Connect to the server
  Serial.println("Connecting to the web server...");
  if (client.connect(serverIP, 80)) {
    Serial.println("Connected to the web server.");

    // Send the HTTP GET request
    client.println("GET /example_page.html HTTP/1.1");
    client.print("Host: ");
    client.println(serverIP);
    client.println("Connection: close");
    client.println();
  } else {
    Serial.println("Connection to the web server failed.");
  }
}

void loop() {
  // If there are incoming bytes available from the server, read and print them:
  if (client.available()) {
    char c = client.read();
    Serial.print(c);
  }

  // If the server is disconnected, stop the client:
  if (!client.connected()) {
    Serial.println();
    Serial.println("Disconnected from the server.");
    client.stop();

    // Do nothing forever after the client is disconnected:
    while (true);
  }
}
Getting Your Web Client Online
After you've completed your setup, it's time to put your web client to work:
- Upload your sketch to the W5100S-EVB-Pico board.
- Open the Serial Monitor in your Arduino IDE.
- Watch as your web client establishes a connection to the server, sends the HTTP GET request, and receives the server's response.
If everything goes well, you should see output similar to:
Successfully obtained IP address: 192.168.1.110
Connected to the web server.
HTTP/1.1 200 OK
Content: <html><head><title>Example Page</title></head><body><h1>Hello, Web Client!</h1></body></html>
Disconnected from the server.
In this output, the client successfully connects to the web server and receives a HTTP/1.1 200 OK response, indicating that the request was successful.
Notes for Smooth Operation
Here are some final pointers to ensure a seamless experience:
- Ensure your web server is operational and accessible from the network where the W5100S-EVB-Pico board is connected.
- The example assumes the web server is utilizing port 80. Adjust the port number in the client.connect(serverIP, 80) line if your web server operates on a different port.
- The example also assumes the requested webpage is "example_page.html". Update the name in the client.println("GET /example_page.html HTTP/1.1"); line for different webpages.
Harnessing the power of the W5100S-EVB-Pico board to create a web client can be an exciting addition to your IoT projects

