
Setting up a FreeRTOS Example on STM32 Nucleo Board using W5300 TOE for AWS IoT Connection
This guide details how to configure and test a FreeRTOS example to connect to AWS IoT
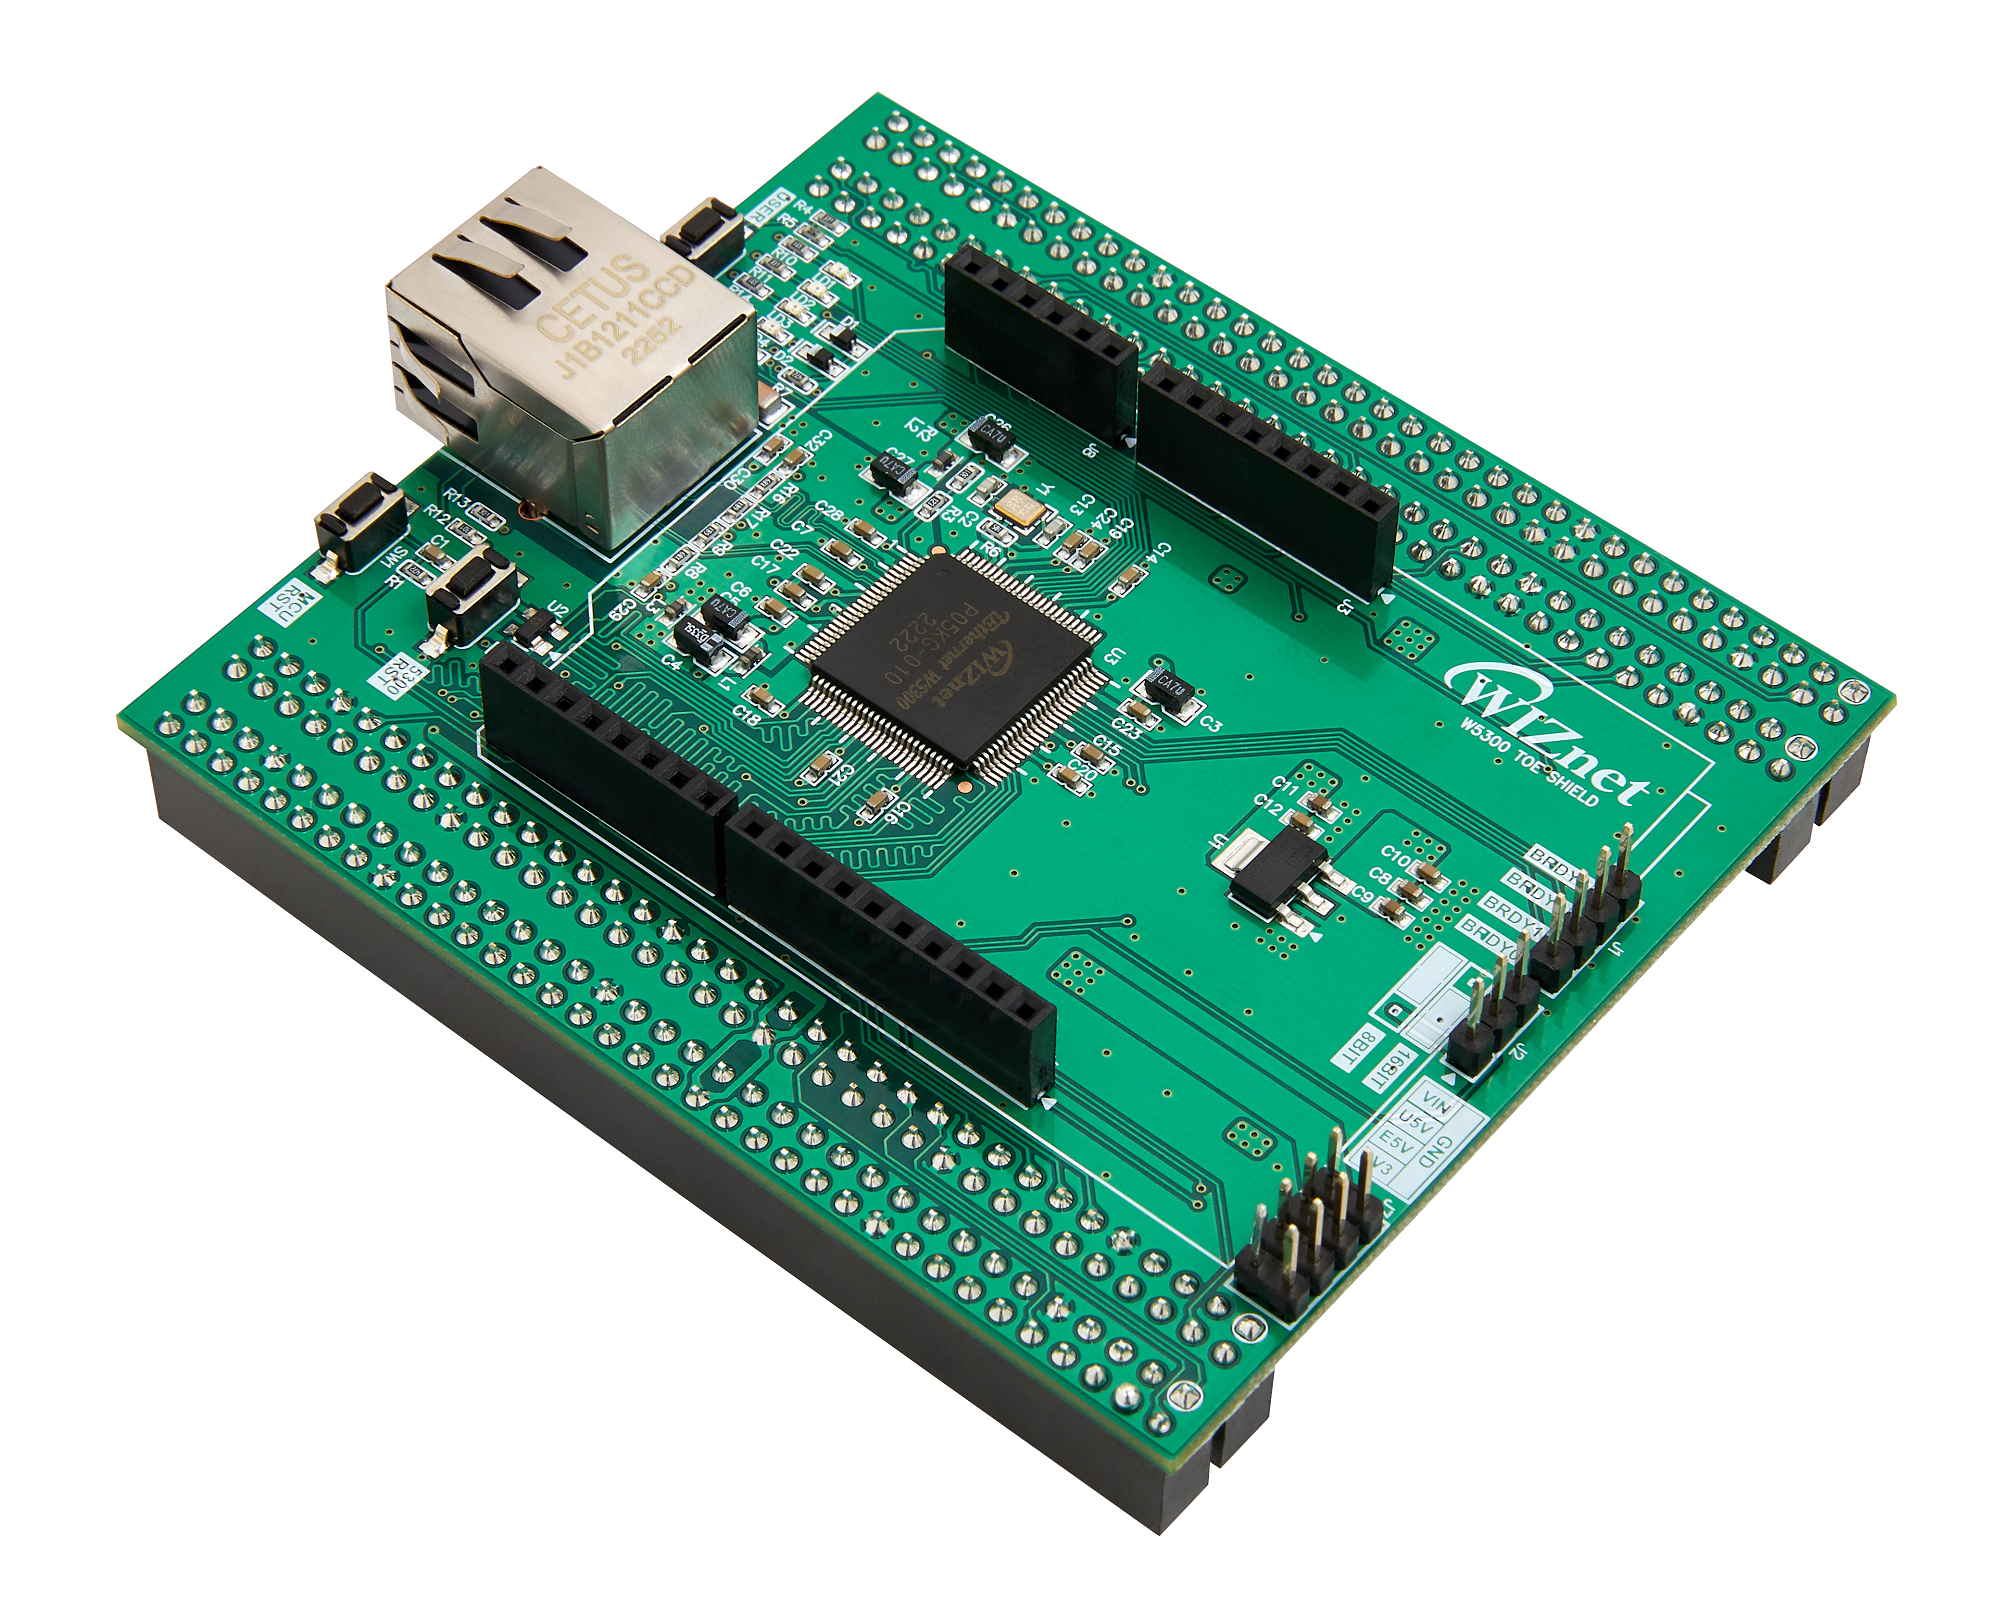
WIZnet - W5300-TOE-Shield
x 1
How to Test Connection to AWS IoT using freeRTOS Example
Step 1: Prepare software
The following serial terminal program is required for Connection to AWS IoT with a freeRTOS example test, download and install from below link.
Step 2: Prepare hardware
Combine W5300 TOE Shield with STM32 Nucleo429ZI board.
Connect ethernet cable to W5300 TOE Shield ethernet port.
Connect STM32 Nucleo-144 board to desktop or laptop using 5 pin micro USB cable.
Step 3: Setup AWS IoT
In order to connect to AWS IoT through freeRTOS, the development environment must be configured to use AWS IoT.
This example was tested by configuring AWS IoT Core. Please refer to the 'Create AWS IoT resources' section of document below and configure accordingly.
For more information on AWS IoT, refer to the document below.
Step 4: Setup Connect AWS IoT through freeRTOS Example
To test the Connect AWS IoT through freeRTOS example, minor settings shall be done in code.
- Setup network configuration such as IP in 'main.c' , which is the Connect AWS IoT through freeRTOS example in 'W5300-TOE-FREERTOS-C/Core/Src/' directory.
Setup IP, other network settings to suit your network environment and whether to use DHCP.
/* Network */
static wiz_NetInfo g_net_info =
    {
        .mac = {0x00, 0x08, 0xDC, 0x12, 0x34, 0x56}, // MAC address
        .ip = {192, 168, 11, 2},                     // IP address
        .sn = {255, 255, 255, 0},                    // Subnet Mask
        .gw = {192, 168, 11, 1},                     // Gateway
        .dns = {8, 8, 8, 8},                         // DNS server
        .dhcp = NETINFO_DHCP                         // DHCP enable/disable
};- Setup AWS IoT configuration.
MQTT_DOMAIN should be setup as AWS IoT data endpoint, and MQTT_USERNAME and MQTT_PASSWORD do not need to be setup. Setup MQTT_CLIENT_ID same as thing created during AWS IoT Core setup.
/* AWS IoT */
#define MQTT_DOMAIN "account-specific-prefix-ats.iot.ap-northeast-2.amazonaws.com"
#define MQTT_PUB_TOPIC "$aws/things/my_rp2040_thing/shadow/update"
#define MQTT_SUB_TOPIC "$aws/things/my_rp2040_thing/shadow/update/accepted"
#define MQTT_USERNAME NULL
#define MQTT_PASSWORD NULL
#define MQTT_CLIENT_ID "my_rp2040_thing"- Setup device certificate and key.
You must enter the root certificate, client certificate and private key that were downloaded in Step 2.
Root certificate uses the RSA 2048 bit key, Amazon Root CA 1, and does not use the public key.
Device certificate and key can be set in 'mqtt_certificate.h' in W5300-TOE-FREERTOS-C\Core\Inc' directory.
uint8_t mqtt_root_ca[] =
"-----BEGIN CERTIFICATE-----\r\n"
"...\r\n"
"-----END CERTIFICATE-----\r\n";

uint8_t mqtt_client_cert[] =
"-----BEGIN CERTIFICATE-----\r\n"
"...\r\n"
"-----END CERTIFICATE-----\r\n";

uint8_t mqtt_private_key[] =
"-----BEGIN RSA PRIVATE KEY-----\r\n"
"...\r\n"
"-----END RSA PRIVATE KEY-----\r\n";- The following is a step-by-step guide on how to add a task in freeRTOS.
-Write the Task Function
First, write the function that the task will run. This function is usually composed of an infinite loop, where you define what the task will do.
void aws_example_task(void *argument){
    while(1)
    {
        // Your task implementation here...
    }
}
-Define the Task Handle and Attributes
Before creating a task, you have to define the task handle and task attributes.
osThreadId_t awsExampleTaskHandle;
const osThreadAttr_t aws_example_attributes = {
  .name = "awsExampleTask",
  .stack_size = 128 * 4,
  .priority = (osPriority_t) osPriorityNormal,
};
- Create the task
Create the task using the osThreadNew function. This function takes the task function, the argument to pass to the task function, and the task attributes as arguments.
awsExampleTaskHandle = osThreadNew(aws_example_task, NULL, &aws_example_attributes);
Step 5: Build
After completing the AWS example configuration, build in the IDE you are using.
When the build is completed, is generated in download the firmware to the STM32 Nucleo-144 board.
Step 6: Upload and Run
- Connect to the serial COM port of STM32 Nucleo-144 board with Tera Term.

Reset your board.
If the Connect AWS IoT through freeRTOS example works normally on Nucleo-144 board, you can see the network information of W5300, connecting to the AWS IoT and publishing the message.


- If you publish the message through the test function in AWS IoT Core to the subcribe topic was configured in Step 4, you can see that Nucleo-144 board receive the message about the subcribe topic.


-
git
