
[AIoT] Smarter Alexa for LED control with GPT3
LED control with Alexa+GPT3 for natural language understanding.


WIZnet - W5100S-EVB-Pico
x 1
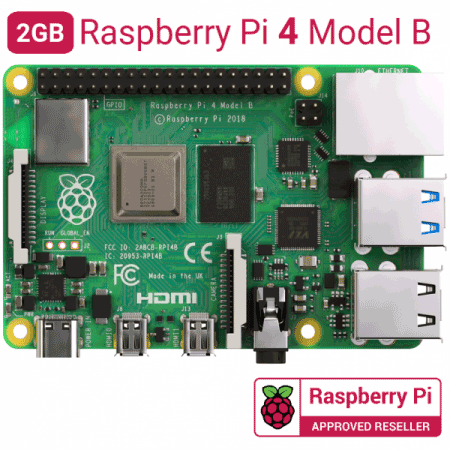
Raspberry Pi - Raspberry Pi 4 Model B
x 1
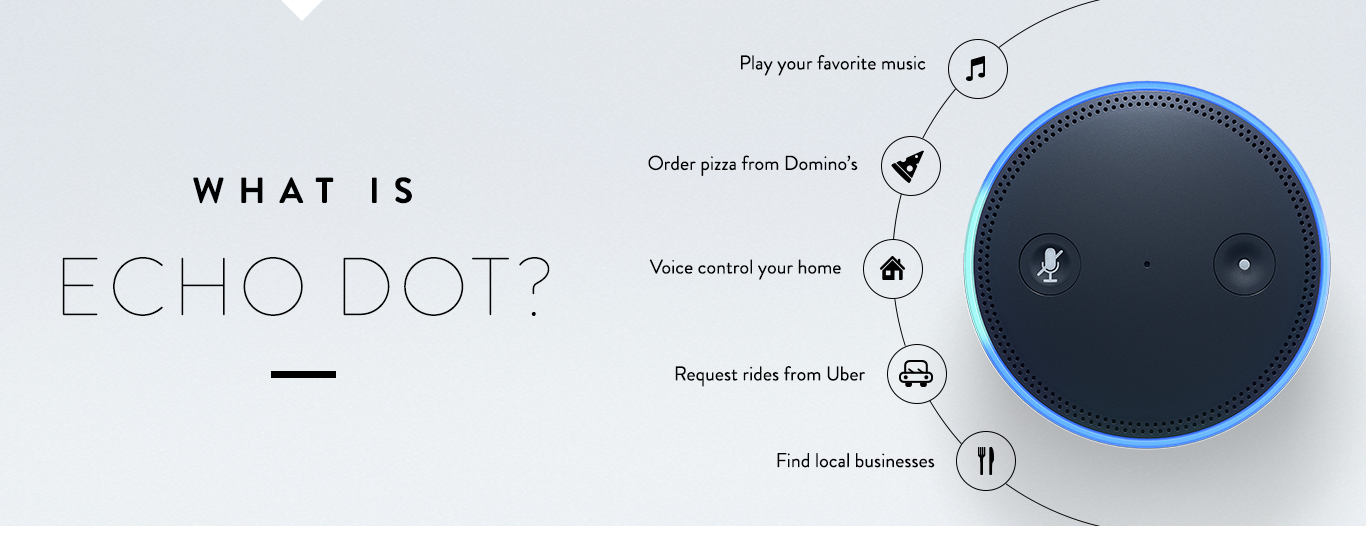
amazon-alexa - Echo Dot
x 1

Generic - LED Matrix 32x8 MAX7219
x 1

amazon-alexa - Alexa Skills Kit
x 1
mqtt - MQTT
x 1

Arduino - Arduino IDE
x 1
PyCharm - Pycharm
x 1
TABLE OF CONTENTS:
1. INTRODUCTION
2. HARDWARES USED
3. SOFTWARES USED
4. PROGRAMMING LANGUAGES
5. WORKFLOW
6. STEPS
- Create an Amazon developer account
- Create the Alexa skill with the desired invocation name and make the necessary intent blocks.
- Make the raspberry pi ready.
- Setup ngrok server in the Raspberry pi
- Setup the flask server for handling the alexa skills.
- Circut connection
- Setup the alexa end point with the 'HTTPS' instead of AWS Lambda ARN
- Link the created skill with the AMAZON-ECHO-DOT
7. SAMPLE UTTERENCES
8. OUTPUT
9. CONCLUSION
1. INTRODUCTION:
Imagine a world where you don't need to lift a finger to control the ambiance of your home. With the help of cutting-edge technology, this dream is now a reality. Introducing "Smarter Alexa with ChatGPT for Controlling LED Lights," a project that revolutionizes the way we interact with our smart homes. This project combines the power of Amazon's Alexa and ChatGPT, a state-of-the-art language model, to create a seamless and intuitive experience for controlling LED lights. By using natural language processing, this project allows users to simply speak their commands to Alexa, who then communicates with ChatGPT to accurately interpret and execute the desired actions.
To implement this project, a Raspberry Pi 4 is used as a server to communicate with the Alexa Skill Set. The Raspberry Pi 4 is a powerful microcomputer capable of running multiple programs simultaneously, making it an ideal choice for handling the complex communication between Alexa and ChatGPT. Additionally, the project utilizes the Wiznet-EVB-PICO-5100s board, which is connected to both the LED lights and an 8*8 dot matrix. This board acts as a bridge between the Raspberry Pi and the LED lights, allowing for easy control and manipulation of the light's color and intensity. With the Wiznet-EVB-PICO-5100s board, the LED lights can be synced to music, set to change color depending on the time of day, or even programmed to display scrolling messages on the dot matrix.
2. HARDWARES USED:
3. SOFTWARE AND SERVICES USED:
4. PROGRAMMING LANGUAGES
5. WORKFLOW
The workflow of the project "Smarter Alexa with ChatGPT for turning on and off the LED and displaying the same in 8*8 dot matrix" is an impressive combination of advanced technologies and cutting-edge solutions. The project begins when the user operates Alexa using the invocation name "chat" The commands "Alexa ask chat"/"Alexa open chat" will trigger the subsequent intent block that has been designed using the Alexa Skill Set.
There is a dedicated Flask server for handling the requests from Alexa, and the endpoint from Alexa is tunneled to the server running the Raspberry Pi 4 using the ngrok service. The message or phrase that is similar or sentimentally close to either "turn on" or "turn off" commands will be sent to the particular intent block, which will have a block of ChatGPT API for converting the phrase into either ON/OFF. The message from the user will be mapped to either turn on or turn off based on the polarity and sentiment of the statement. The response obtained from the ChatGPT will be in the form of a JSON file, which will be parsed, and the text value will be obtained. The resultant text will be sent to the MQTT broker with a dedicated subscription. The message from ChatGPT will be published on the server.
Here, an online broker with port:1883 and HOST:'54.87.92.106' will be used. The endpoint connection will be a Wiznet board attached with Ethernet and LED, and dot matrix. The board will be subscribed to the same topic as the message is being published from the Flask server in Raspberry Pi. Based on the message, the LED will turn on and off, and the text will be displayed on the dot matrix from the MQTT server. Alexa will respond back with turning on or off based on the action performed in the end device, which is the Wiznet board. The entire workflow is smooth and seamless, allowing users to control their smart home devices with just their voice. The integration of Alexa, ChatGPT, Flask, Raspberry Pi, MQTT, and Wiznet board creates an intelligent and responsive system that makes our lives easier and more comfortable.
FLOWCHART

6. STEPS
- Create an Amzazon developer account.
- Create the Alexa skill with the desired invocation name and make the necessary intent blocks.
- Make the raspberry pi ready.
- Setup ngrok server in the Raspberry pi
- Setup the flask server for handling the alexa skills.
- Circut connection
- Setup the alexa end point with the 'HTTPS' instead of AWS Lambda ARN
- Link the created skill with the AMAZON-ECHO-DOT
1. AMAZON DEVELOPER CONSOLE:
Follow this link for the steps-> AMAZON DEVELOPER ACCOUNT
2. CREATING THE ALEXA SKILLS:
Amazon Skills are voice-activated capabilities that allow Amazon Alexa to perform a wide variety of tasks, from playing music to controlling smart home devices. These skills can be created by anyone, from individual developers to large companies, and can be published on the Amazon Alexa Skills Store for millions of users to access. To create a custom skill, one can use the Alexa Skills Kit, a set of tools and resources provided by Amazon that includes a web-based interface for designing and building custom skills. The process involves defining the skill's invocation name, intents, and sample utterances, as well as coding the skill's back-end logic using either AWS Lambda or a custom web service. Here in our case we will be using custom web service with the help of ngrok. To make the above mentioned steps i have added a json file which includes all the above mentioned attributes. The invocation name given is "chat", which can be changed to any name of your choice.
Copy paste the AMAZON_SKILLS.JSON file given in the github and paste it to the JSON Editor section given

In this JSON file, the intent name chatGPT is responsible for sending the phrase given by the user through AMAZON-ECHO-DOT. It is given a slot value called {question}, which is of type "AMAZON.SearchQuery." So whatever phrase the user sends through this intent, like "Alexa ask the chat, I want to see," the {question} will take the value as the phrase after the invocation name("chat") and sends it to the flask server. In further steps, this question value is used by chatGPT for mapping the phrase to a required target.
3. SETTING UP THE RASPBERRY PI:
Follow the Link for setting up the raspberry pi 4 for the first time. If you have a already setup raspberry pi 4 skip this step.
4. SETTING UP ngrok SERVER:
In the raspberry pi open the terminal and type the following commands. For updating the Raspberry pi use the commands below:
sudo apt-get update
sudo apt-get upgrade
Download ngrok for "linux arm" from this link. Unzip the downloaded ngrok file using the command below.
unzip path/ngrok.zip
Start an HTTP tunnel in the port 5000 as the same port will be used by the flask server later
./ngrok http 5000
A new screen wuill be open with the webaddress that is used to mask the https://localhost:5000. Copy that webaddress as it will be used by the Alexa as end point.
5.SETTING UP THE FLASK SERVER:
Install Flask-Ask using following command
sudo pip install Flask-Ask
Make sure the cryptography is installed below the version of 1.9 to check the version of the cryptography currently installed use the command below:
sudo pip show cryptography
Install the required cryptography version.
pip install cryptography==1.9
pip install pyopenssl ndg-httpsclient pyasn1
The flask is installed in the Raspberry pi. Now we have to run the flask server, which will receive requests from the Alexa skills through the endpoint given. The ngrok is working on the same system as the flask server, which will help the local host to be publicly visible and accessible. To run the flask server, open the code in the link.
The python code has a certain block of code starting with @ask.intent('chatgpt',mapping={'user_question':'question'}) this is the block of code that handles both the chatGPT conversion and MQTT message handling whenever the phrase is reached. The value of the question is mapped to a variable user_question in the function.
CHATGPT:
The heart and the core part of this function block is the code that converts the incoming phrase from the user to a particular target ie, either Turn on light or Turn off light. The code is mentioned below:
openai.api_key = "sk-t5Zj7TH***********************ZqyW28aWB2lblsS53N"
chat= "i want to see"
respond = openai.Completion.create(model="text-davinci-003",
prompt="Convert \"" + chat + "\" to any one among below commands :\n- Turn off light \n- Turn on light\n",
temperature=0,max_tokens=100,
top_p=1,
frequency_penalty=0.2,
presence_penalty=0 )
One has to obtain an openai.api_key from the chatGPT API, and the link is given here. If the phrase from a user is like Alexa ask device, I want to seeI want to see part, will be mapped into the user_question by slot value question and will be assigned into the chat variable . This value will go through the code above, and the result will be Turn on light as the sentiment of the text is more positive.
6. CIRCUT CONNECTION
The last hardwares to set up is the W5100S-EVB-PICO board, LED and 8*8 DOT-MATRIX. The circut connection for the same is given below.
- Connect the VCC of the dot matrix to pin VBUS
- Connect the GND of the dot matrix to pin GND
- Connect the DIN of the dot matrix to pin GP11
- Connect the CS of the dot matrix to pin GP13
- Connect the CLK of the dot matrix to pin GP10
- Connect the positive leg of LED to GP14
- Connect the negative leg of the LED to GND
Make the connection as shown in the figure and copy paste the code into the Aurdino ide.
7. SETUP THE ALEXA ENDPOINT
Make the endpoint of Alexa to the webaddress obtained from ngrok. For SSL certificate type, select 'My development endpoint is sub-domain of domain that has a wildcard certificate from a certificate authority.' Save the Endpoint.

8. TEST THE SKILLS AND CONNECT TO ECHO DOT:
Head over to 'test' section of your skill console and start testing your skill. Try saying commands like Alexa ask chat to i wanna see. This should turn on LED light connected to you Raspberry Pi. For attaching the Echo-Dot to this project refer the steps mentioned in the link.
7. SAMPLE UTTERANCES:
I have tested the below given utterances for opening and closing and it was working fine. More phrases can be possible:
TURNING ON:
• alexa ask chat let there be light
• alexa ask chat why there is no lights
• alexa ask chat turn on the light
• alexa ask chat where are the lights gone
• alexa ask chat to ignite my room
• alexa ask chat to i want to look
• alexa ask chat to i cannot see
• alexa ask chat to Power on
• alexa ask chat to make my eye comfortable
TURNING OFF:
• alexa ask chat i want darkness
• alexa ask chat i don’t want light
• alexa ask chat turn off
• alexa ask chat to power off
• alexa ask chat to i want to sleep
• alexa ask chat to let there be darkness
8.OUTPUT
The final output of the entire project is published in youtube. The link for the same is given below:
9. CONCLUSION
In conclusion, the project "Smarter Alexa with ChatGPT" demonstrates the power of integrating cutting-edge technologies to create a smart and efficient home automation system. By combining Alexa skills, ChatGPT3 API, Raspberry Pi 4, Wiznet boards, MQTT protocol, and ngrok service, we were able to create a seamless and intelligent system for controlling LED lights and displaying the status on an 8x8 dot matrix. With this system, users can easily operate their home devices with simple voice commands and receive real-time feedback on the status of their devices. This project has great potential for expanding to other home automation applications and demonstrates how the integration of AI, IoT, and voice control can create a smarter and more convenient living environment.
REFERENCES
- https://developer.amazon.com/en-US/docs/alexa/ask-overviews/create-developer-account.html
- https://www.educative.io/answers/how-to-get-api-key-of-gpt-3
- https://ngrok.com/download
- https://www.tomshardware.com/how-to/set-up-raspberry-pi
- https://www.theverge.com/2019/11/19/20972973/amazon-echo-alexa-how-to-add-skills-smart-home-games-sounds
- https://circuitmaker.com
-
GitHub - Source code
