
[W55RP20 Project #3] Development Environment: Getting Started[Wiznet Github]
Getting Started [Wiznet Github]
I’m thrilled to write this post, thanks to the tremendous help of Team Leader Viktor!

Continuing from the previous post, this time we’ll walk through running Wiznet’s Loopback example from their GitHub repository in the VS Code environment. The reason for choosing the Loopback example is simply because it’s easy to test. For the setup, make sure your network environment allows the PC and the board to use the same IP range (e.g., connecting them via the same router).
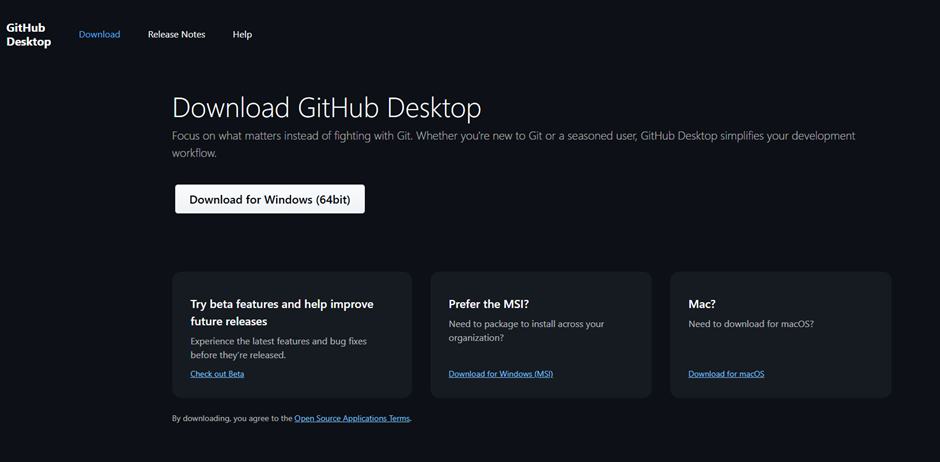
First, download GitHub Desktop. You can follow the link below or search for it online: https://desktop.github.com/download/

Install the file you downloaded.
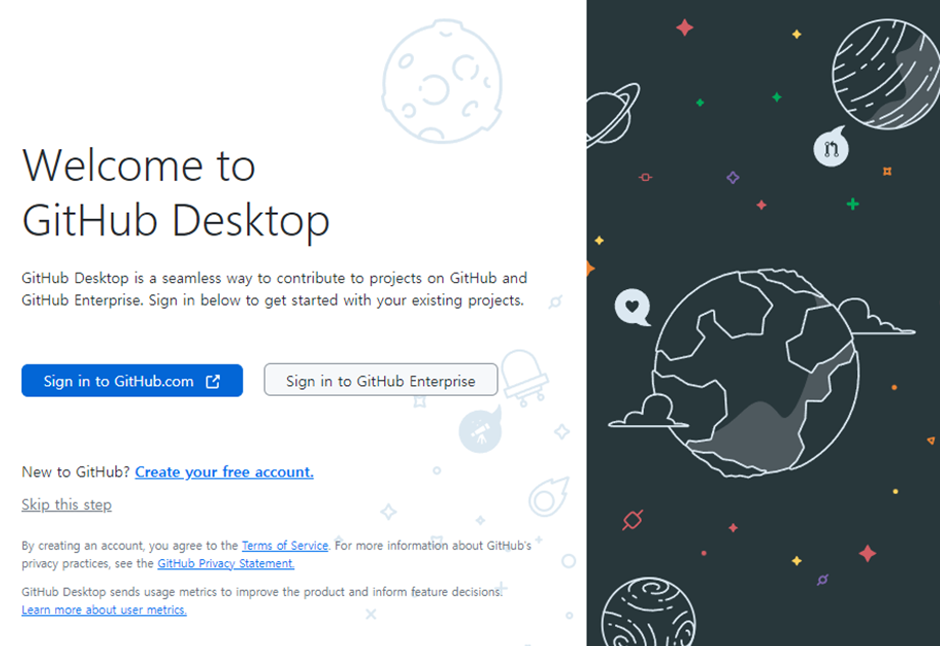
After installation, log in to your GitHub account.
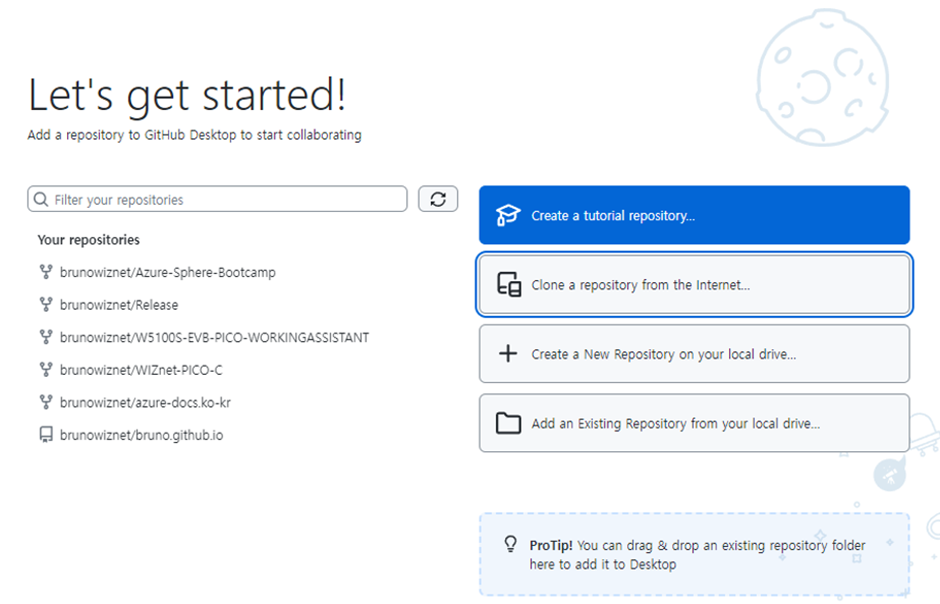
Once logged in, you’ll see the initial screen.

Using your web browser, visit the WIZnet-ioNIC GitHub repository and select WIZnet-PICO-C:
https://github.com/orgs/WIZnet-ioNIC/repositories
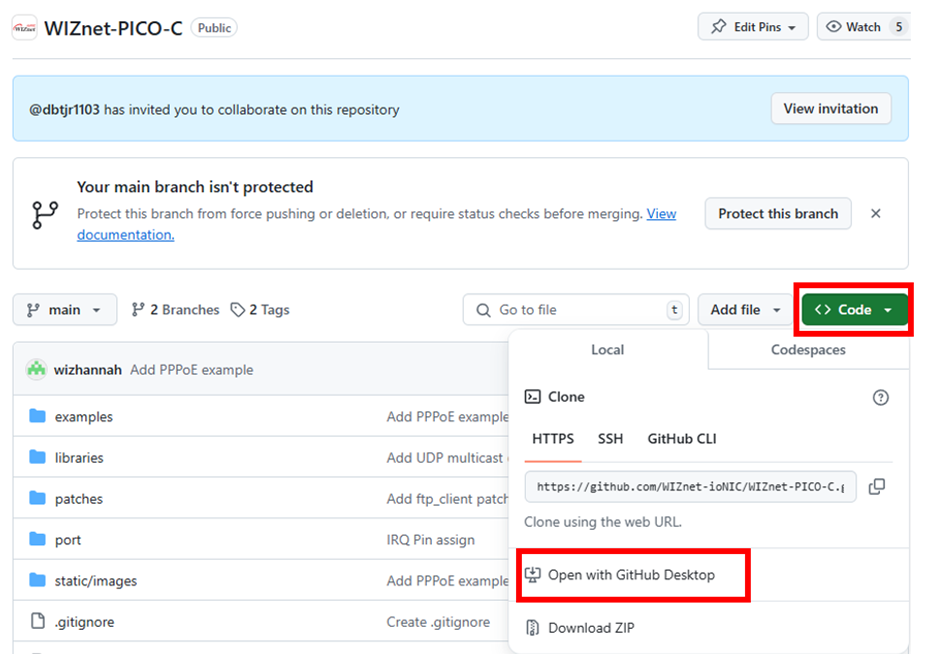
On the right, select Code and then choose Open with GitHub Desktop.
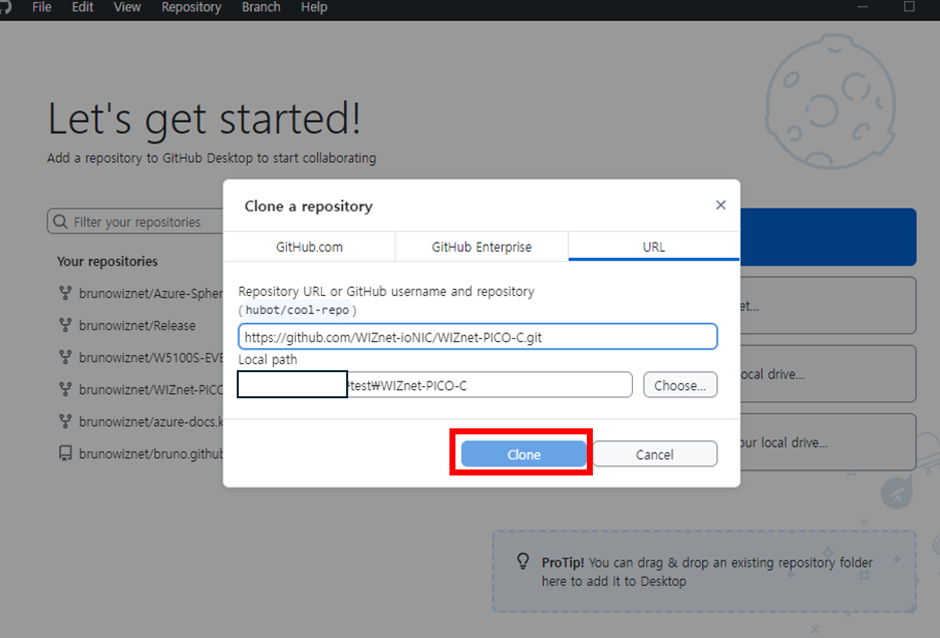
GitHub Desktop will launch, and the repository URL will be added automatically. Choose an appropriate Local Path, then click Clone.
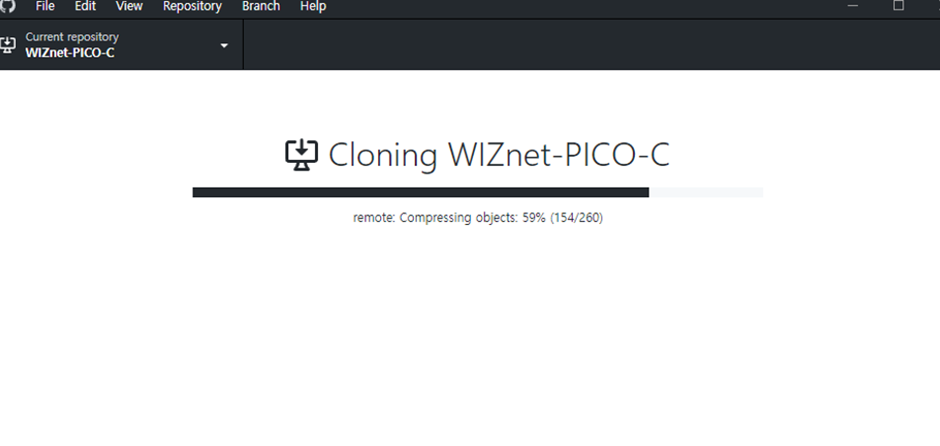
You’ll see the cloning process in progress.
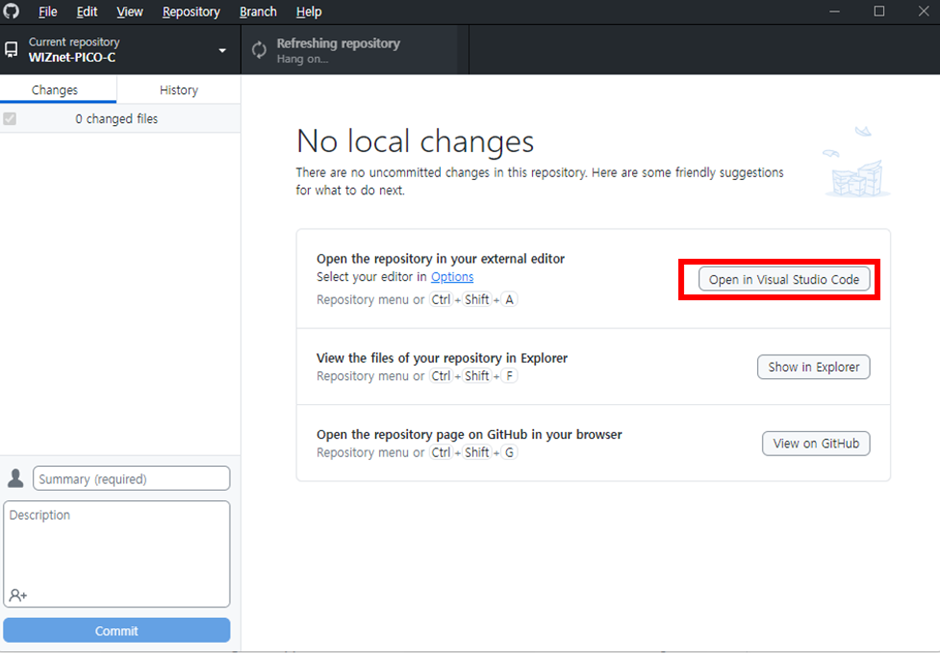
Once cloning is complete, select Open in Visual Studio Code.
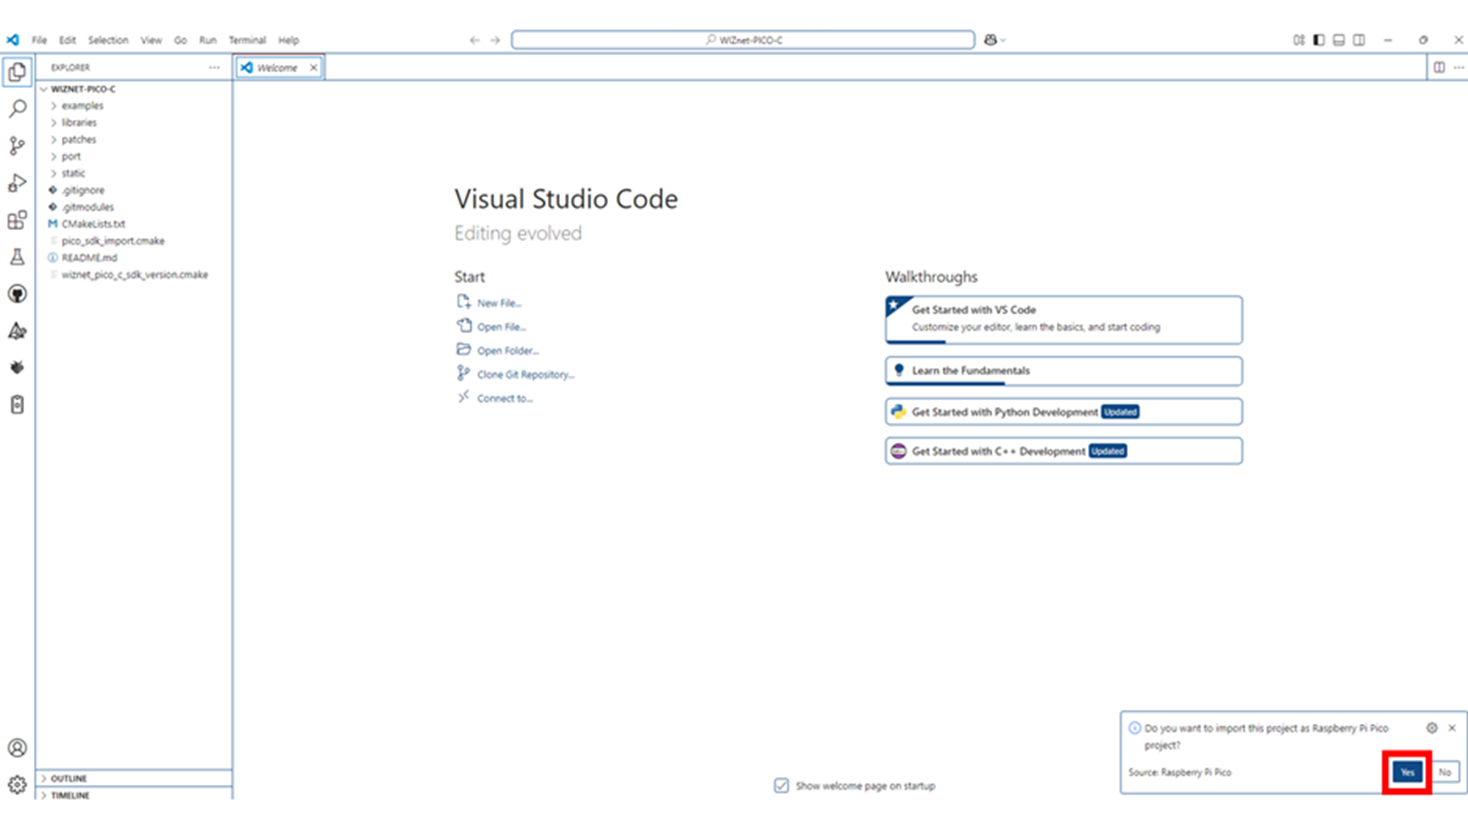
VS Code will launch, and a prompt asking if you want to import the project will appear in the bottom right. Select YES.
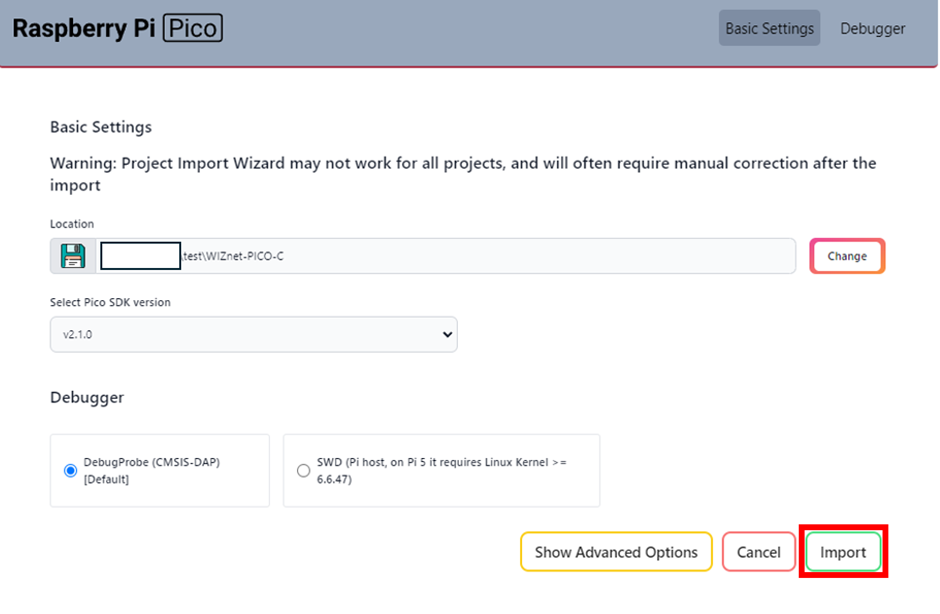
A Pico Import screen will appear with the Location field pre-filled. Click the Import button.
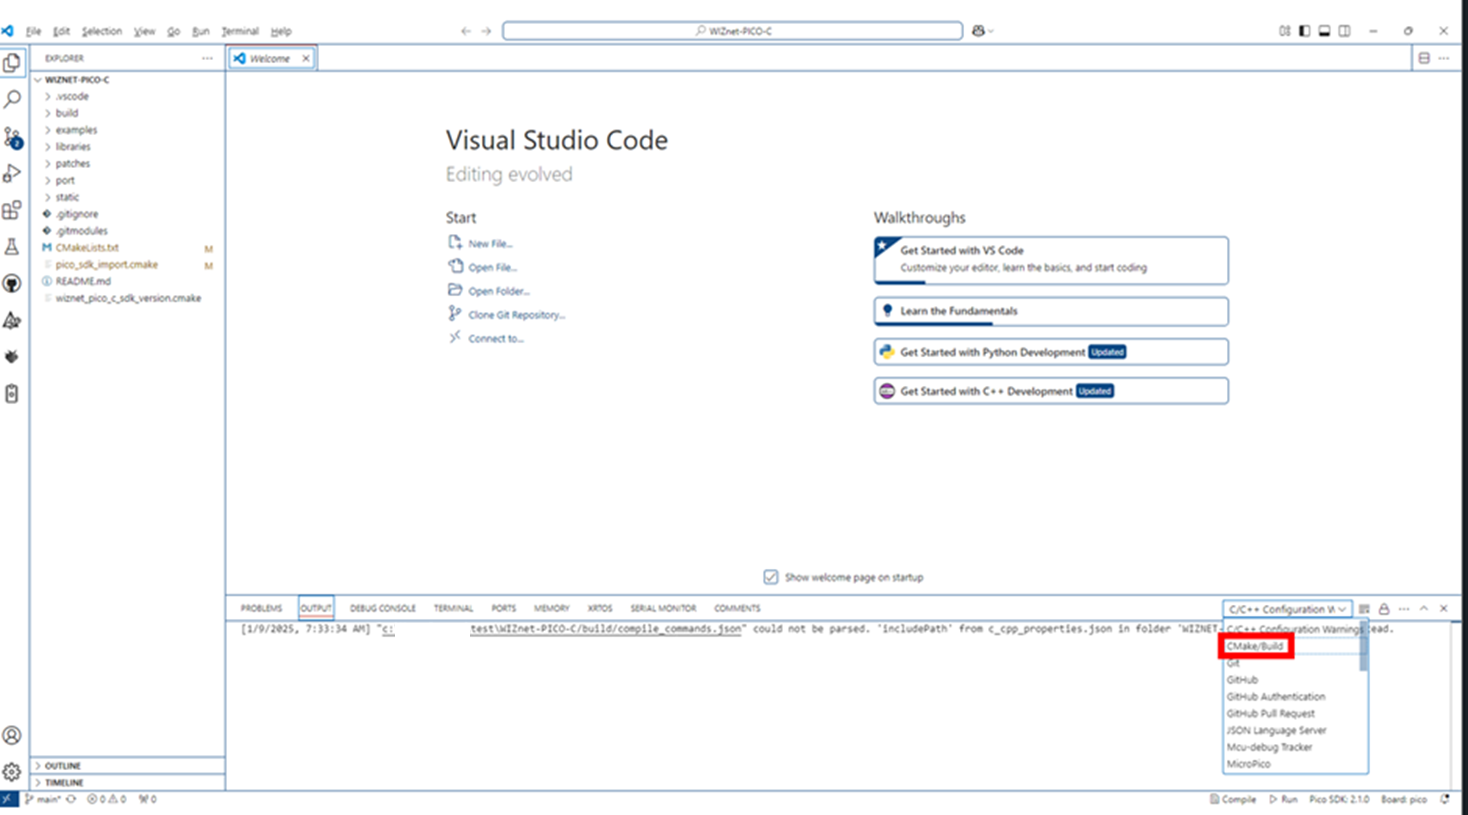
The WIZnet-PICO-C project will open, and you may see error messages in the OUTPUT panel.
Select C/C++ Configuration at the bottom right and choose CMake/Build.
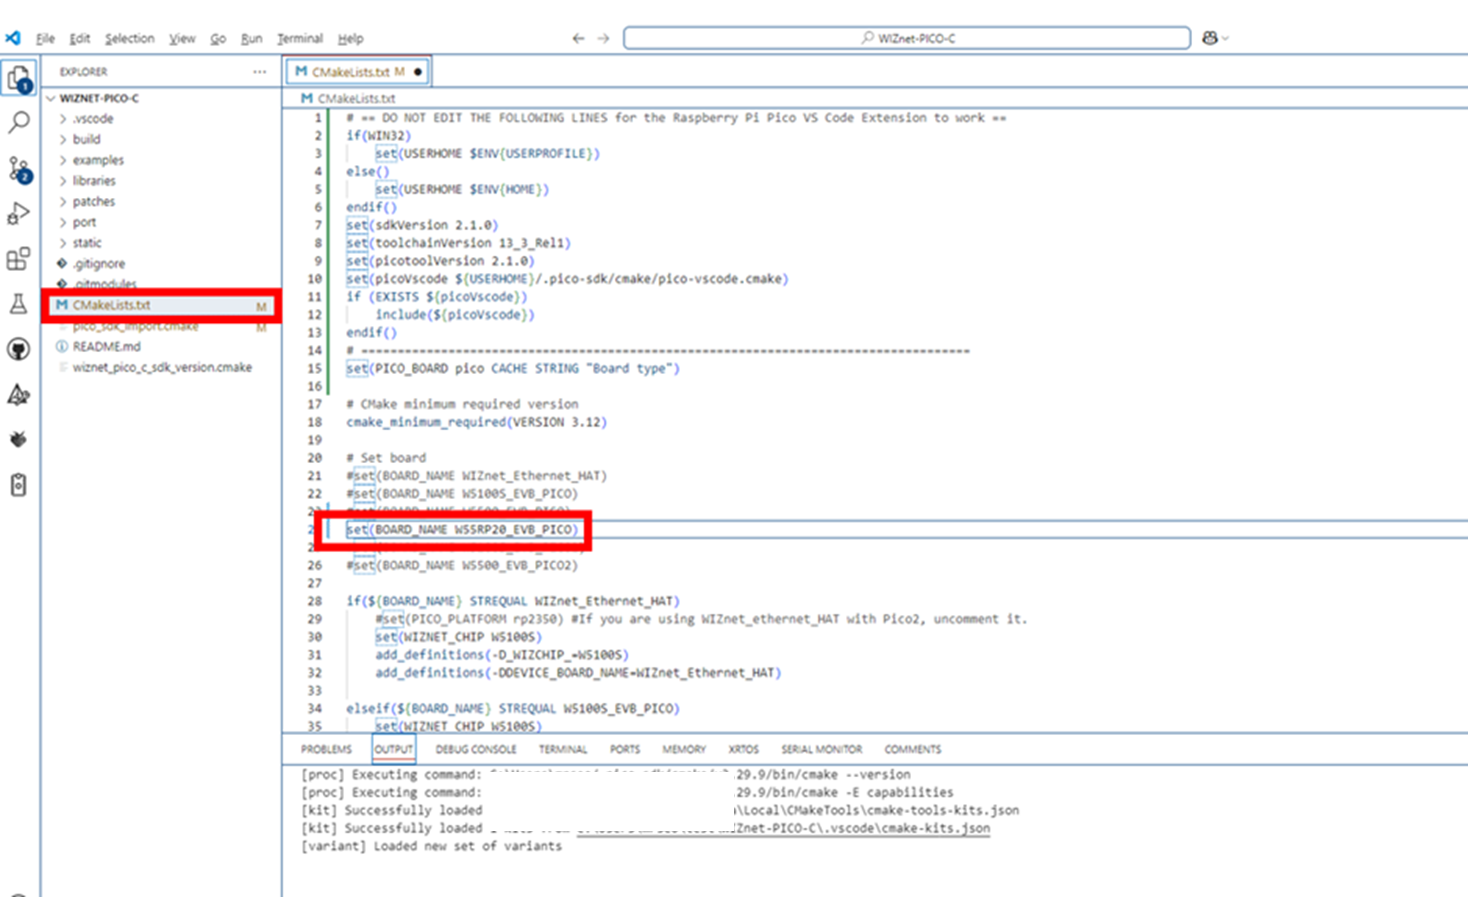
Next, open the CMakeLists.txt file and choose the board to use.
By default, W5500_EVB_PICO is selected. Comment it out by adding a # in front.
Uncomment the board you want to use, in this case, W55RP20_EVB_PICO, and save the file.
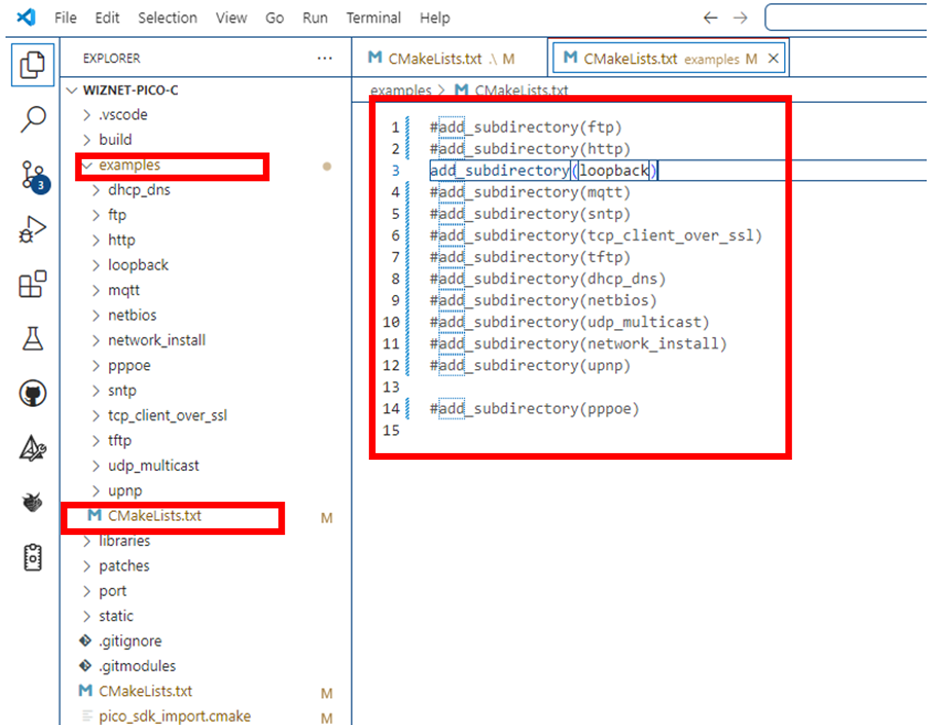
Navigate to the examples folder and open CMakeLists.txt. Comment out all examples except the one you plan to use. Since I’ll be using the Loopback example, I’ve commented out the others.
(Note: If you don’t comment out unused examples, the compilation will take much longer.)
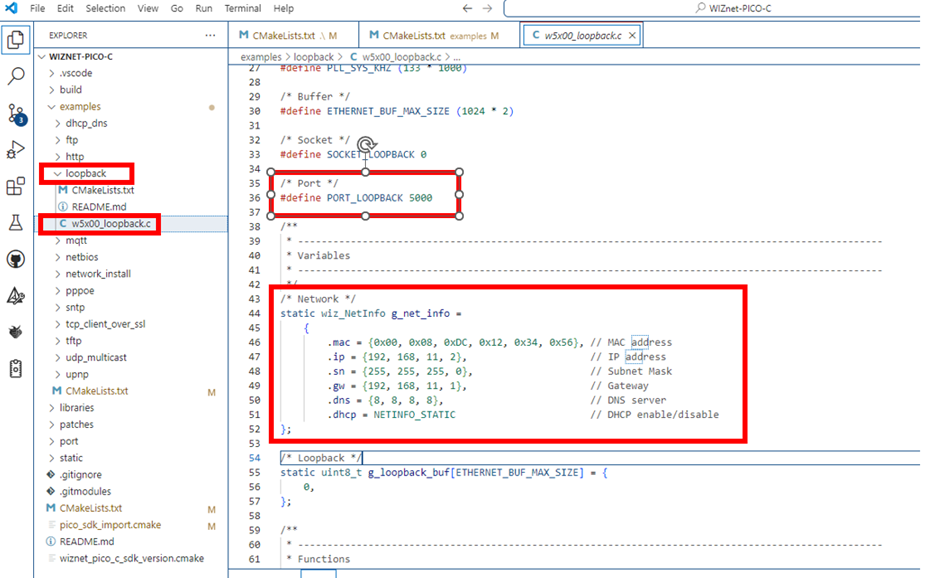
In the examples folder, select the Loopback directory and open w5x00_loopback.c.
Update the network settings to match your environment. For the port, enter an appropriate value (the default is 5000).
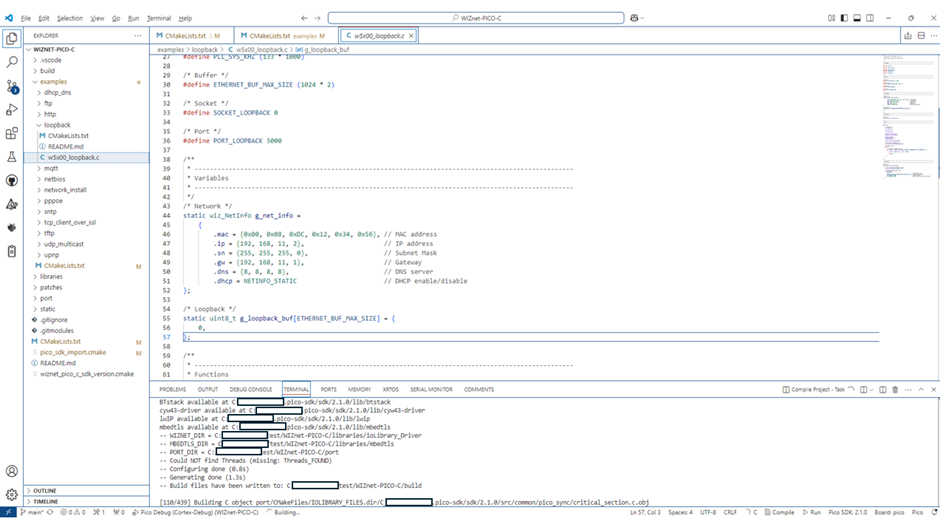
Compile the code by pressing F5.
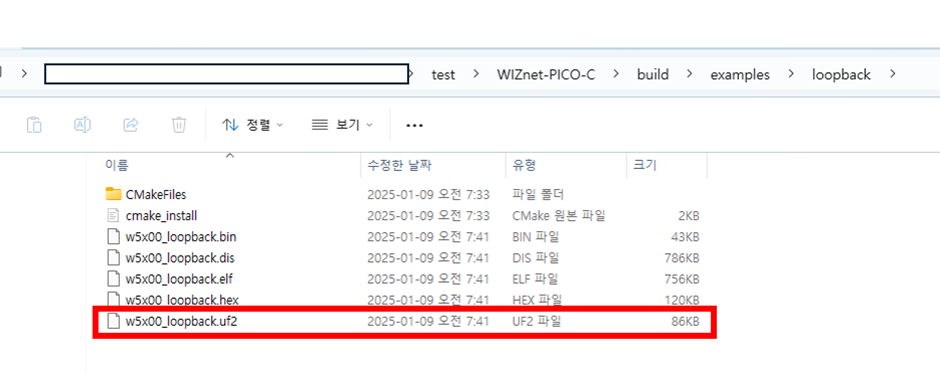
Using File Explorer, navigate to WIZnet-PICO-C/build/examples/loopback.
You’ll find the newly created w5x00_loopback.uf2 file.
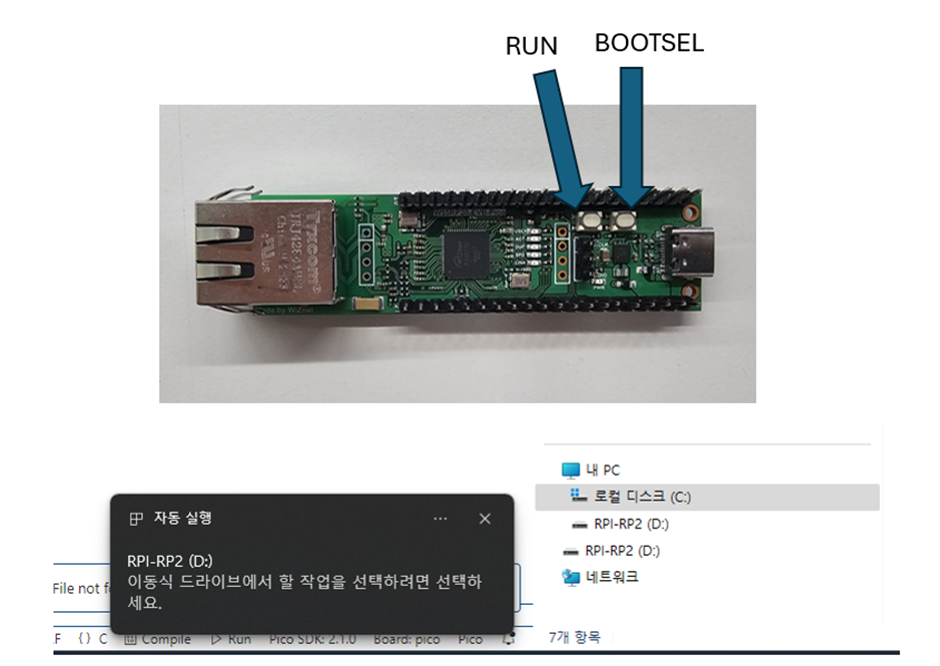
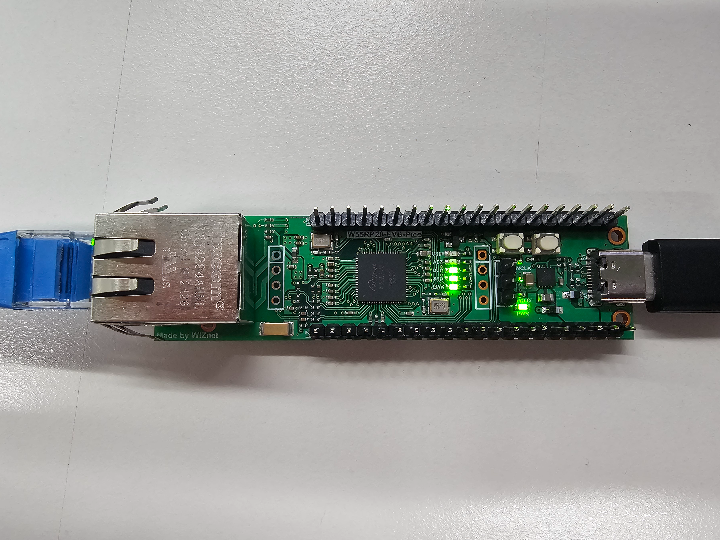
Prepare the W55RP20-EVB-PICO by holding down the BOOTSEL button, pressing the RUN switch for one second, and releasing it. The RPI-RP2 driver will appear.
Copy the w5x00_loopback.uf2 file to this driver.
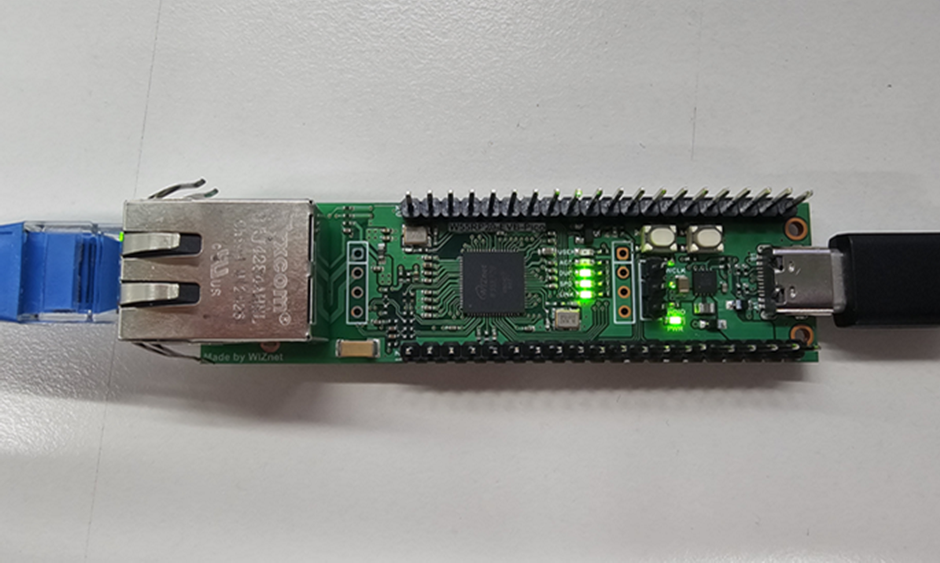
Connect the Ethernet network. You’ll see the LED light up, as shown above.
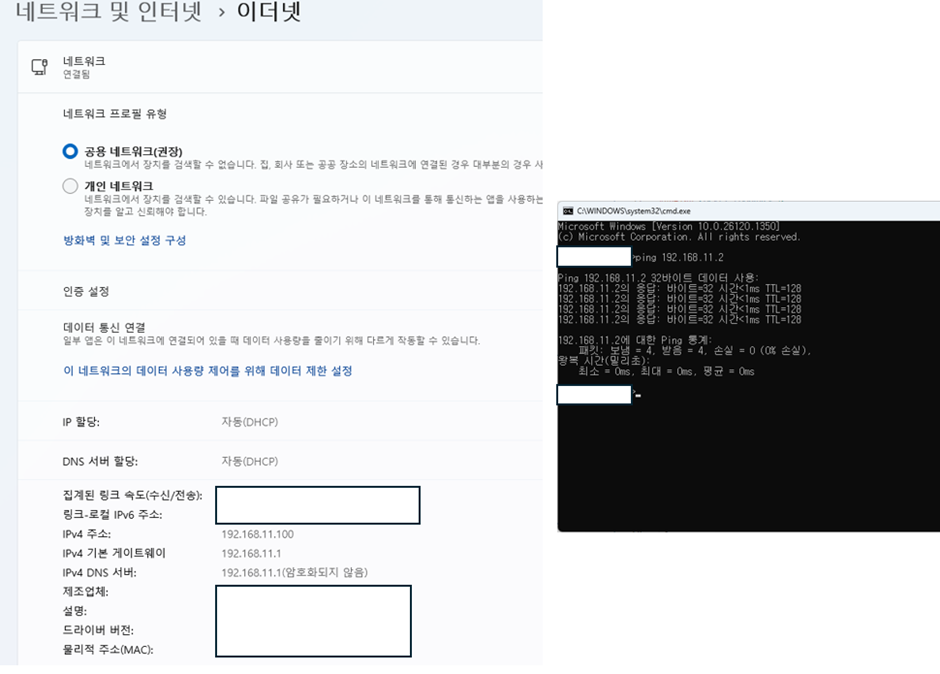
Ensure the PC is on the same network. Use the command line to send a PING and confirm a response, as shown on the right.

Launch Hercules (or any other TCP Client program).
Select TCP Client, enter the server information from the example code, and click Connect.
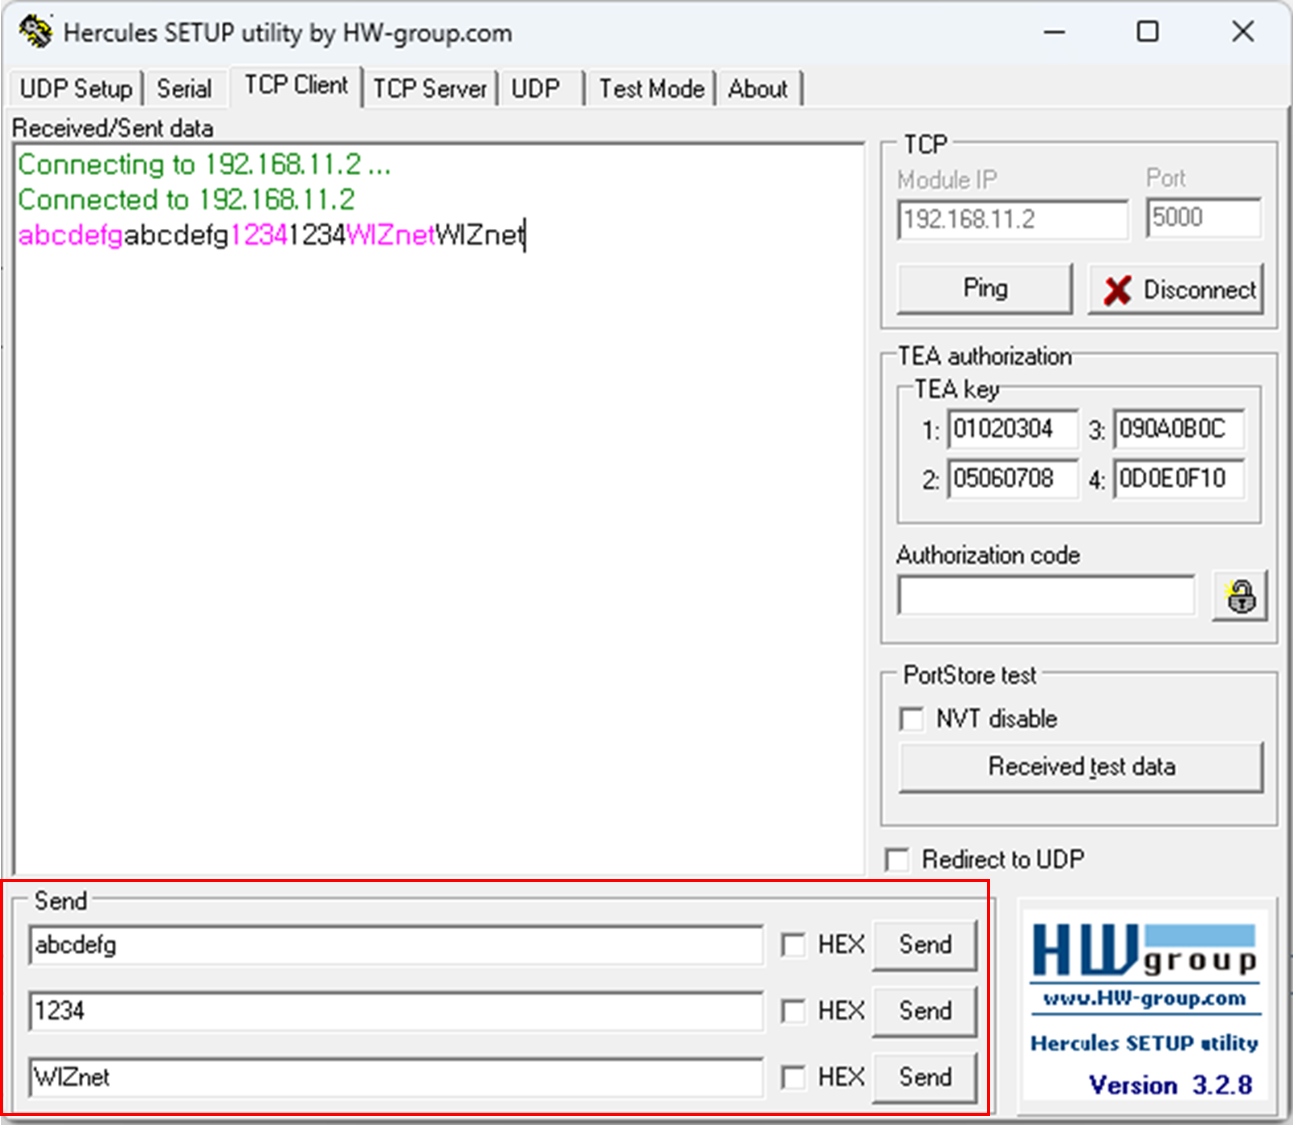
In the Sendbox at the bottom, enter any data and press Send. You should receive the same message in response.
Finally, the environment setup is complete!
Thank you!