
How to Use W5300 TOE - Loopback
How to Use W5300 TOE Shield with STM32 NUCLEO-144 Board

WIZnet - W5300
x 1
# Overview
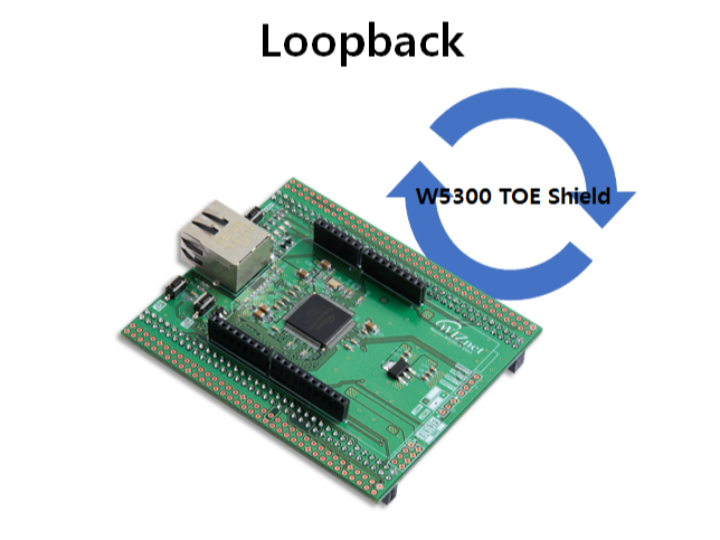
The W5300 TOE - Loopback example use W5300 TOE Shield - ethernet I/O shield compatible with STM32 Nucleo-144 board built on WIZnet's W5300 ethernet chip, and STM32 Nucleo-144 board.
- W5300 TOE Shield

STM32 Nucleo-144 boards support the list below.
And W5300 TOE - MQTT Publish & Subscribe example support two IDEs.
※ Please select and use the IDE according to the environment you are using.
Board | Example | Description |
NUCLEO-F207ZG | C-based example implemented using MDK-ARM. | |
| C-based example implemented using STM32CubeIDE. | ||
NUCLEO-F429ZI | C-based example implemented using MDK-ARM. | |
| C-based example implemented using STM32CubeIDE. | ||
NUCLEO-F439ZI | C-based example implemented using MDK-ARM. | |
| C-based example implemented using STM32CubeIDE. | ||
NUCLEO-F722ZE | C-based example implemented using MDK-ARM. | |
| C-based example implemented using STM32CubeIDE. | ||
NUCLEO-F756ZG | C-based example implemented using MDK-ARM. | |
| C-based example implemented using STM32CubeIDE. | ||
NUCLEO-F767ZI | C-based example implemented using MDK-ARM. | |
| C-based example implemented using STM32CubeIDE. |
# Hardware Requirements
- W5300 TOE Shield
- One of the STM32 Nucleo-144 Boards
- Desktop or Laptop
- USB Type-B Micro 5 Pin Cable
※ Currently, W5300 TOE examples only support NUCLEO-F207ZG, NUCLEO-F429ZI, NUCLEO-F439ZI, NUCLEO-F722ZE, NUCLEO-F756ZG and NUCLEO-F767ZI, so please refer to this.
# Development Environment Configuration
Setup ST-LINK
The ST-LINK pin was changed due to overlapping use of the FMC(Flexible Memory controller) data pin to control the W5300 built in the W5300 TOE Shield and the ST-LINK pin of the STM32 Nucleo-144 board.
- STLK_RX[STM32F103CBT6_PA3] : PD8 → PC10
- STLK_TX[STM32F103CBT6_PA2] : PD9 → PC11
Therefore, in order to use the ST-LINK of the STM32 Nucleo-144 board, minor settings are required for the W5300 TOE Shield and STM32 Nucleo-144 board.
1. Remove SB5 and SB6 from the top of the STM32 Nucleo-144 board.

2. With the W5300 TOE Shield and STM32 Nucleo-144 board combined, connect PC10, PC11 of the W5300 TOE Shield and CN5 TX, RX of the top of the STM32 Nucleo-144 board with jumper cables.
- W5300 TOE Shield : PC10 - STM32 Nucleo-144 board : RX
- W5300 TOE Shield : PC11 - STM32 Nucleo-144 board : TX

# How to Test Loopback Example
Step 1: Prepare software
The following serial terminal programs are required for Loopback example test, download and install from below links.
Step 2: Prepare hardware
1. Combine W5300 TOE Shield with STM32 Nucleo-144 board.
2. Connect ethernet cable to W5300 TOE Shield ethernet port.
3. Connect STM32 Nucleo-144 board to desktop or laptop using 5 pin micro USB cable.
Step 3: Setup Loopback Example
To test the Loopback example, minor settings shall be done in code.
1. Select demo application.
To run the Loopback example, you must select the demo application in 'w5x00_demo.h' in 'W5300-TOE-C/Examples/' directory.
uncomment APP_LOOPBACK and comment the rest of the defined demo application macros.
// ----------------------------------------------------------------------------------------------------
// The application you wish to use should be uncommented
// ----------------------------------------------------------------------------------------------------
//#define APP_DHCP
//#define APP_DNS
//#define APP_HTTP_SERVER
//#define APP_MQTT_PUBLISH
//#define APP_MQTT_SUBSCRIBE
//#define APP_MQTT_PUBLISH_SUBSCRIBE
#define APP_LOOPBACK
// ----------------------------------------------------------------------------------------------------
2. Setup network configuration.
Setup network configuration such as IP in 'main.c' in 'W5300-TOE-C/Projects/NUCLEO-F429ZI/Core/Src/' directory.
  wiz_NetInfo net_info =
      {
          .mac = {0x00, 0x08, 0xDC, 0x12, 0x34, 0x56}, // MAC address
          .ip = {192, 168, 11, 2},                     // IP address
          .sn = {255, 255, 255, 0},                  // Subnet Mask
          .gw = {192, 168, 11, 1},                   // Gateway
          .dns = {8, 8, 8, 8},                             // DNS server
#ifdef APP_DHCP
          .dhcp = NETINFO_DHCP                // Dynamic IP
#else
          .dhcp = NETINFO_STATIC              // Static IP
#endif
      };
3. Setup Loopback configuration.
Setup loopback server port number in 'w5x00_loopback.c' in 'W5300-TOE-C/Examples/Loopback/' directory.
#define PORT_LOOPBACK 5000Step 4: Build and Download
1. After completing the Loopback example configuration, build in the IDE you are using.
2. When the build is completed, download the firmware to the STM32 Nucleo-144 board.
Step 5: Run
1. Connect to the serial COM port of STM32 Nucleo-144 board with Tera Term.

2. Reset your board.
3. If the Loopback example works normally on STM32 Nucleo-144 board, you can see the network information of STM32 Nucleo-144 board and the loopback server is open.

4. Connect to the open loopback server using Hercules TCP client. When connecting to the loopback server, you need to enter is the IP that was configured in Step 3, the port is 5000 by default.


5. Once connected if you send data to the loopback server, you should be able to receive back the sent message.

-
W5300-TOE-C
